

What Did This Reroof Project Actually Involve?
This job covered a complete tear-off reroof on a single-family home, stripping the existing roofing material down to the structural deck, replacing damaged sheathing panels, and building the roof system back up from scratch. The property had both a pitched composition shingle section and a lower tile roof area, along with a brick chimney that needed flashing attention. The homeowner’s goal was a dry, properly ventilated roof with no deferred maintenance items left behind.
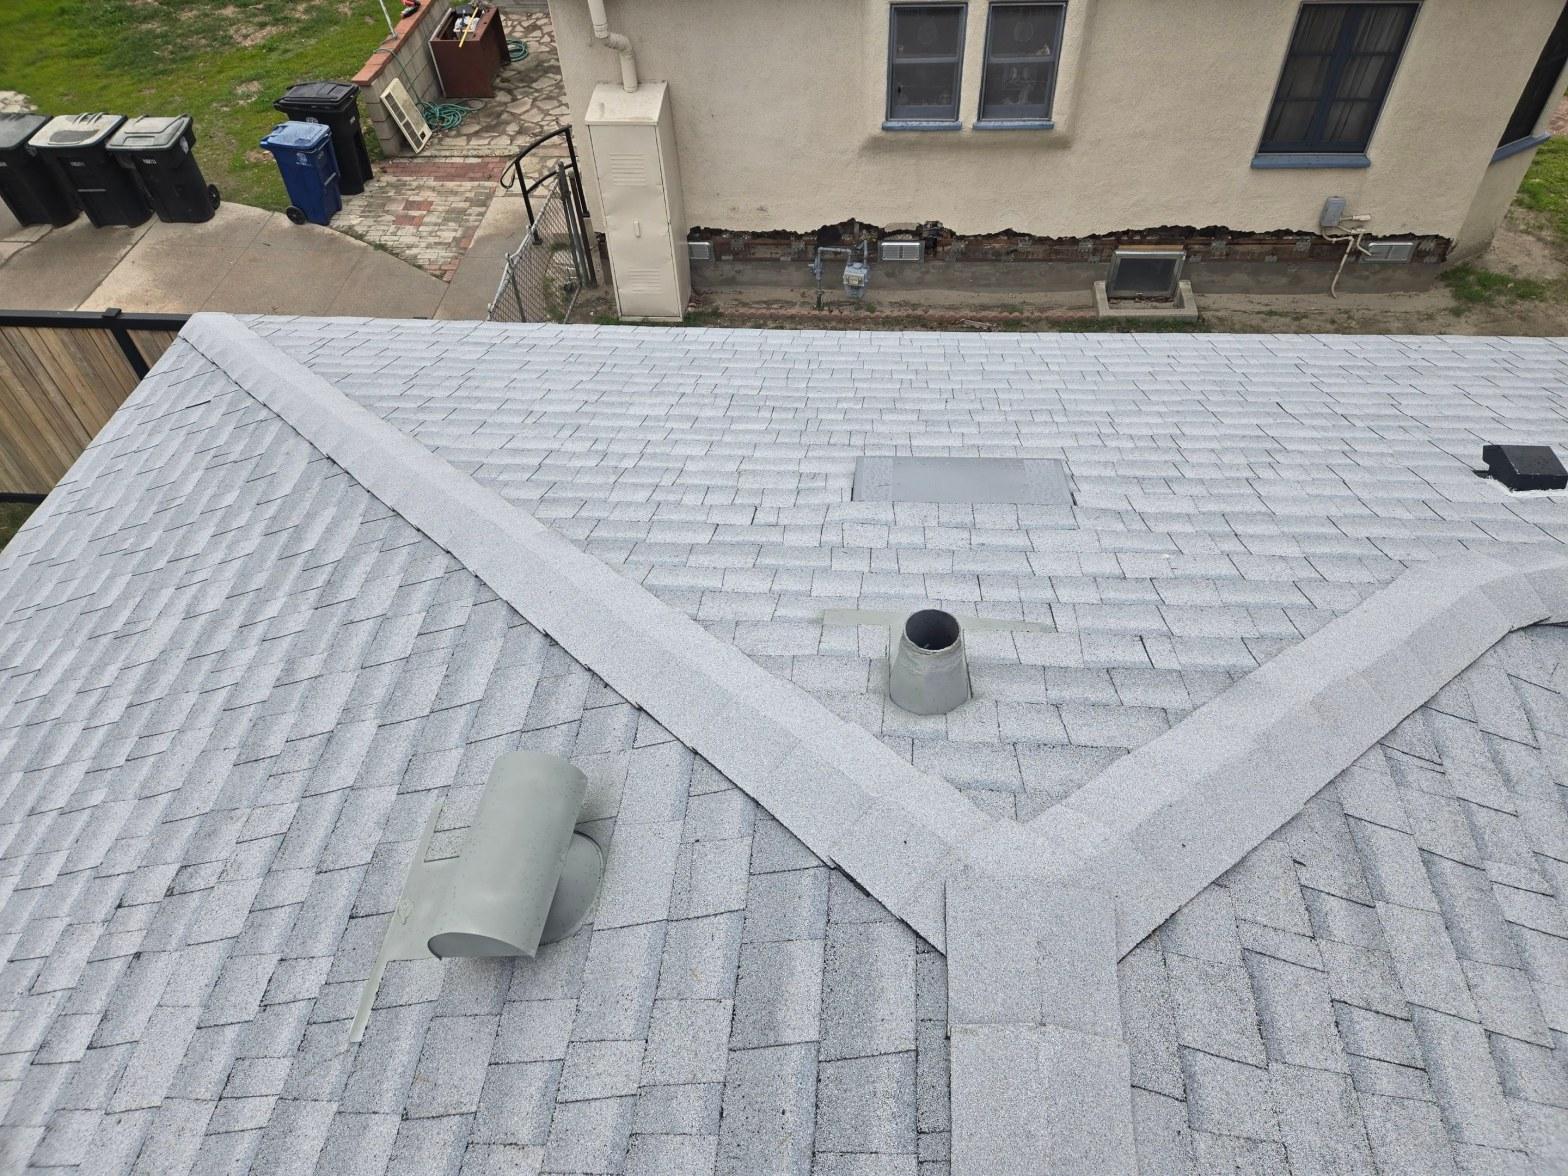
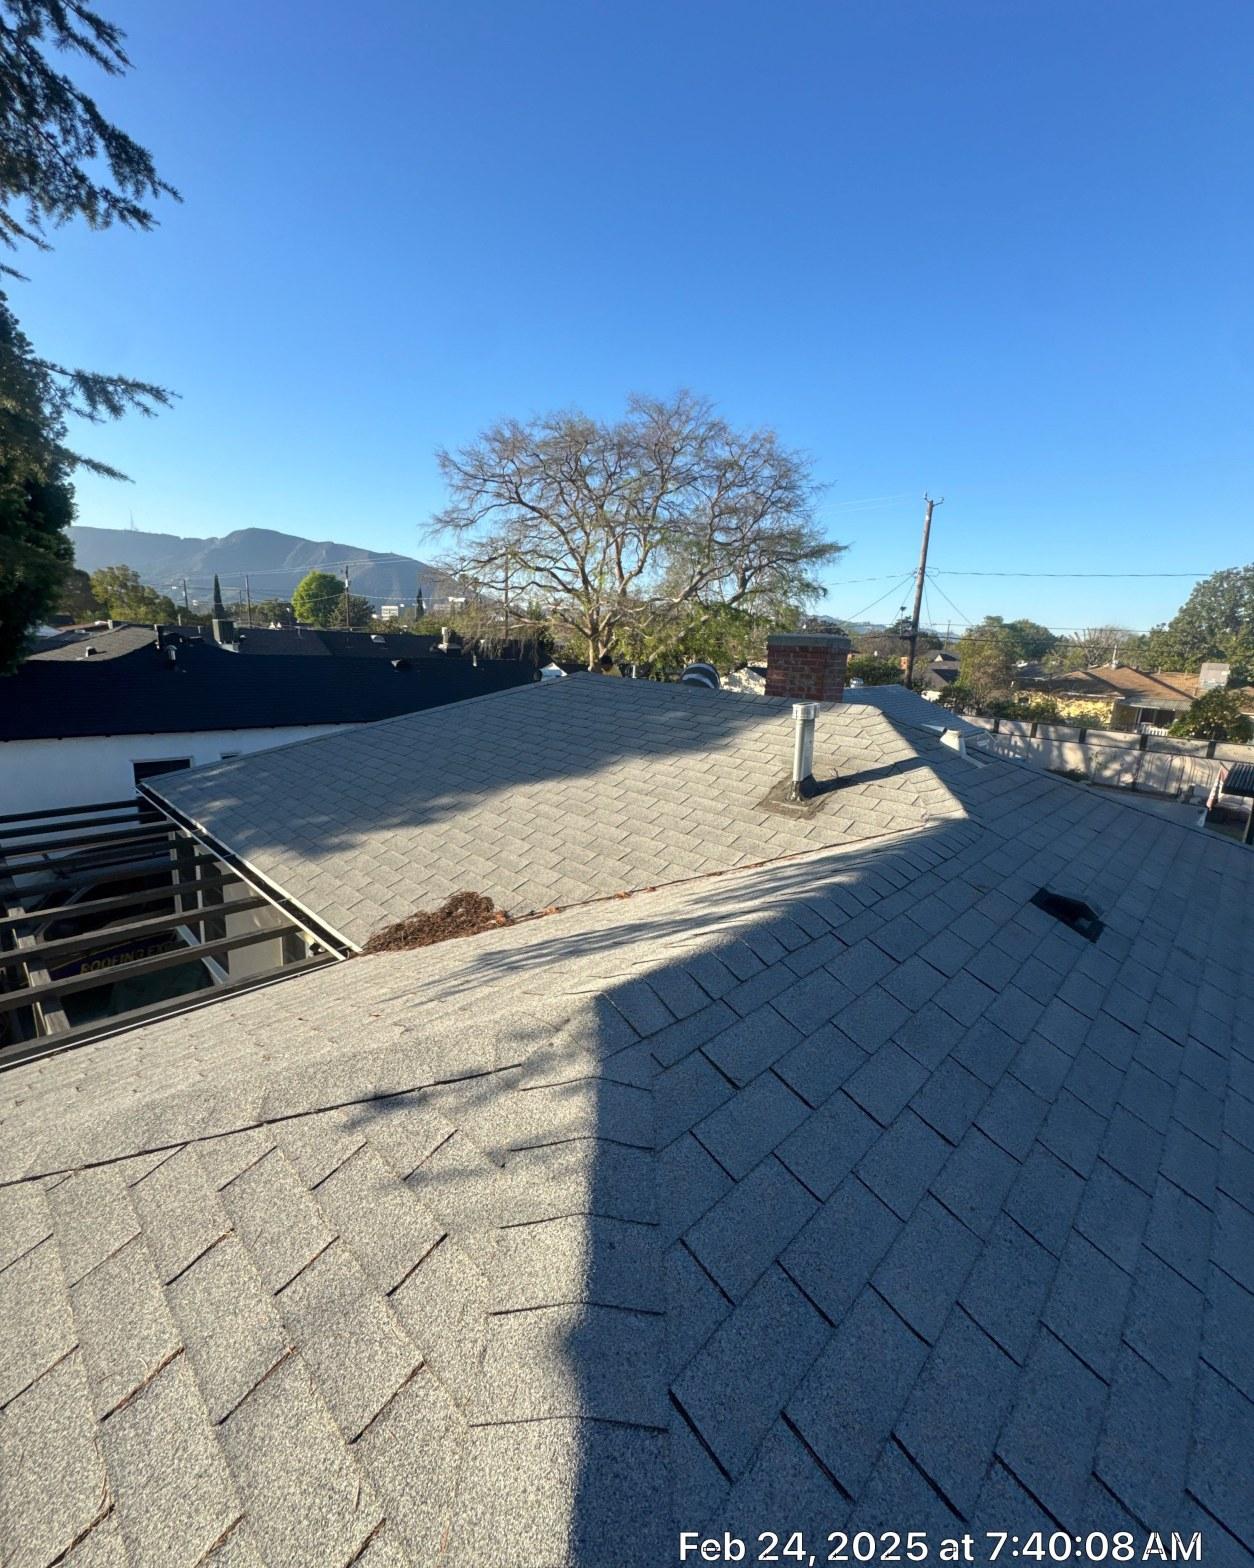
From the aerial view captured on completion day, the contrast between the newly finished gray shingles on the main structure and the older dark-toned roof on the neighboring house makes it easy to see how much a full tear-off changes a home’s profile. The new ridge cap runs clean and tight, and the pipe boots sit flush against the field shingles exactly as they should.
Project Gallery
What Did We Find When We Pulled the Old Roof Off?
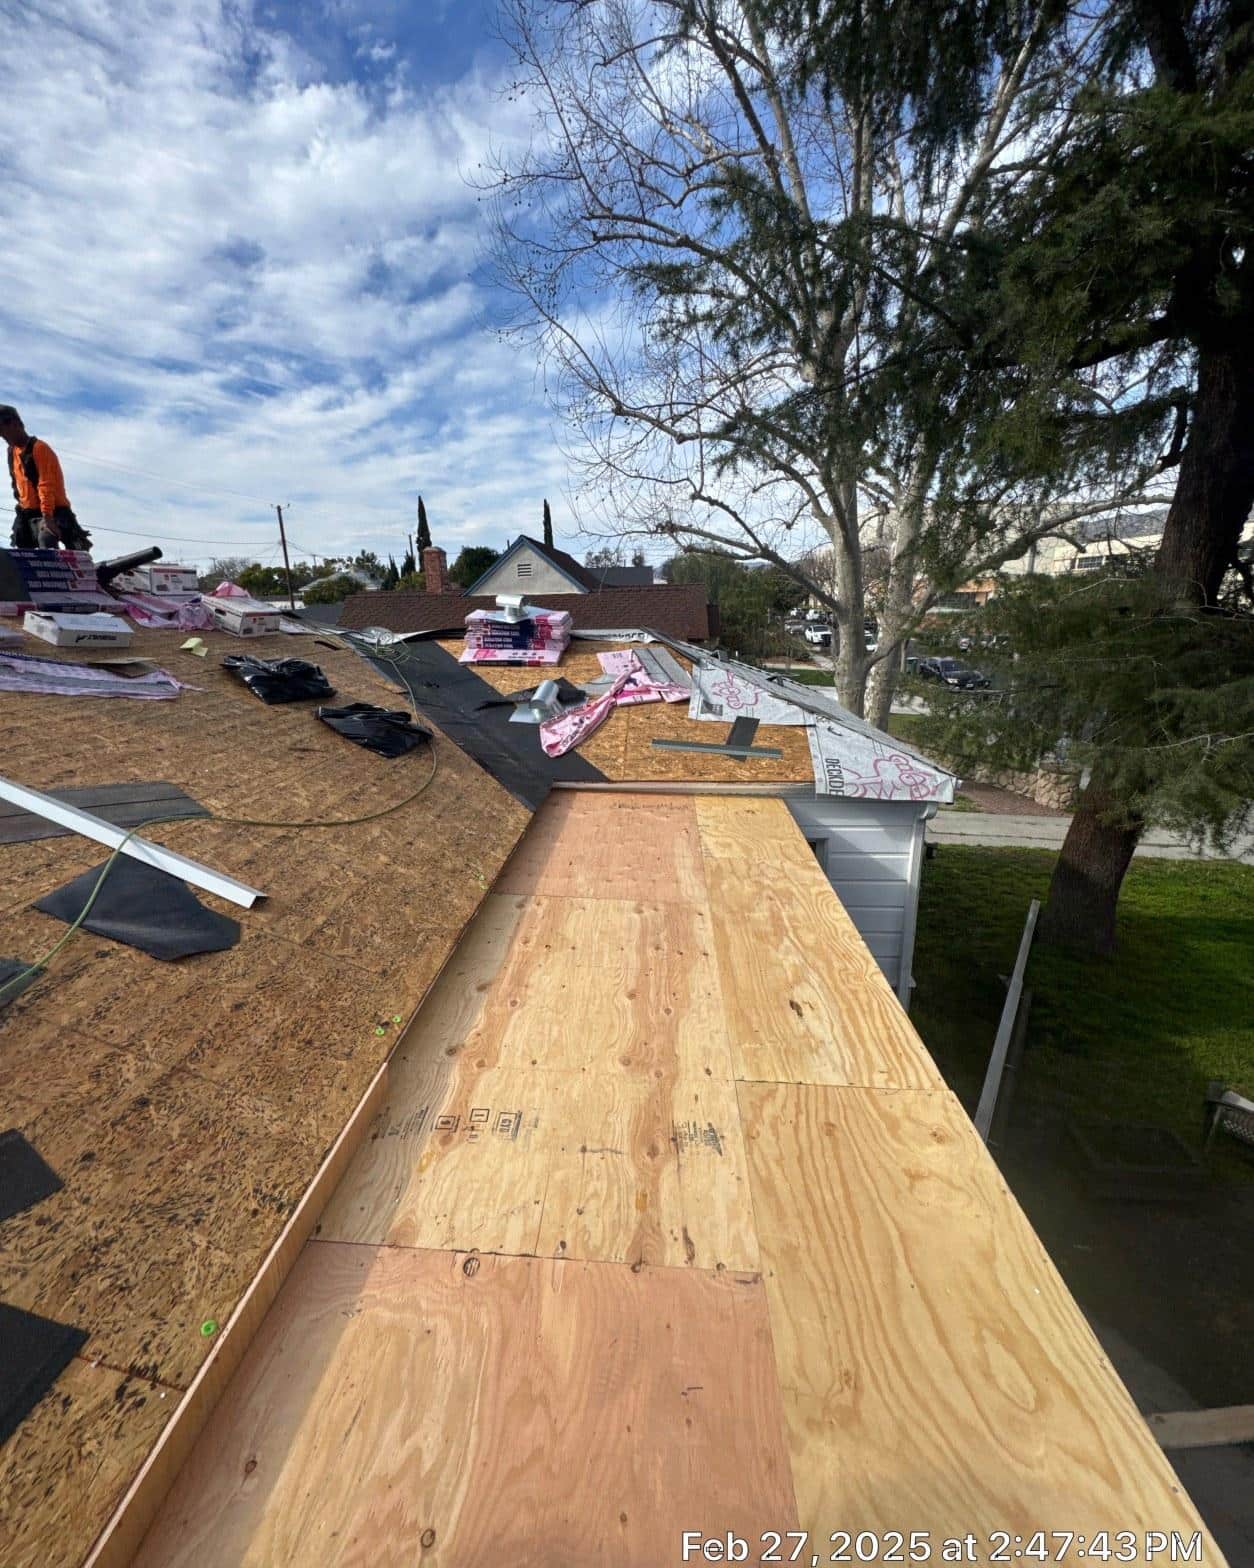
Once the tear-off was complete, several sections of the existing plywood sheathing showed enough deterioration to warrant full replacement before any new material could go down. The photo above, taken on February 27, 2025, shows fresh 4-by-8 plywood panels laid across the lower eave section of the pitched roof. You can see the new sheets sitting flush against the existing deck boards higher up the slope, with synthetic underlayment already rolled out across the upper portion. A crew member in the background is staged with additional shingle bundles, ready for the next phase.
Replacing sheathing is a step that only becomes visible once the old roof is completely off. Homeowners who opt for a re-cover (laying new shingles over old ones) never get this inspection opportunity. International building codes generally prohibit more than two layers of shingles on a residential roof for exactly this reason: hidden deck rot under multiple layers creates a structural risk that no surface treatment can fix.
Our crew identified and replaced approximately 6 individual sheathing panels across the eave and valley sections of this roof before any underlayment was installed.
How Was the Deck Protected Before Shingles Went On?
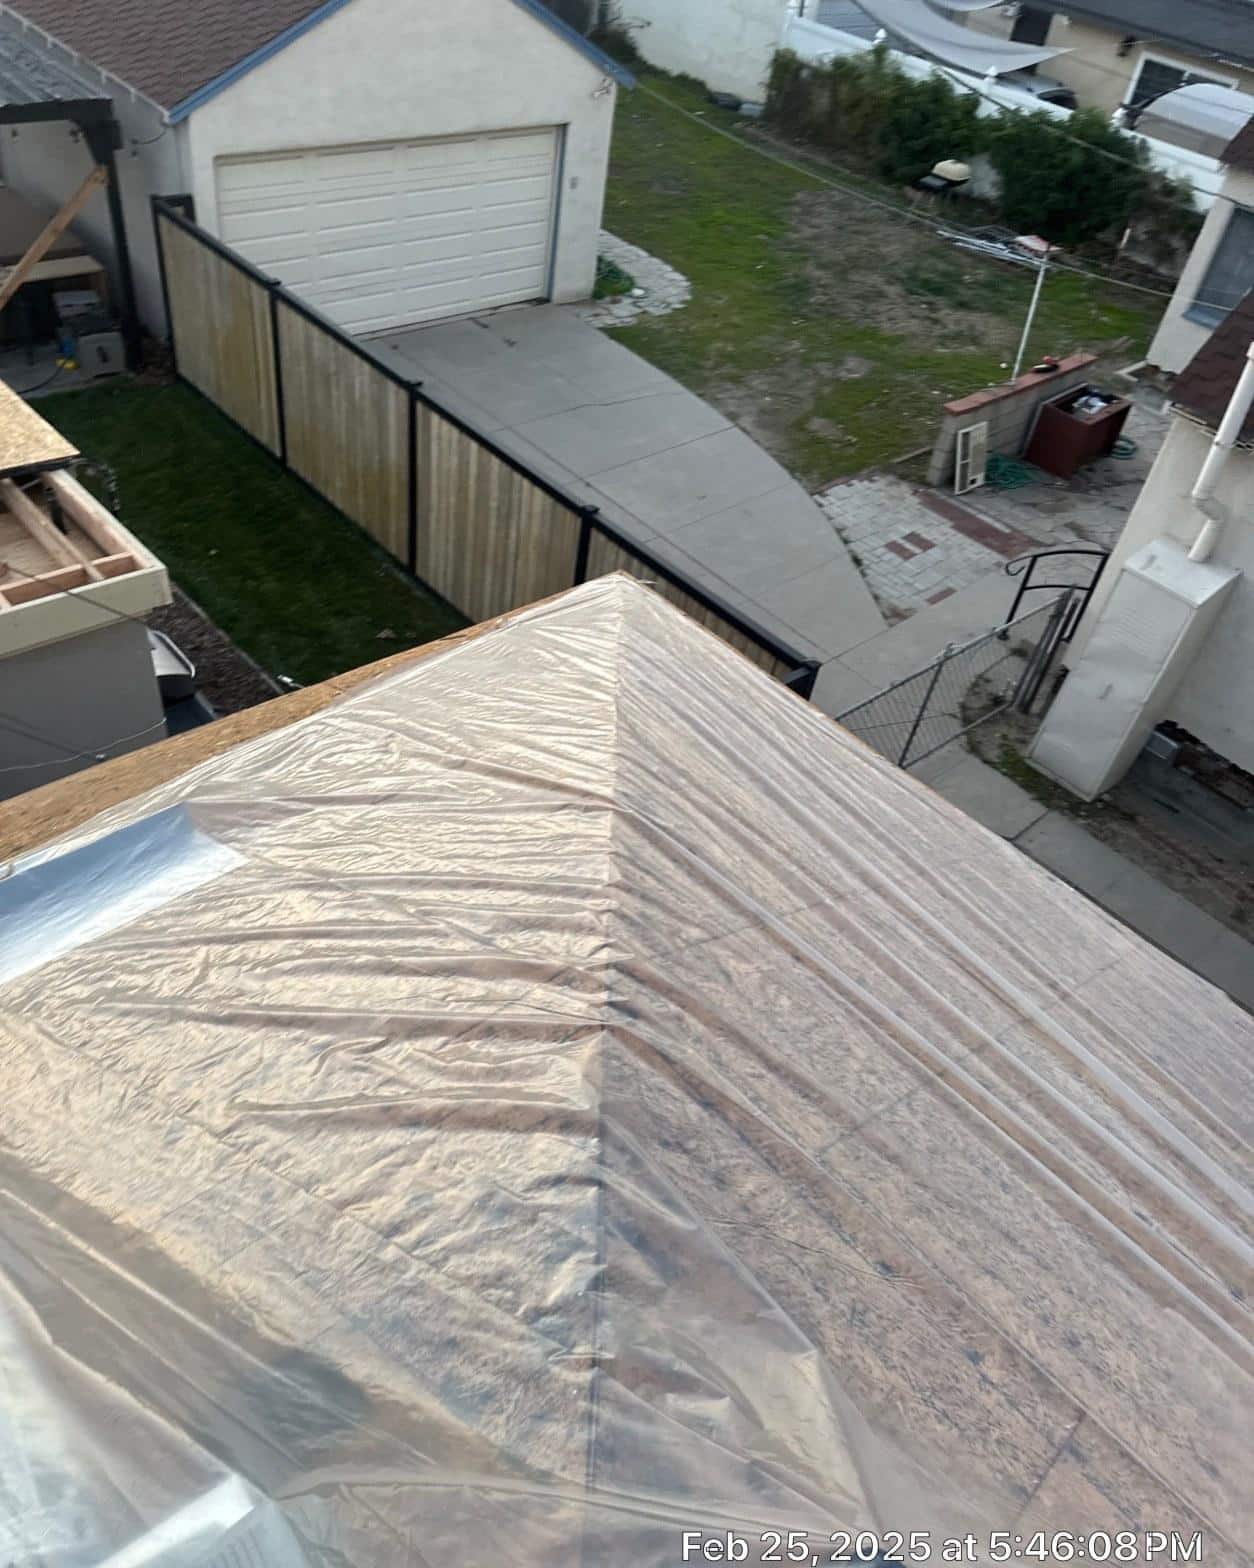
After the new plywood was fastened down, the entire deck received a full wrap of synthetic underlayment, visible in the photo dated February 25, 2025. Synthetic underlayment has largely replaced traditional 15-pound and 30-pound felt on reroof projects because it resists tearing in wind, repels moisture on contact rather than absorbing it, and stays slicker underfoot for crew safety. The photo shows the material pulled tight over the hip and ridge lines, with no bubbles or gaps at the seams.
Proper underlayment installation matters more than most homeowners realize. California’s Title 24 building energy standards have continued to tighten attic thermal requirements since 2022, and a correctly installed underlayment layer is one of the first lines of defense against both heat gain and moisture intrusion. On a pitched roof in the greater Burbank region, where summer attic temperatures can exceed 140°F according to NOAA regional climate data, that barrier matters year-round.
Framing, Ventilation, and the Chimney Flashing Detail
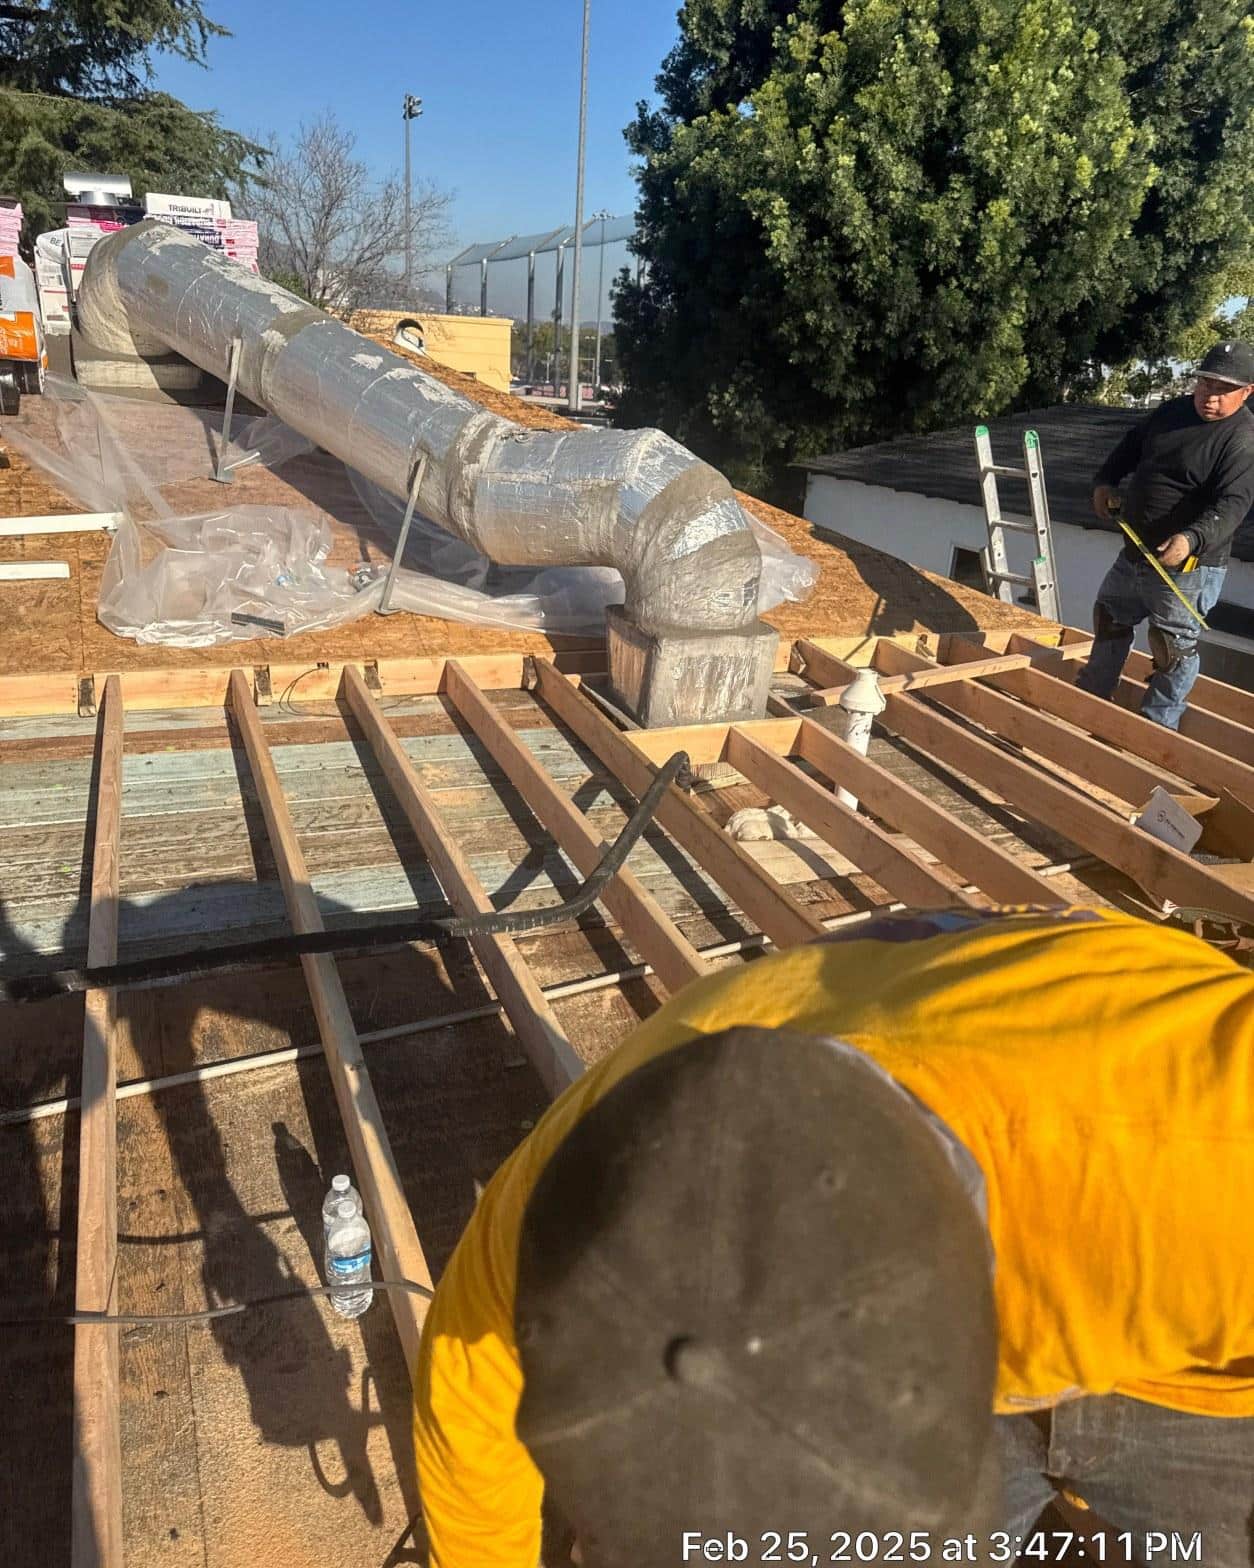
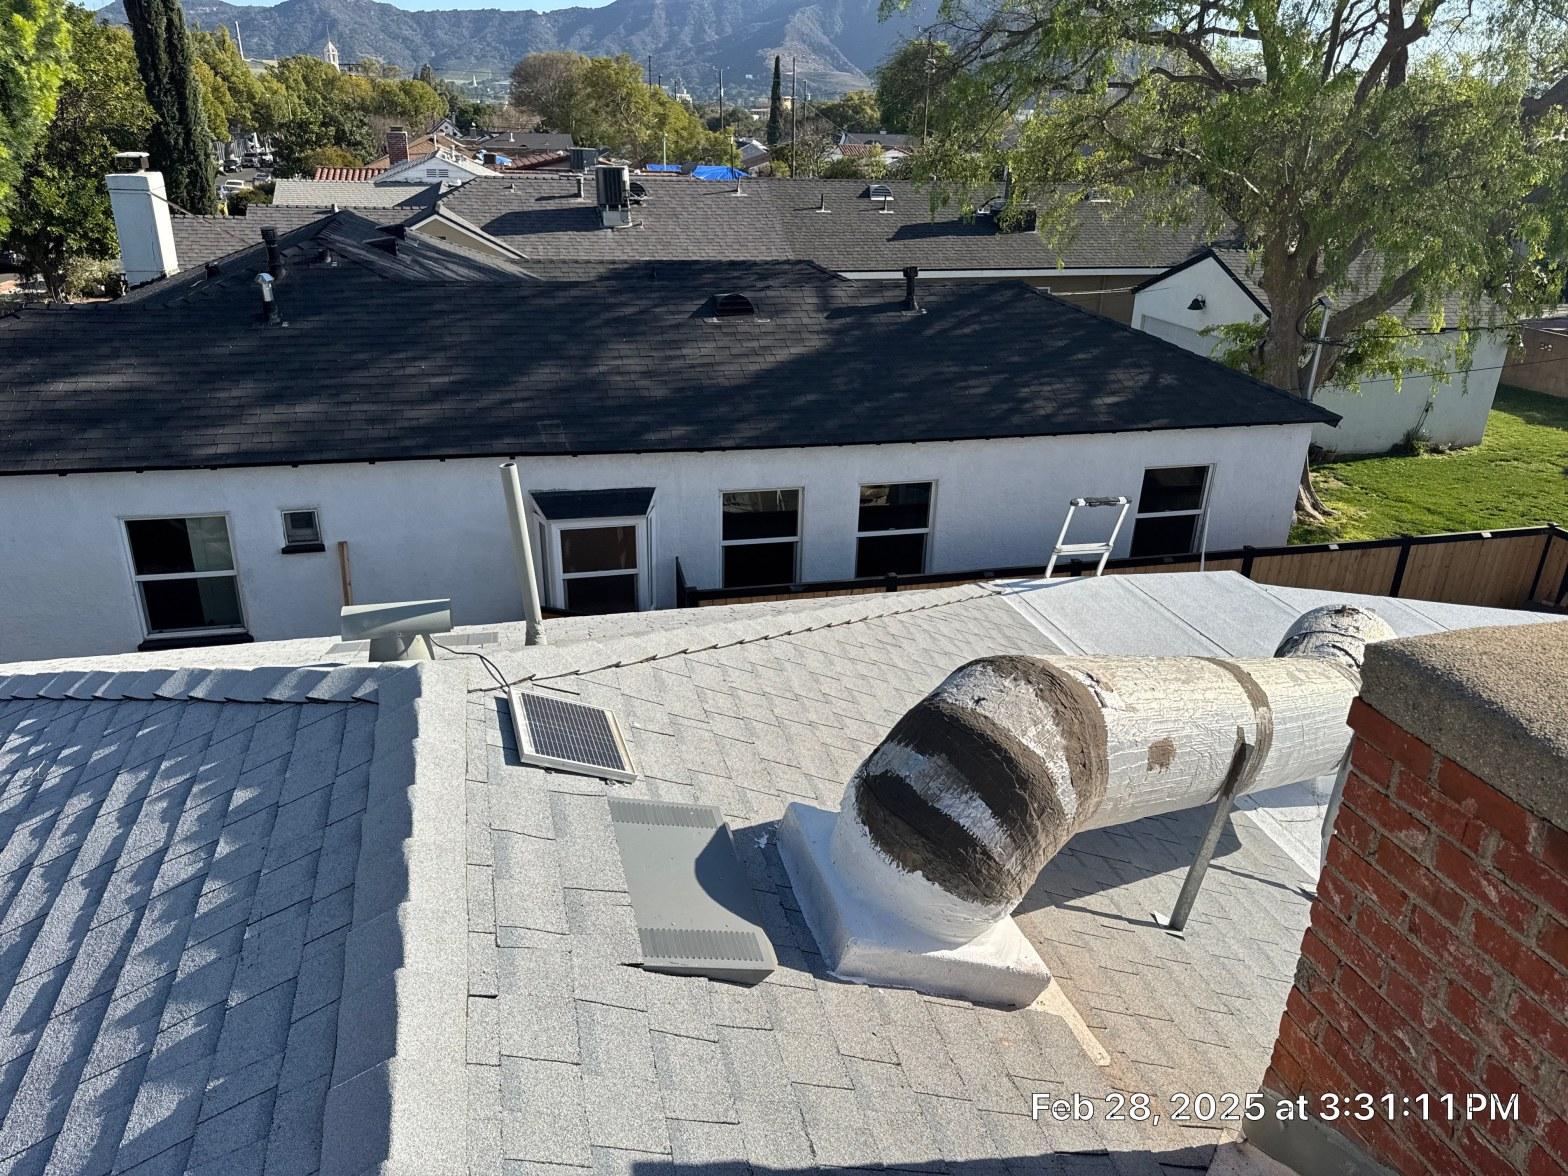
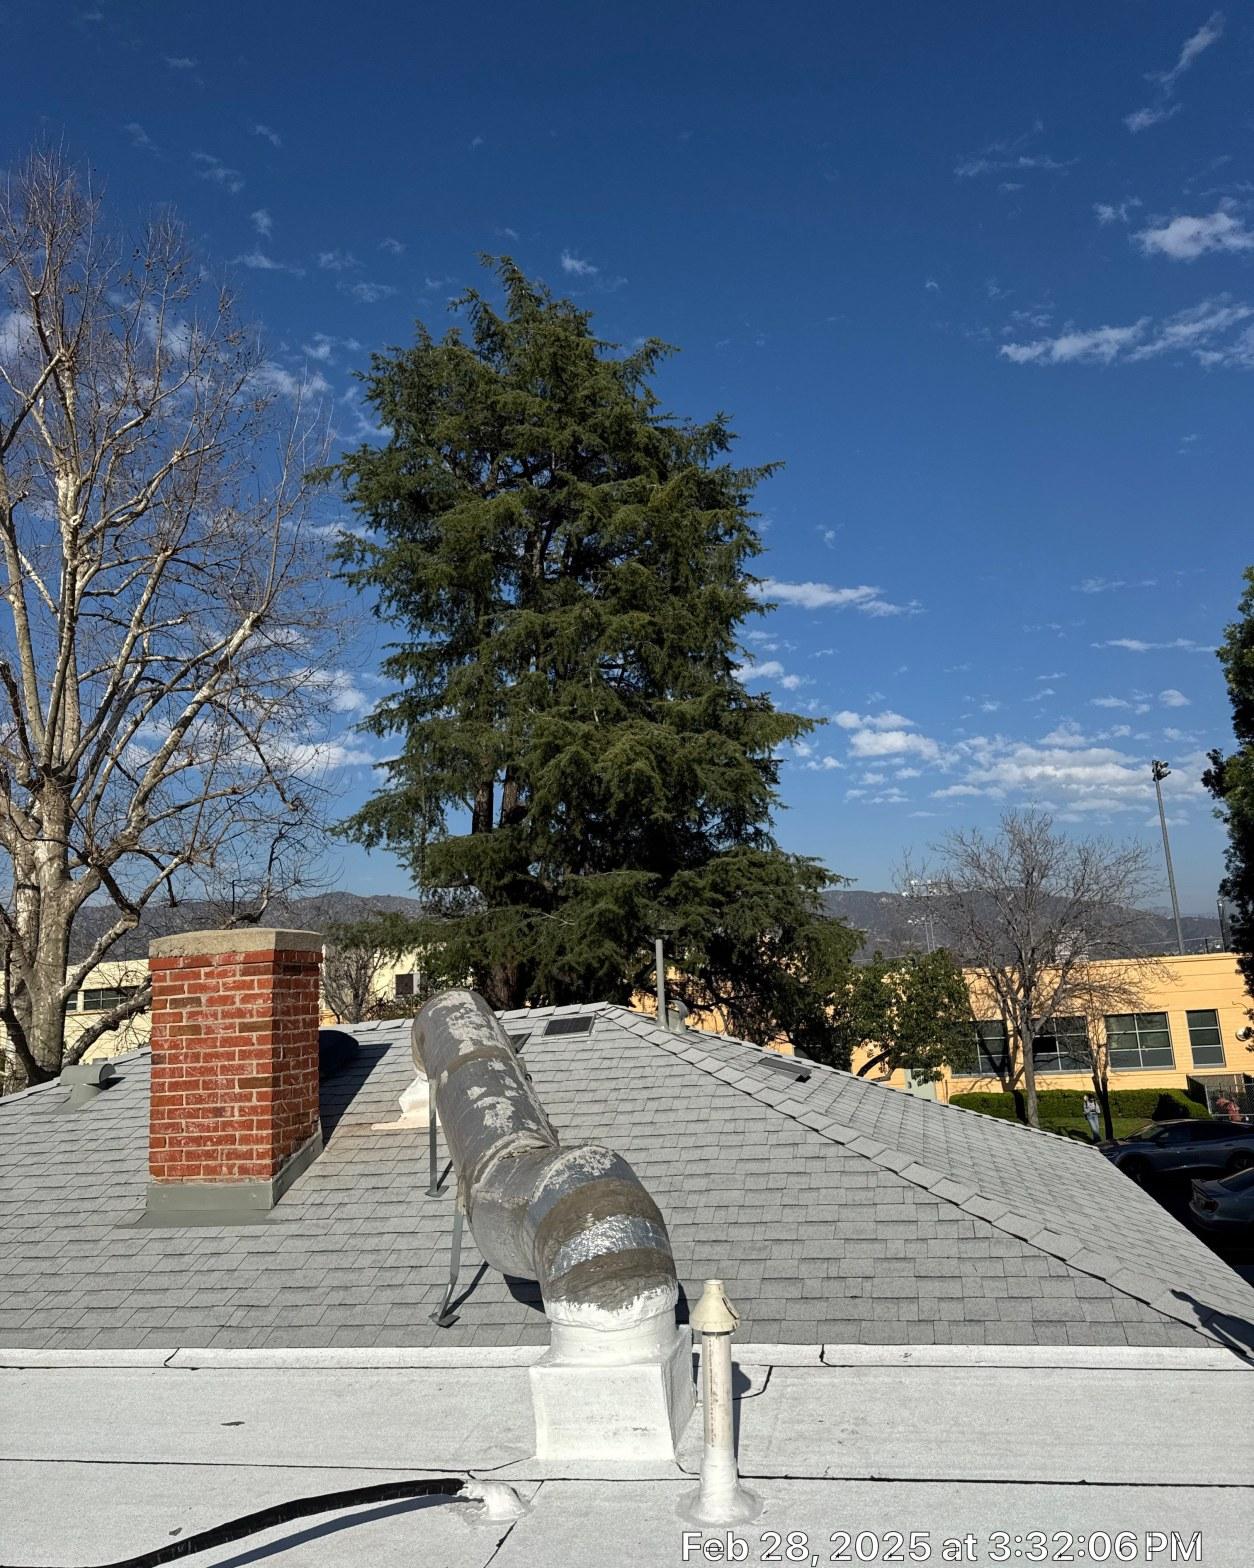
One of the more involved portions of this project was the area around the existing brick chimney, which required new step flashing and a fresh application of roofing cement to create a watertight seal. The photo from February 25, 2025 shows the crew working at the ridgeline with exposed rafter framing visible in the foreground, and a large duct assembly wrapped in foil-faced insulation running along the peak. This section of the roof sits directly adjacent to the chimney, which is one of the 3 highest-risk leak points on any pitched roof, alongside valleys and pipe penetrations.
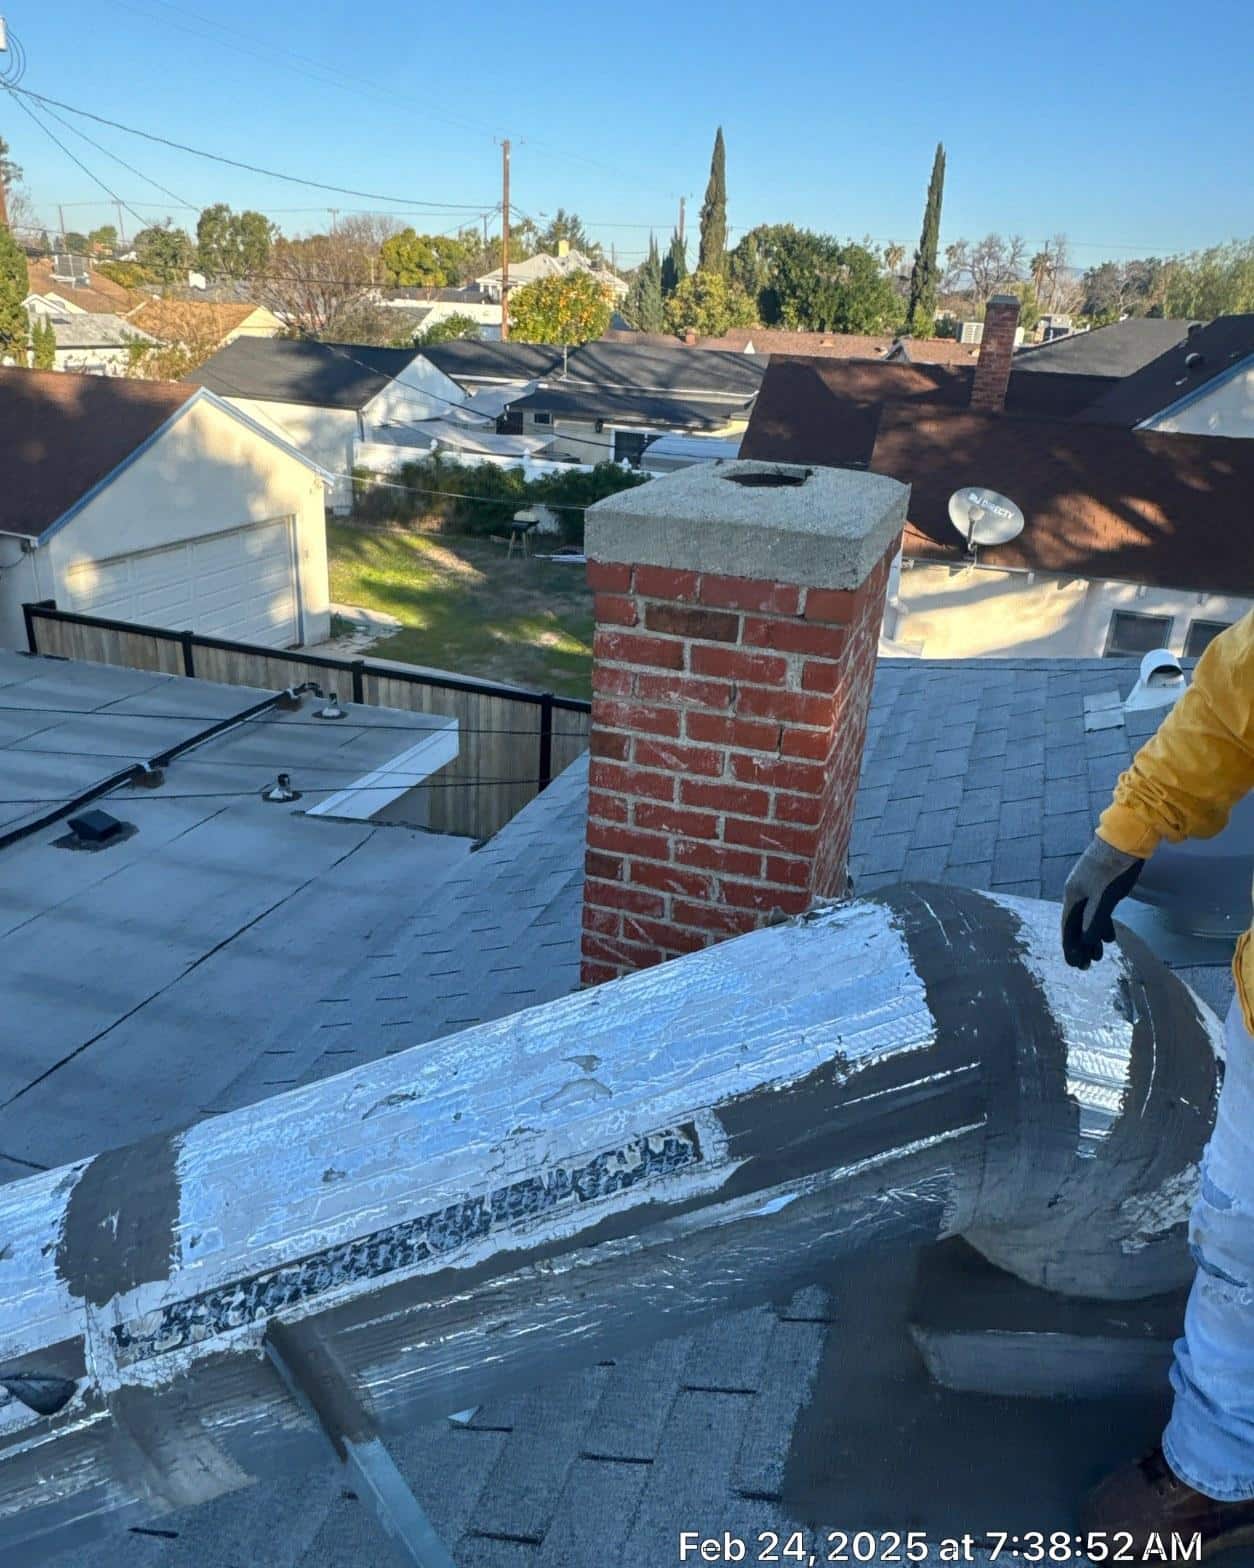
The chimney flashing photo (February 24, 2025) shows the base and step flashing sealed with a liberal coat of roofing cement, with the field shingles already laid around the base. The brick chimney cap appears structurally sound, which meant the flashing work could focus entirely on the roof-to-masonry transition rather than any masonry repair.
Roof Replacement Inc completed all penetration and flashing work before the final ridge cap went on, so every vent pipe, boot, and chimney transition was set and sealed as part of one continuous workflow rather than treated as an afterthought.
The Finished Roof: What the Completed System Looks Like
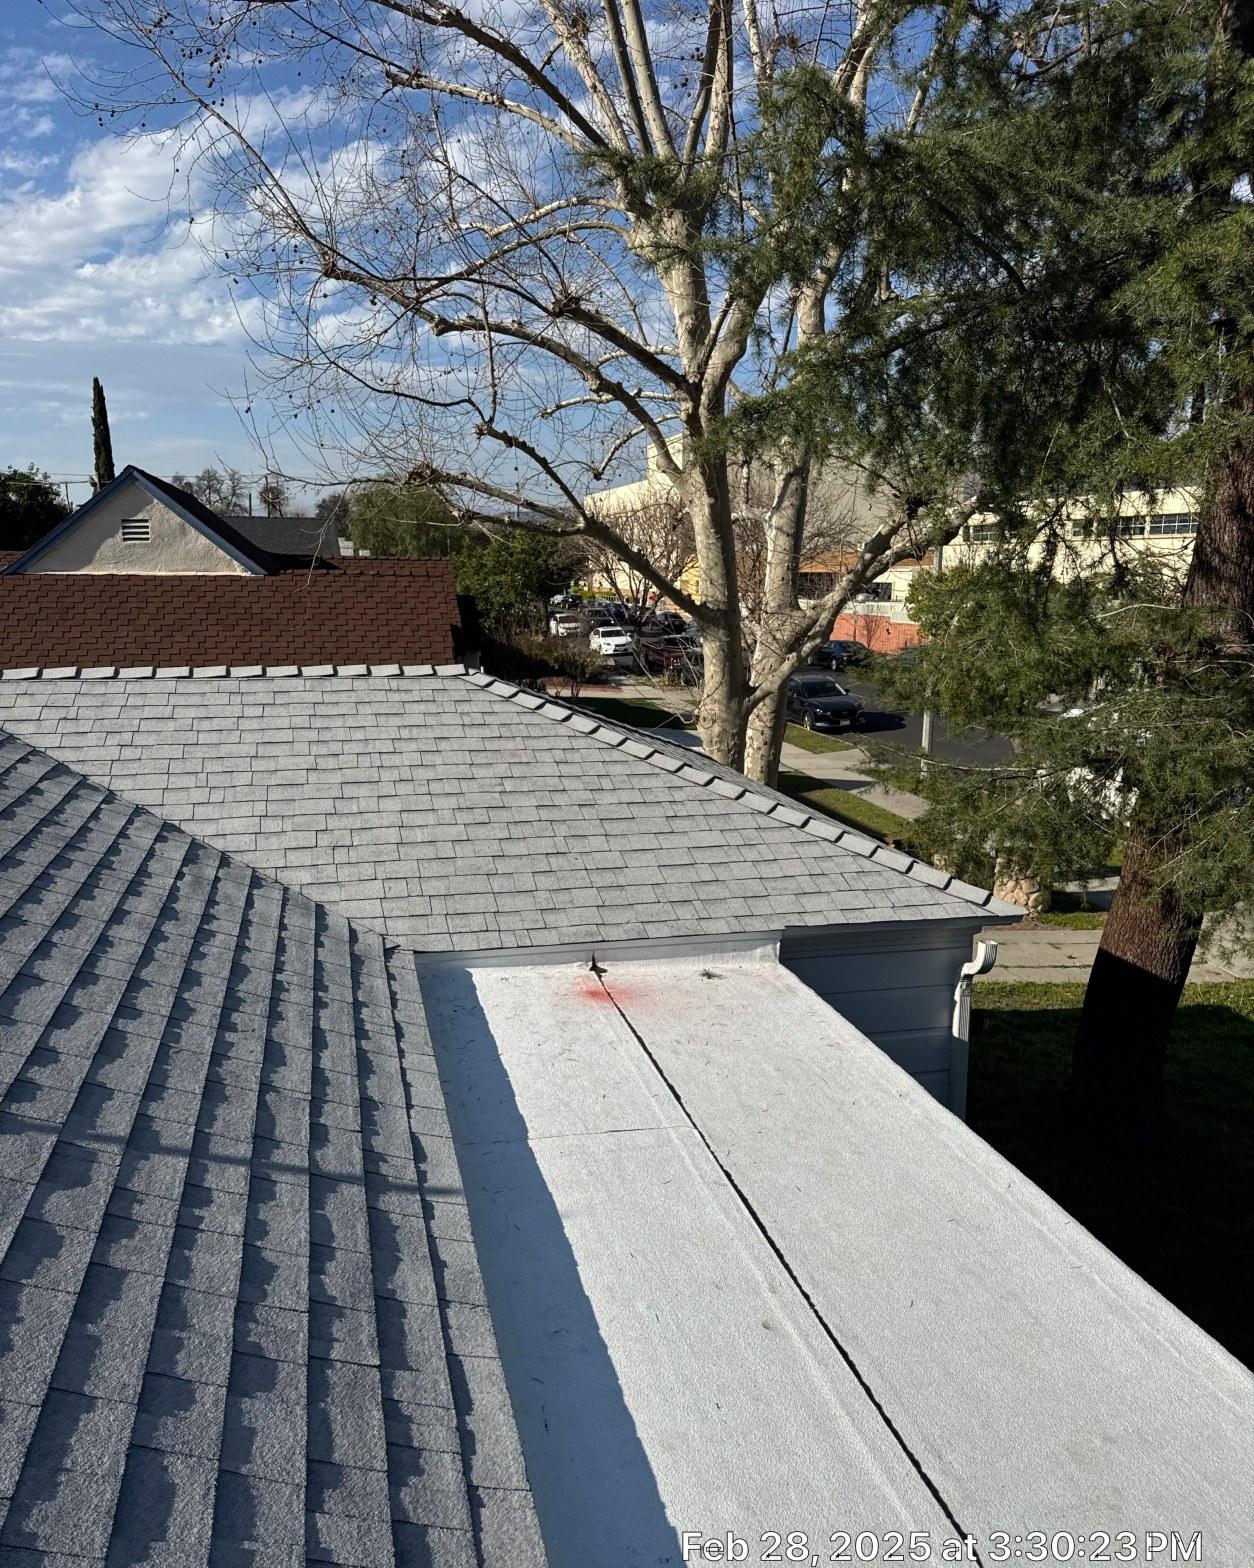
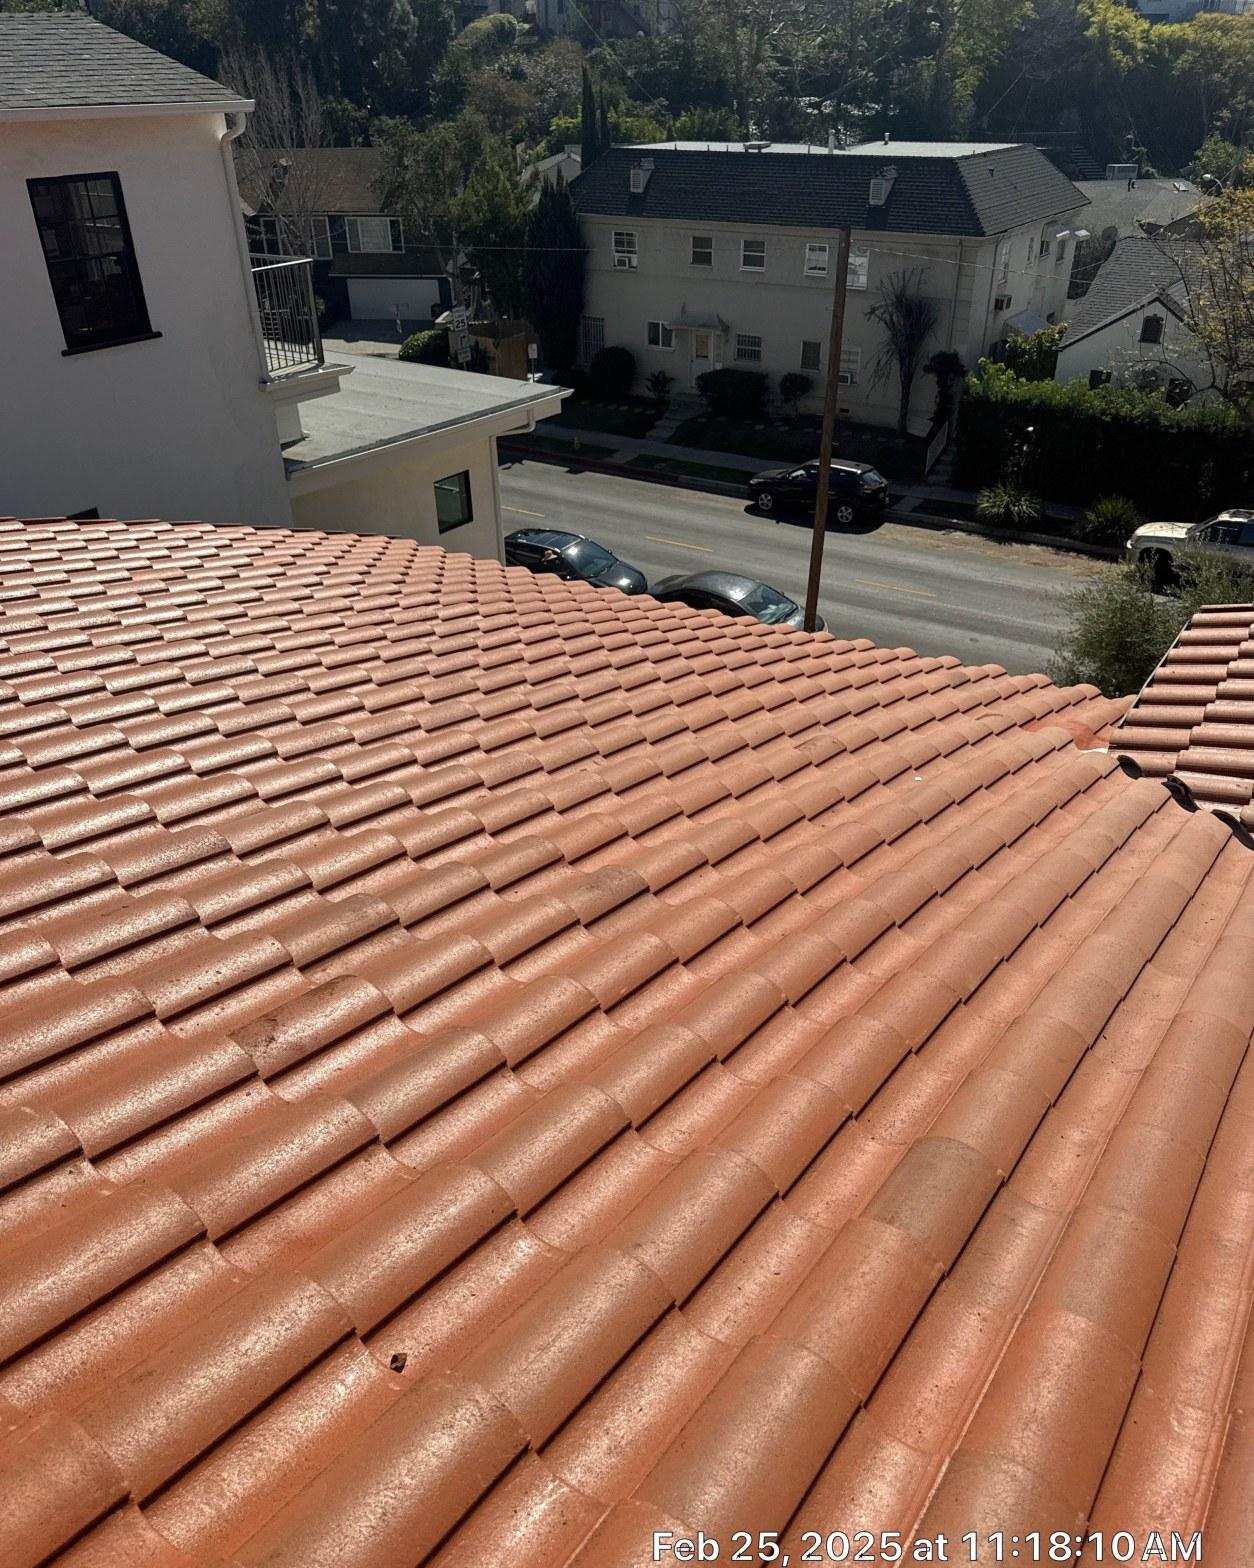
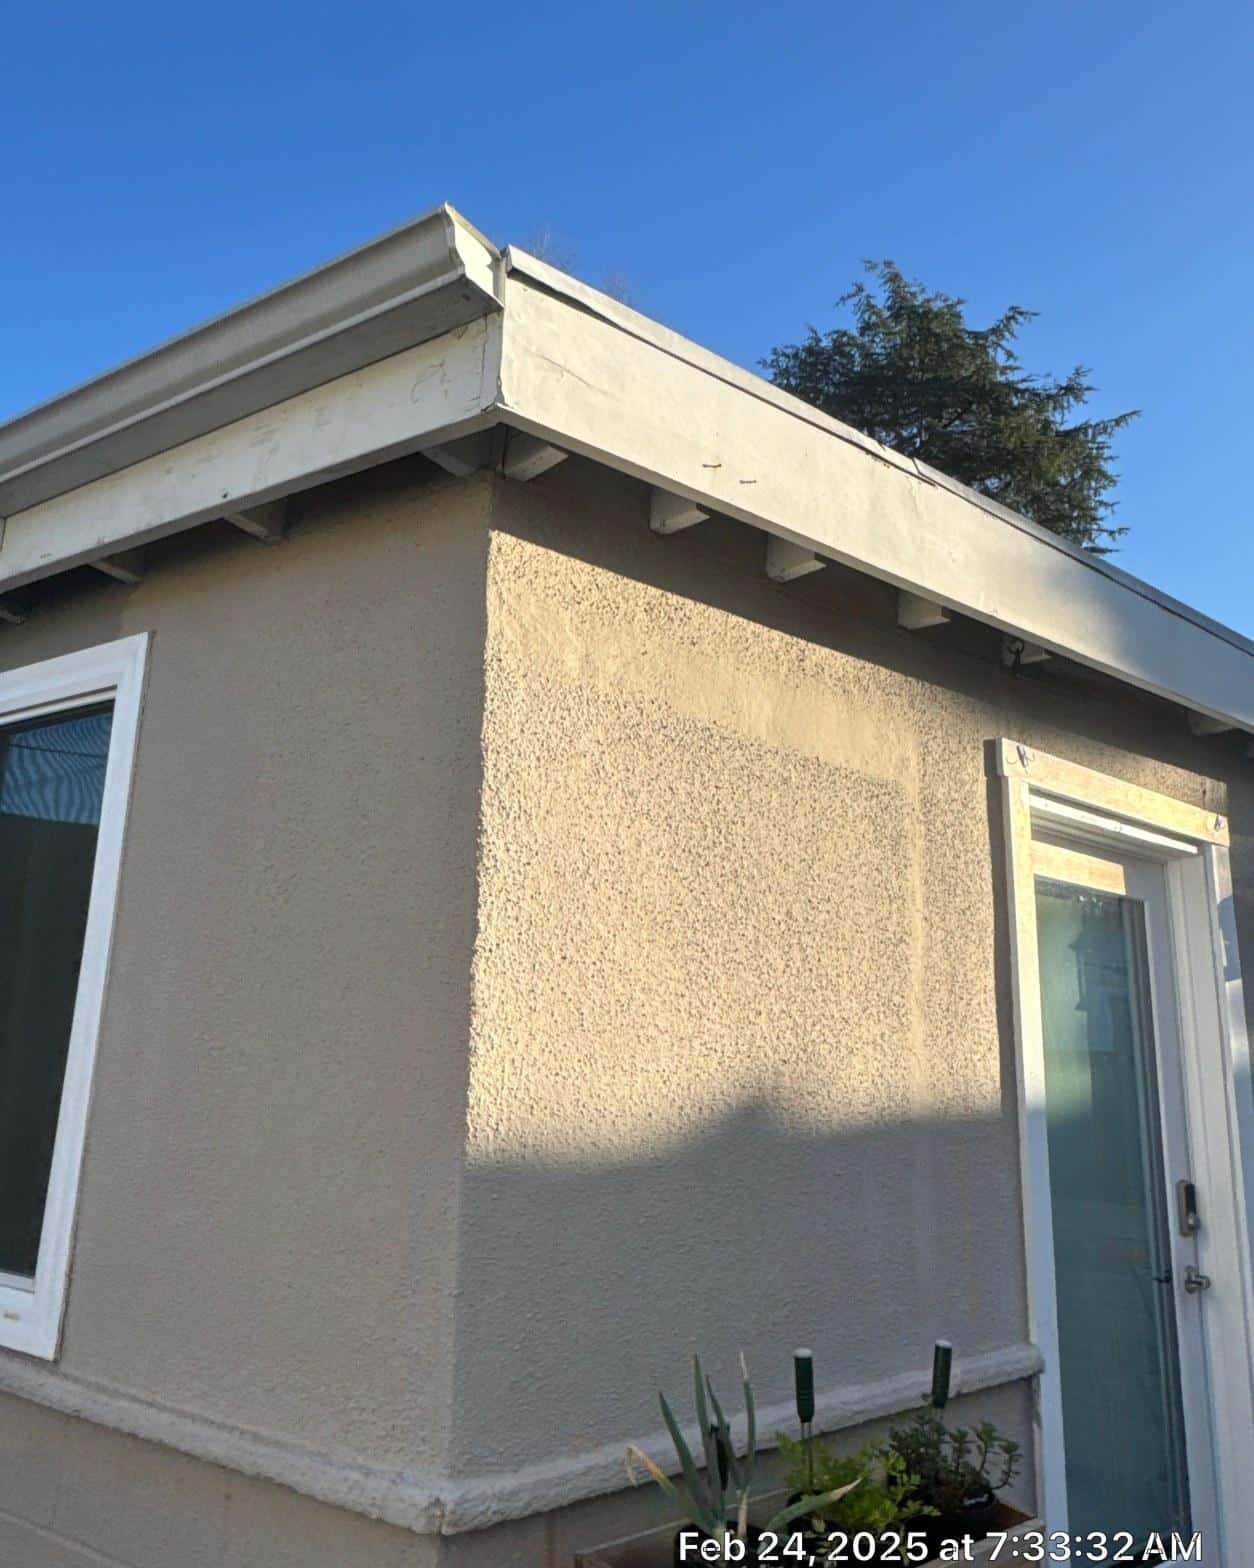
By February 28, 2025, the main pitched section, the lower roof plane, and the tile area were all complete, with clean ridge lines, properly seated pipe boots, and drip edge running the full perimeter. The gray composition shingles sit uniform across the field, and the attic ventilation stack visible near the center of the finished roof confirms that the new system breathes correctly. The lower flat-adjacent section received its own separate treatment, consistent with the multi-surface nature of this property.
Licensed by the California Contractors State License Board (CSLB), Roof Replacement Inc carries the credentials required to pull permits and complete code-compliant work on projects of this scope. For homeowners comparing bids on a full tear-off reroof, verifying a contractor’s CSLB license at cslb.ca.gov before signing anything is one of the most important steps in the process.
If your home has reached the 20 to 25-year mark on its current shingle roof, or if you’re seeing granule loss in the gutters and soft spots when you walk the deck, a tear-off inspection is the right starting point. Call Roof Replacement Inc to schedule a roof assessment and get a written scope of work before any decisions are made.


