

What Did This Project Involve?
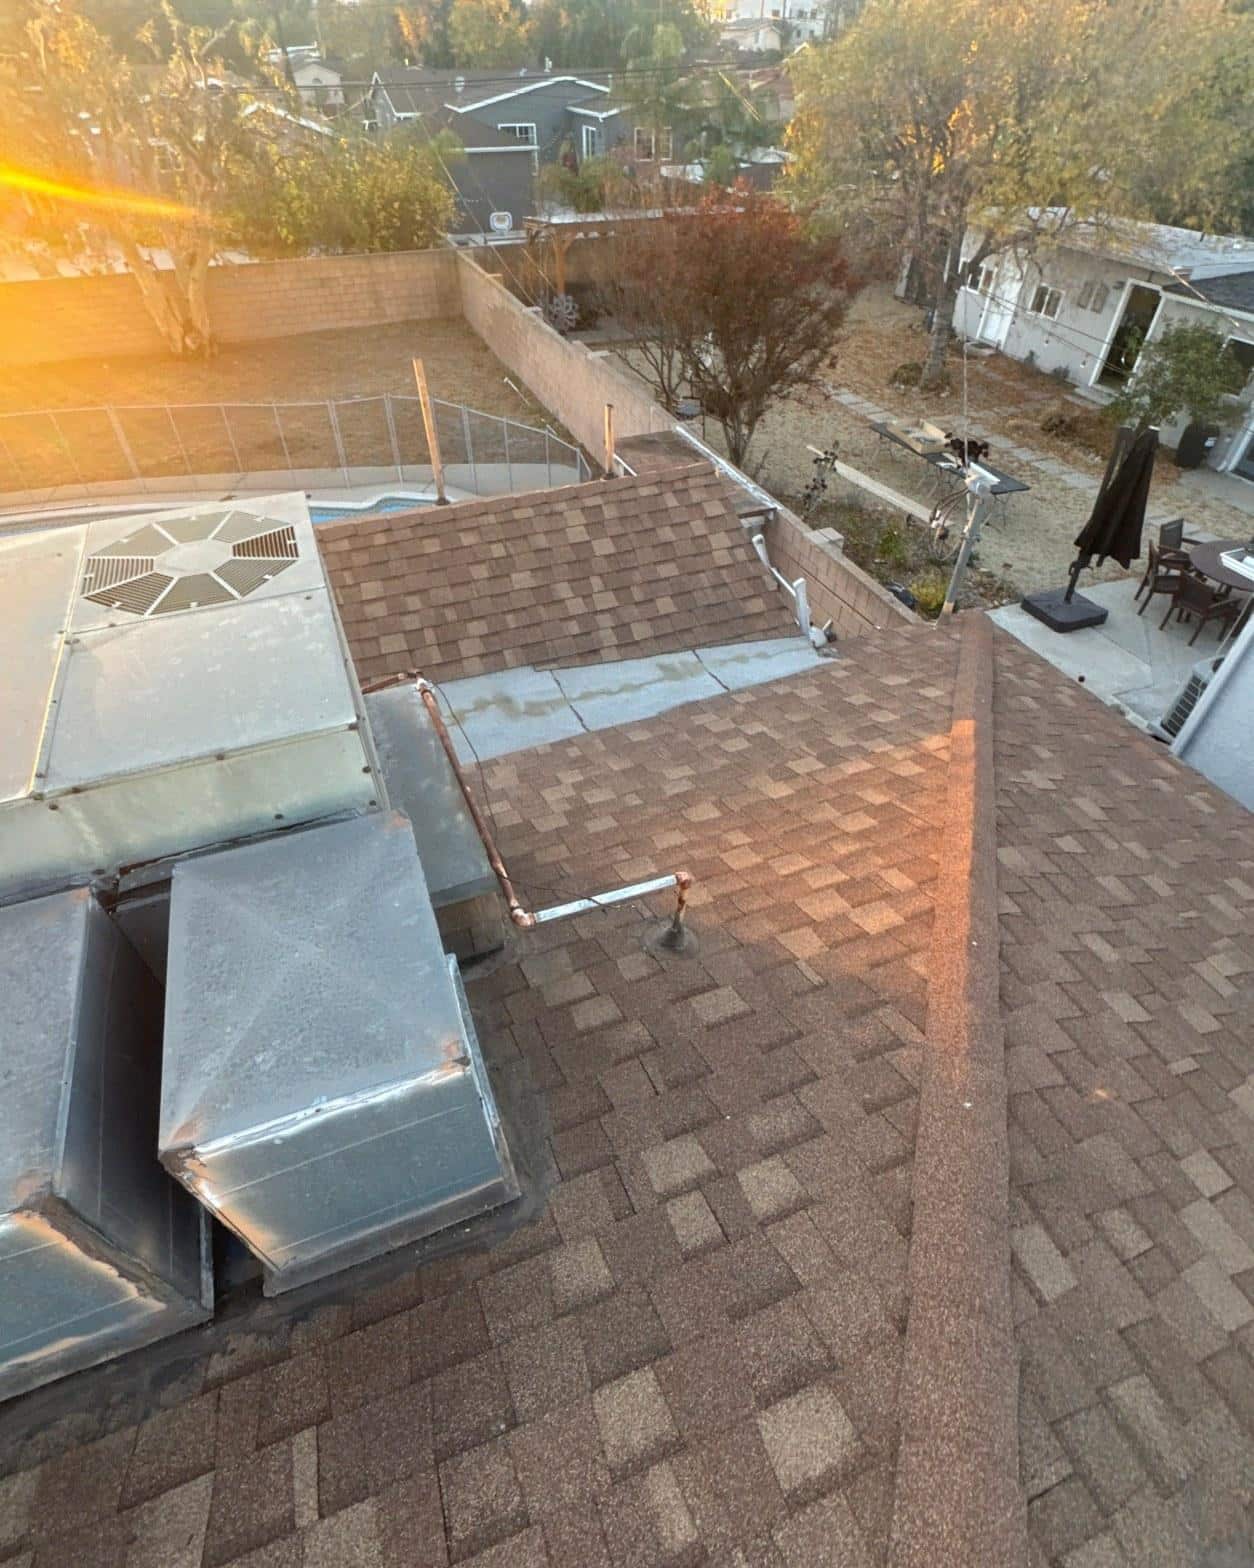
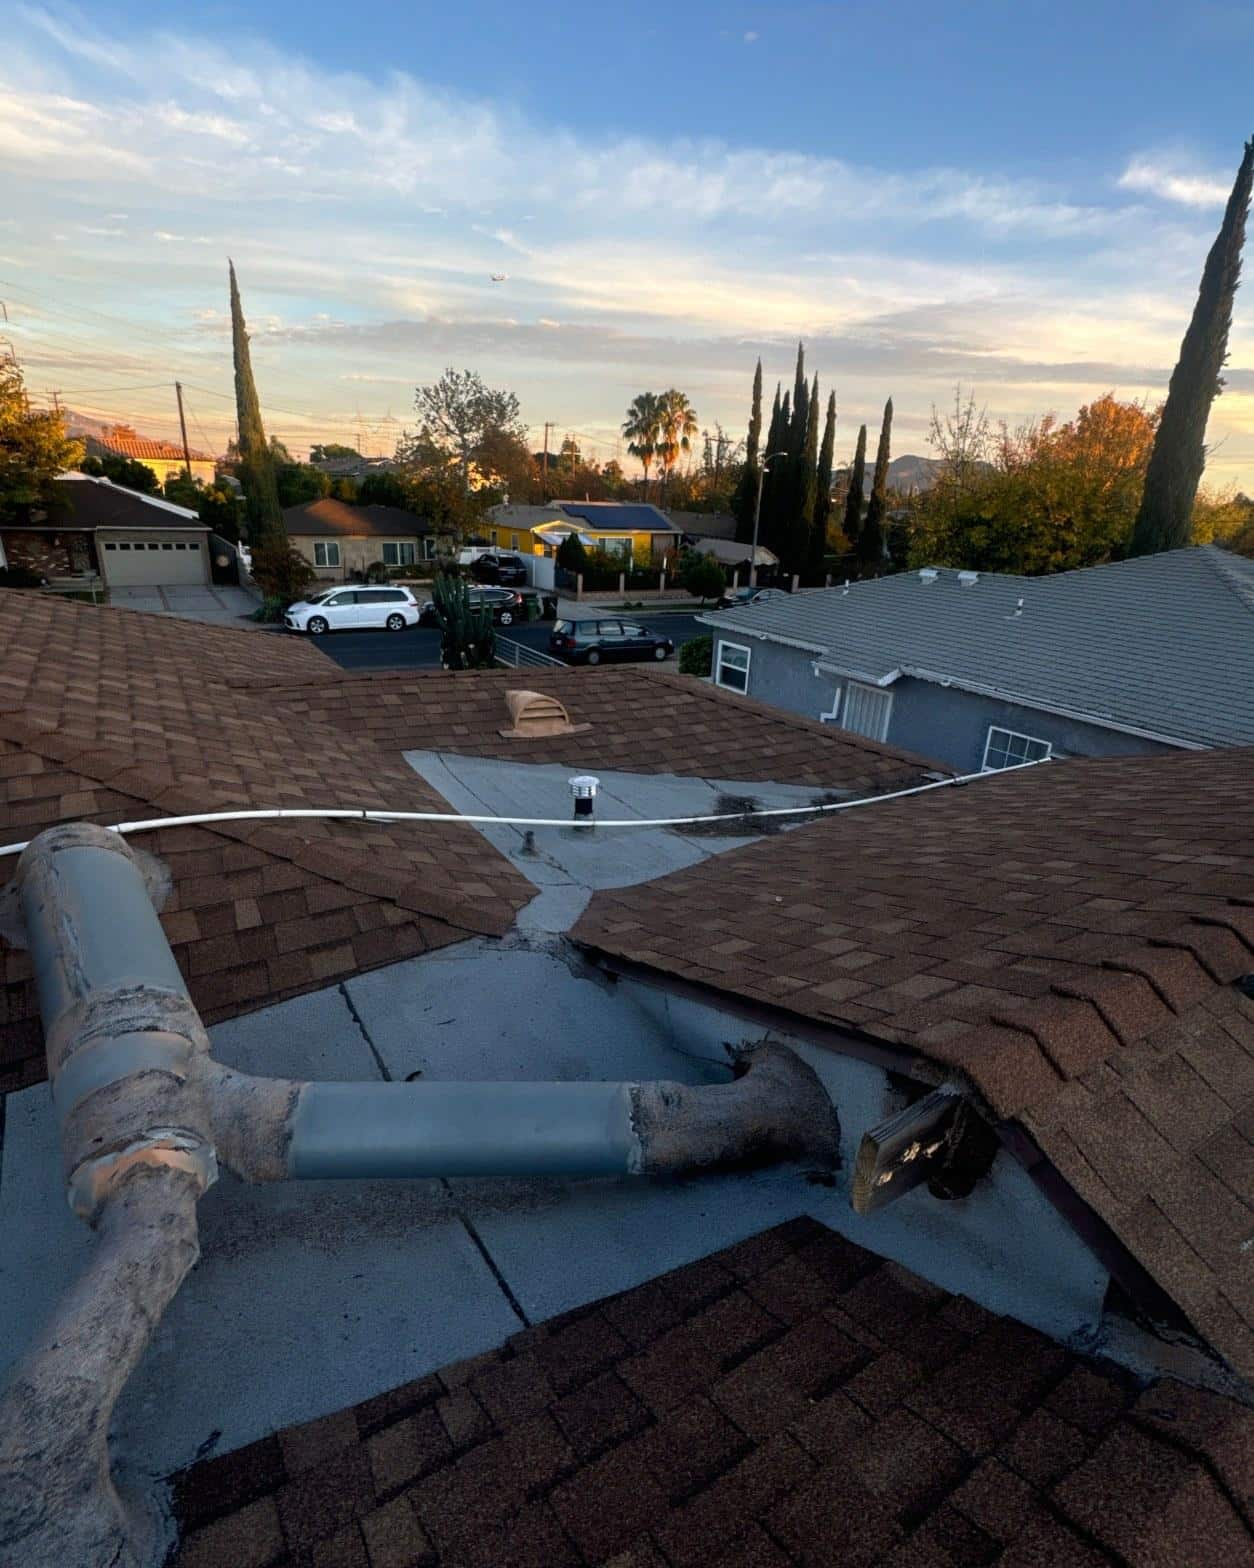
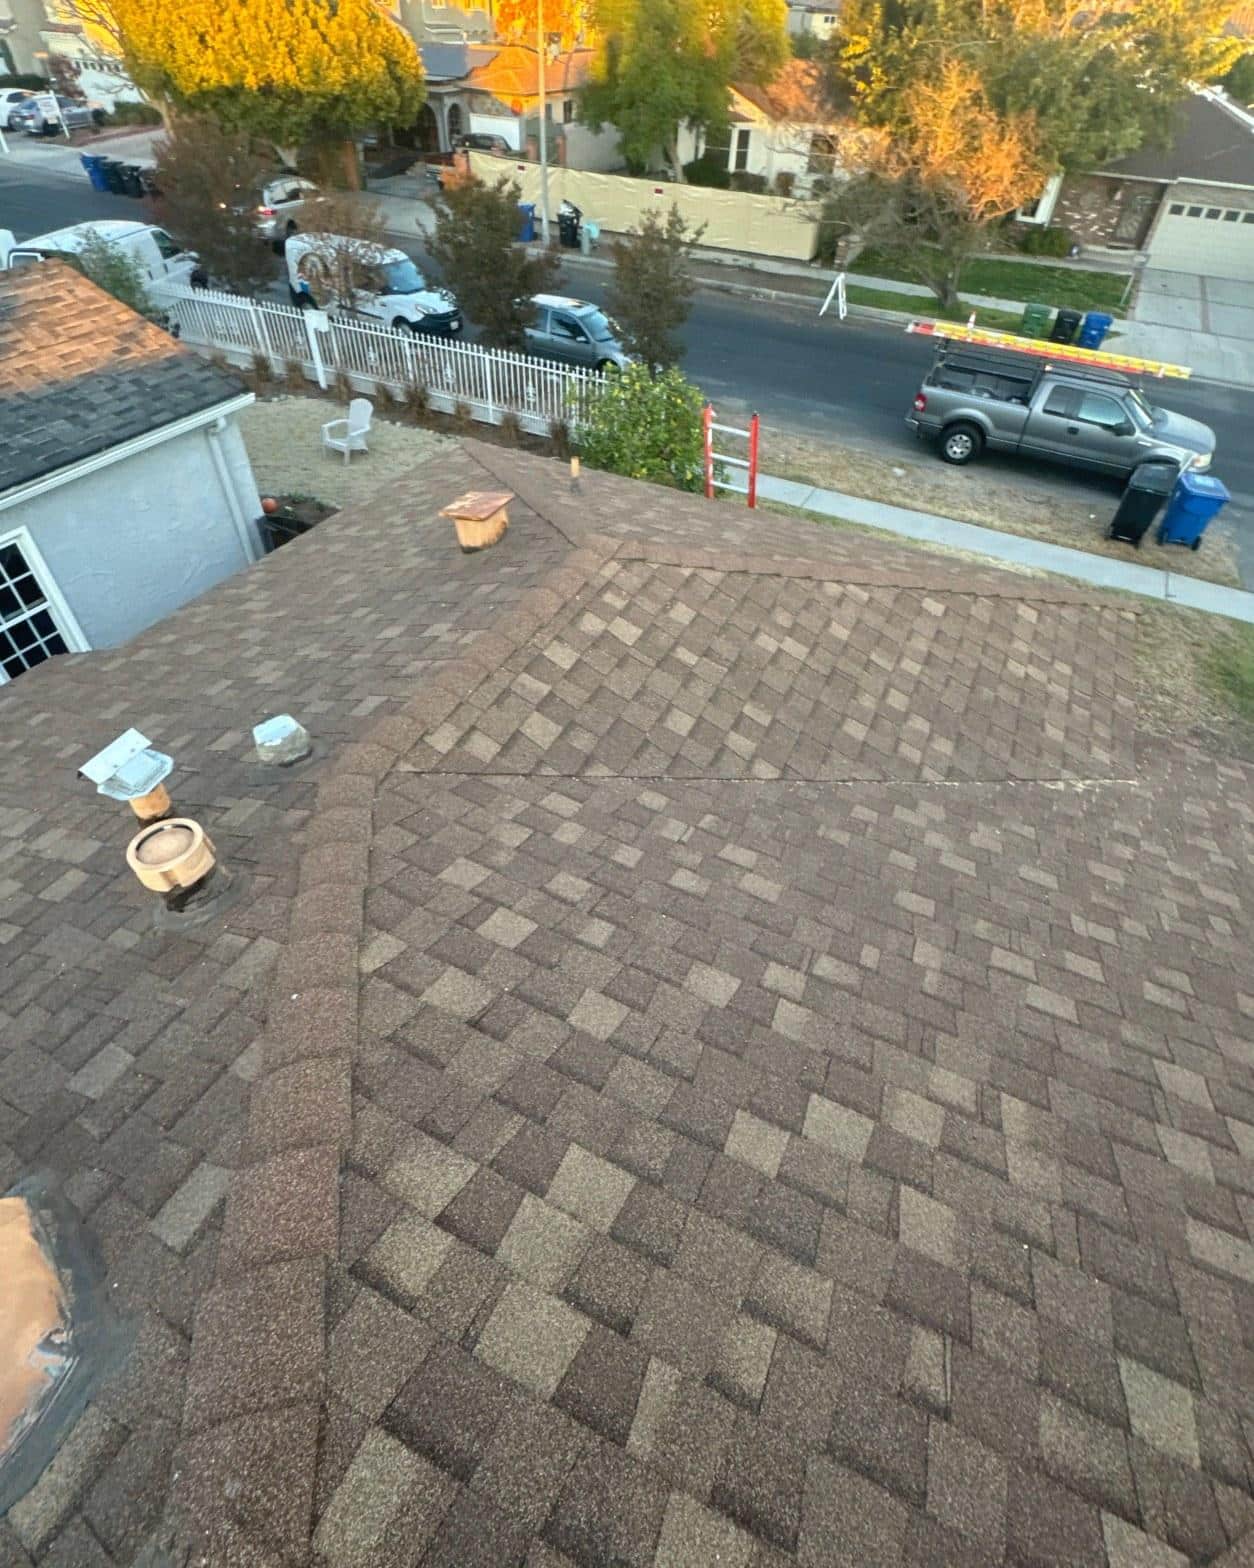
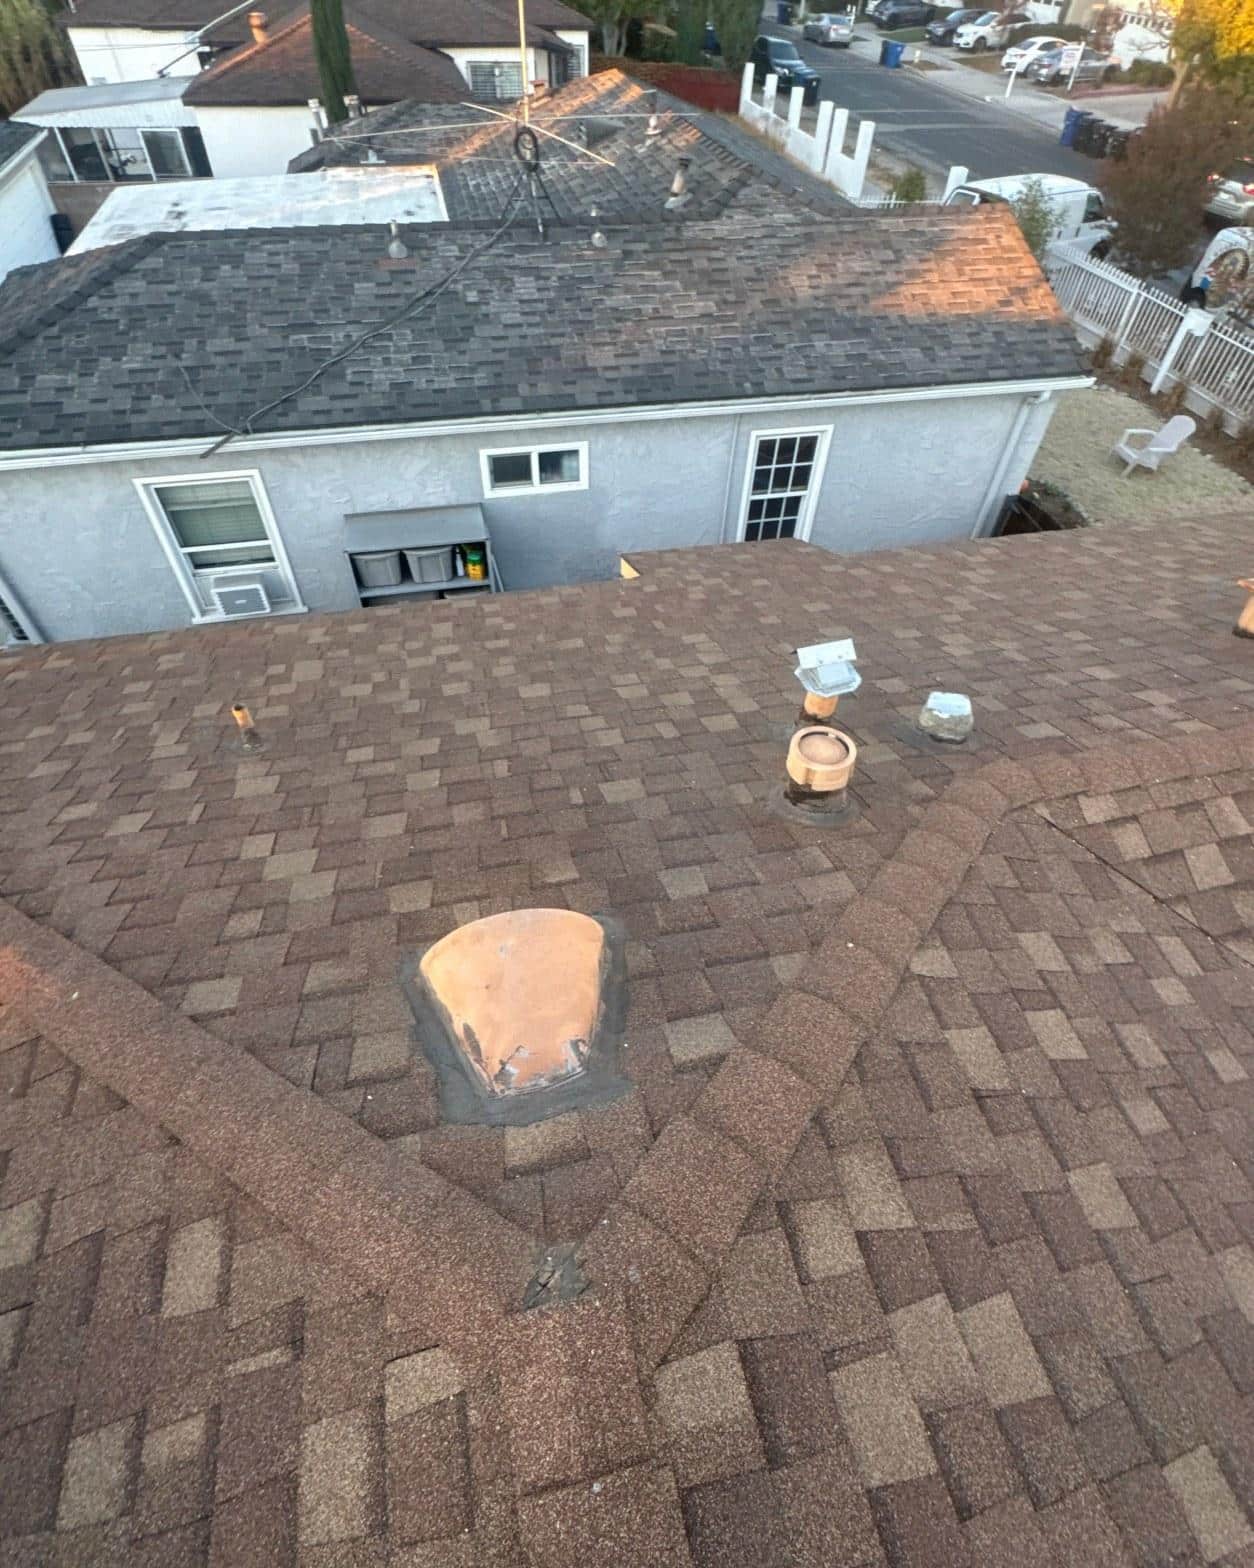
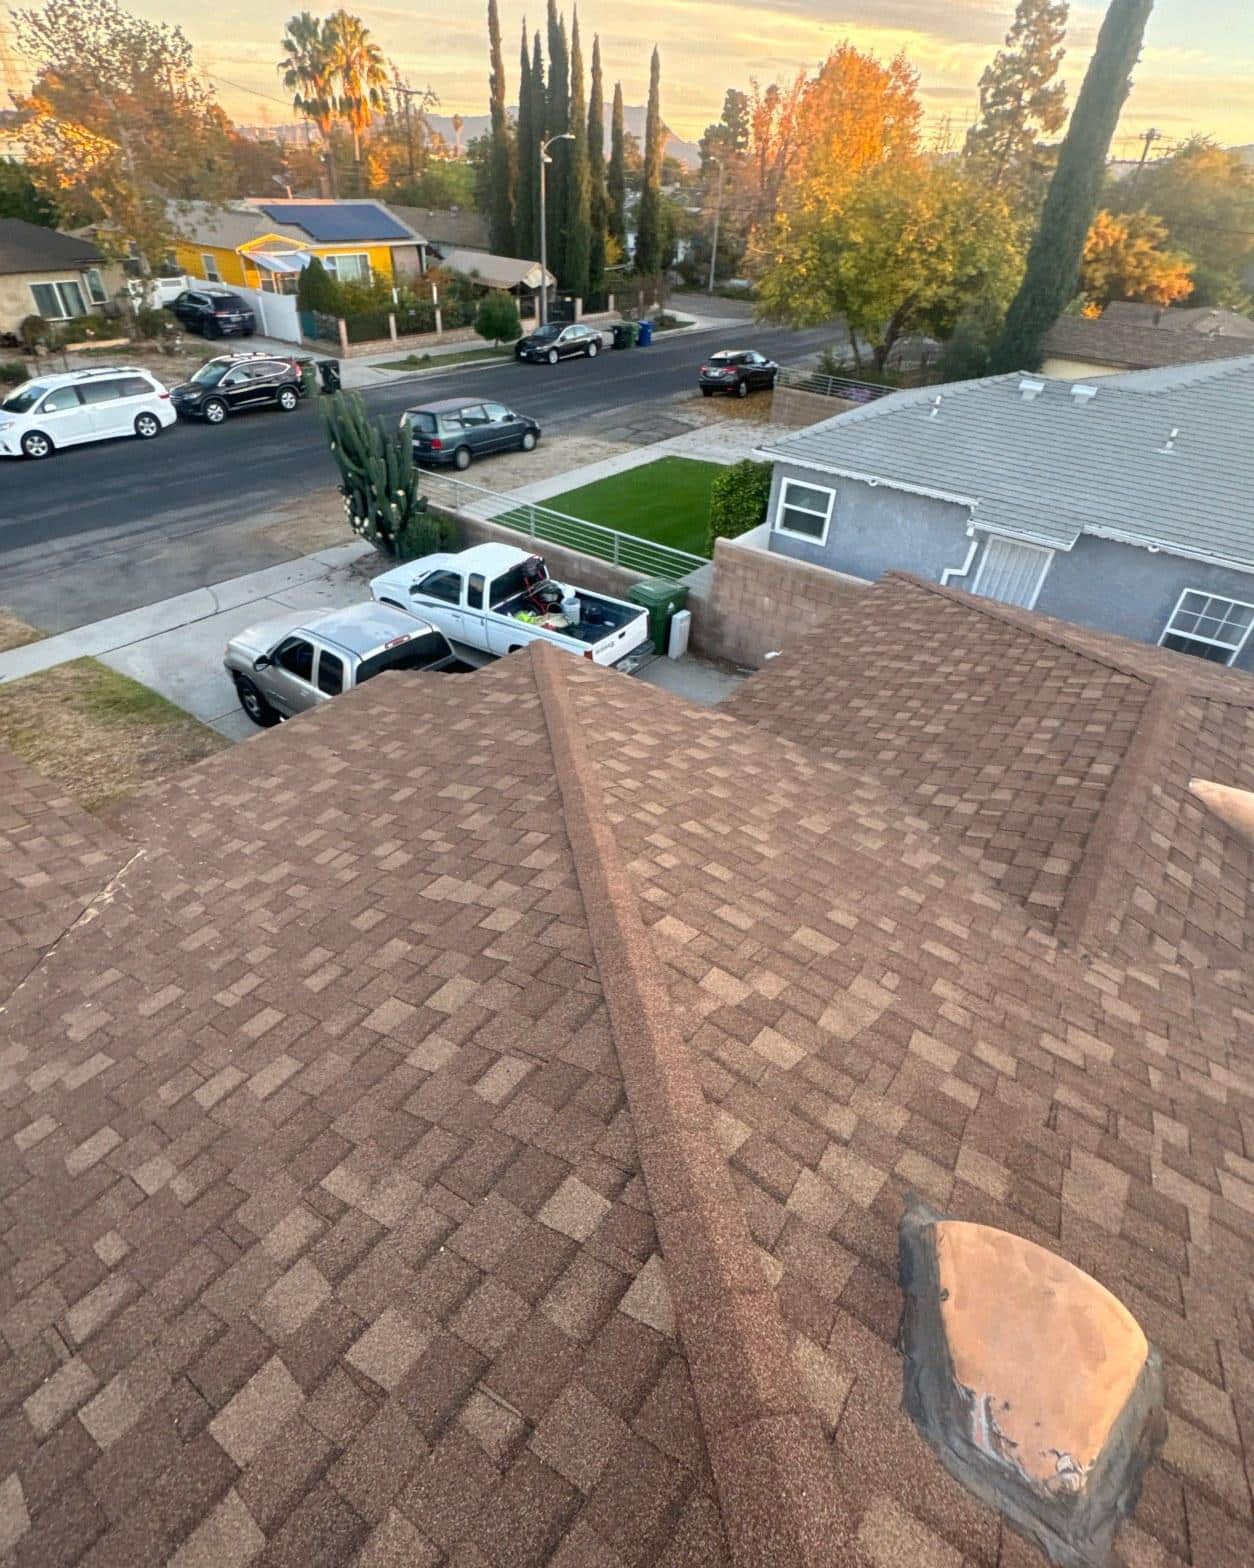
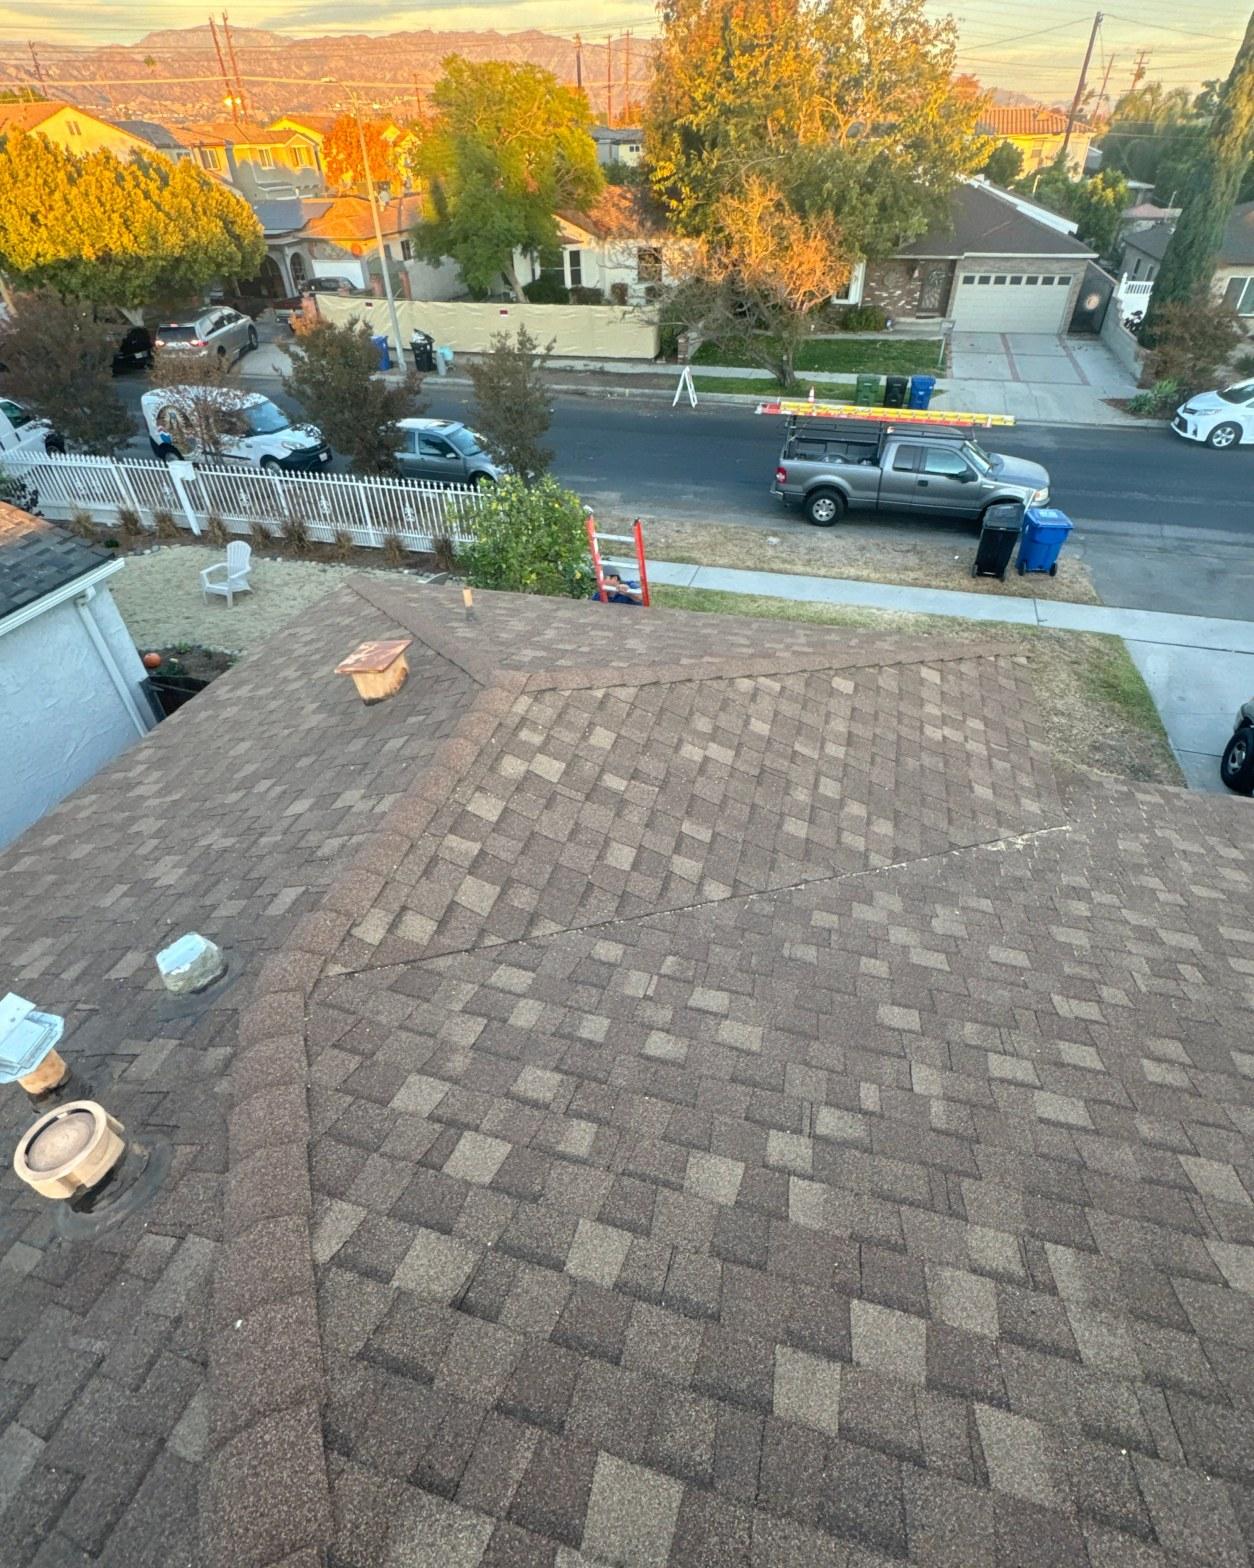
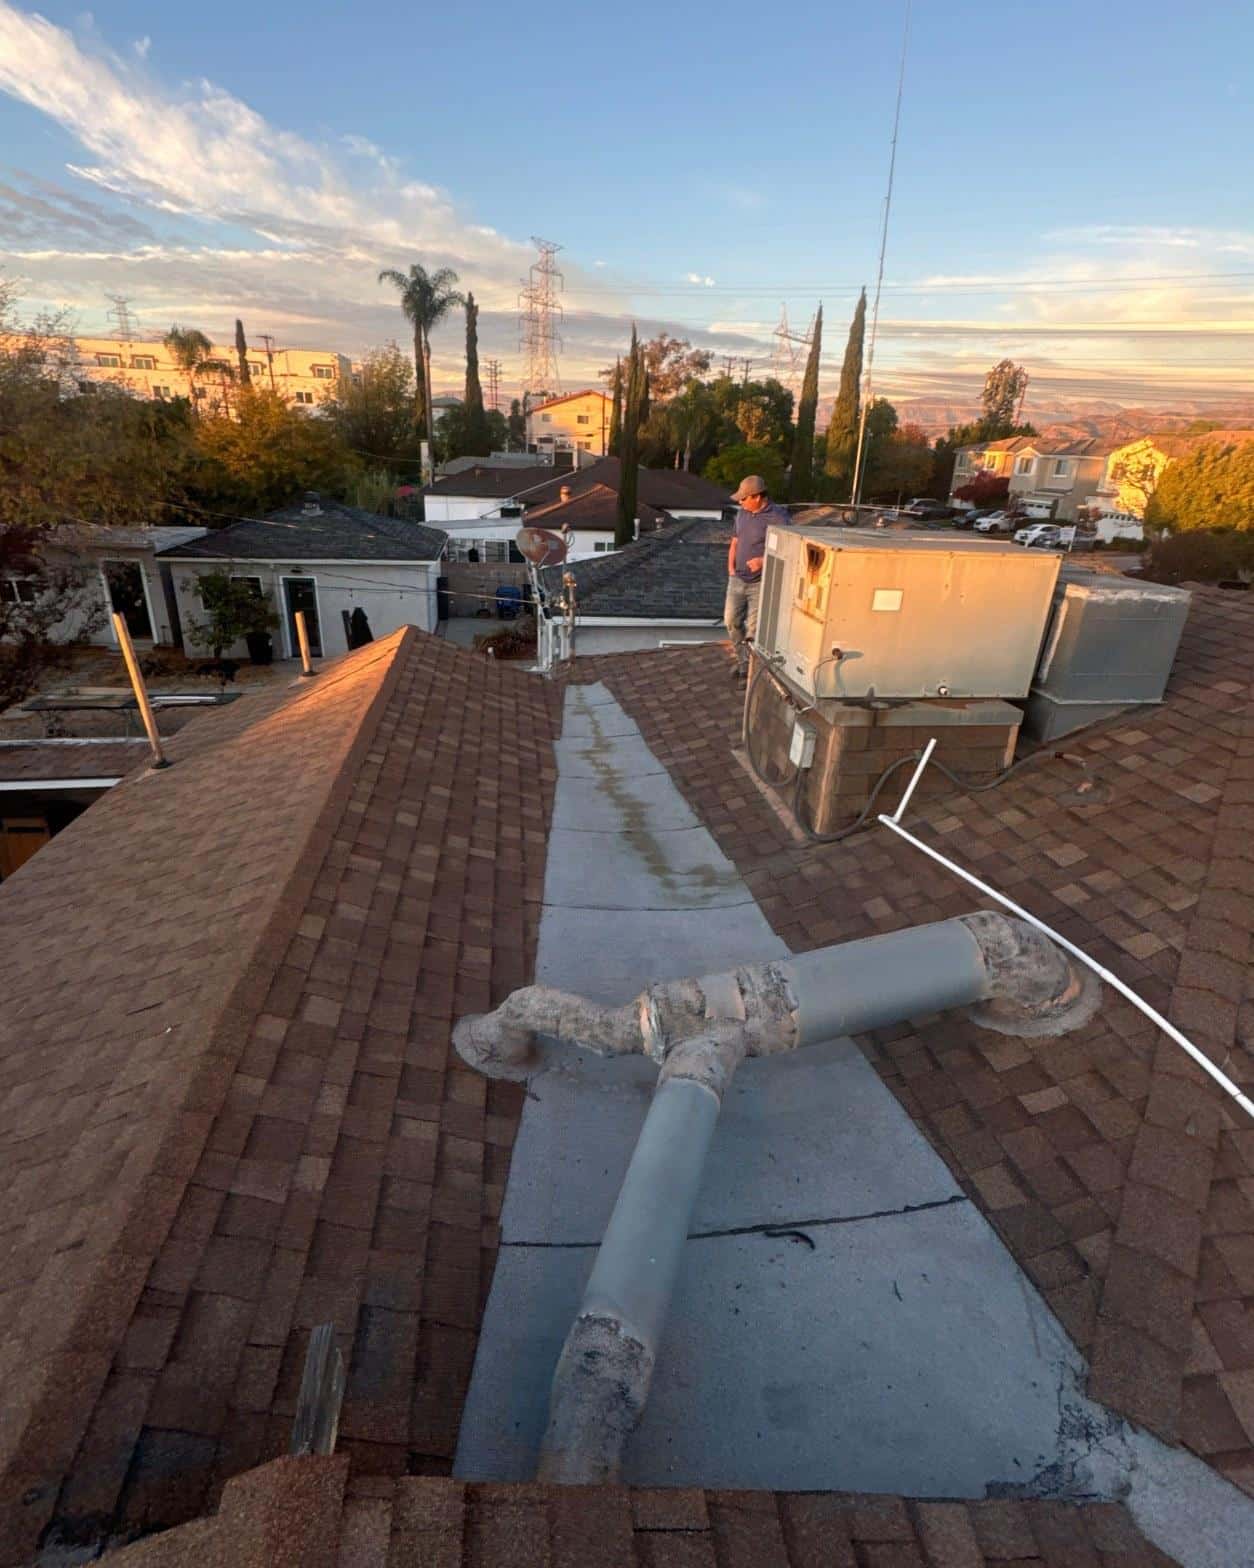
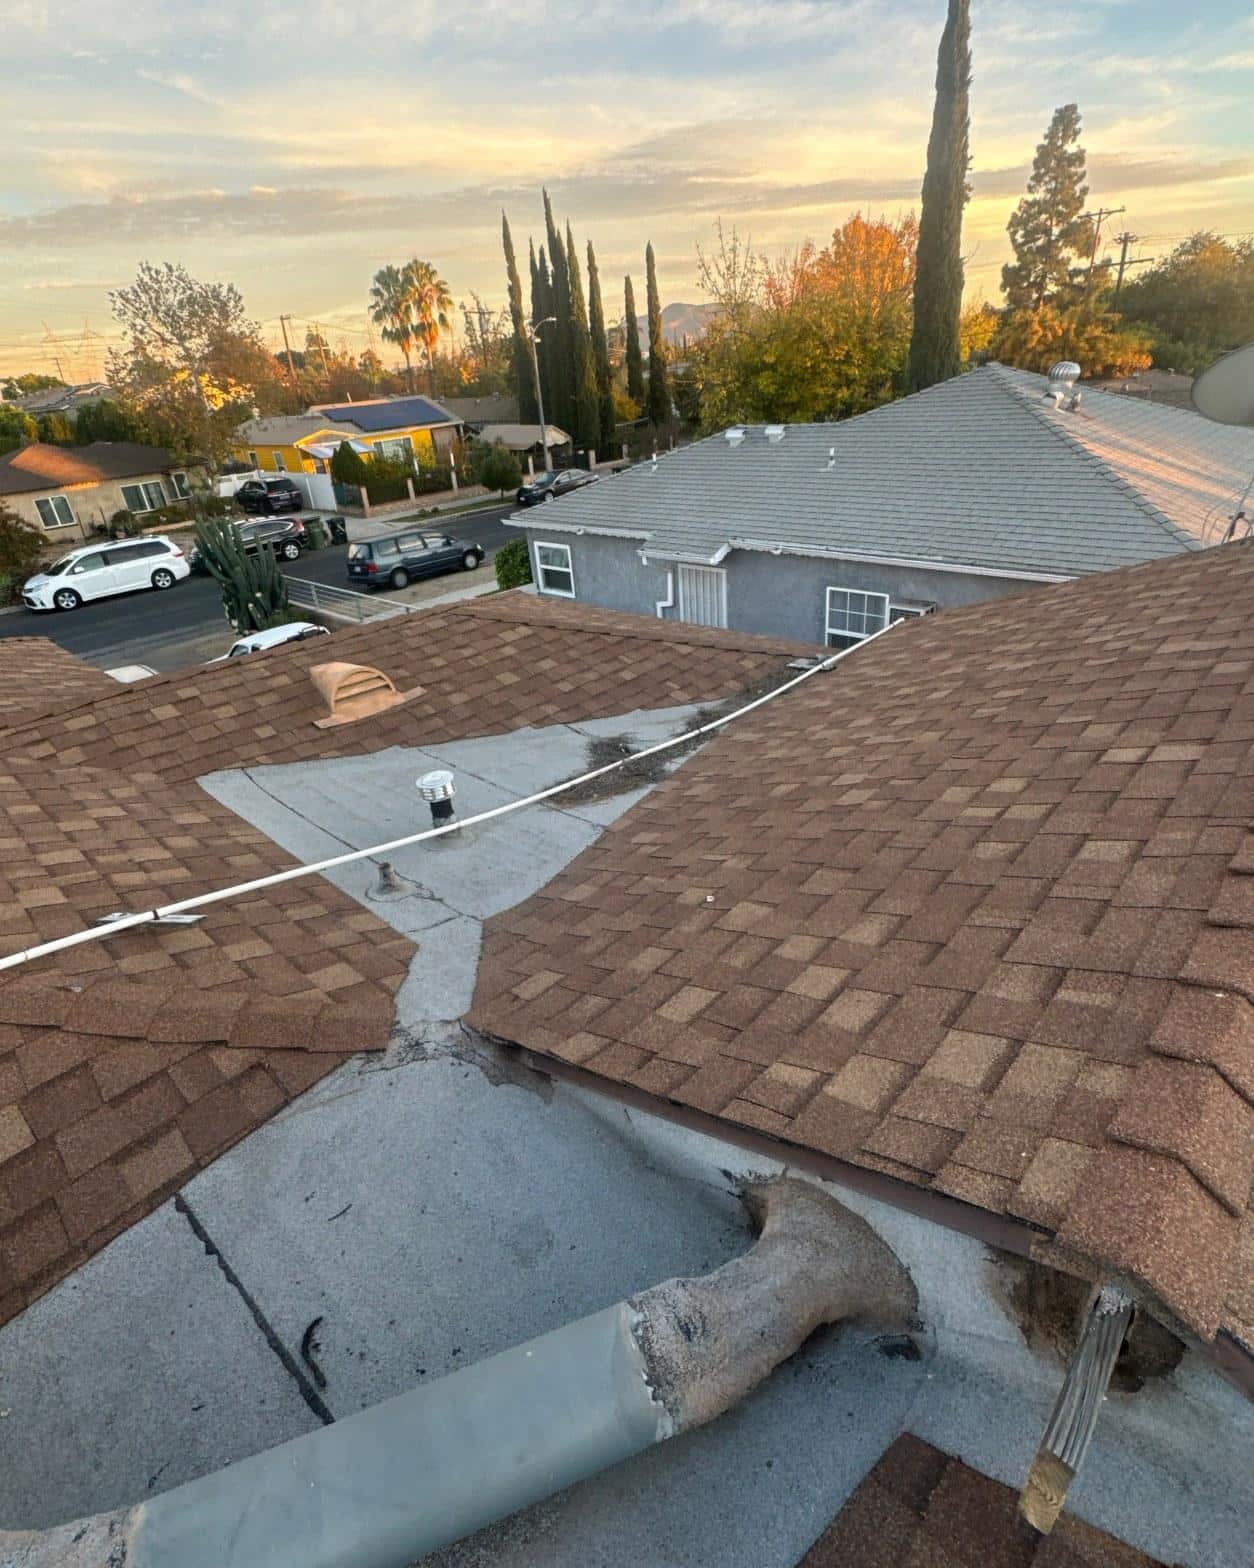
This job was a complete tear-off and reroof of a multi-section composition shingle roof on a single-family home in the San Fernando Valley. The homeowner’s goal was simple: stop active leaks at multiple penetration points and replace a shingle system that had aged well past its useful life. From the aerial view, you can count at least 5 separate roof planes meeting at interior valleys, each one a potential water-entry point if the underlying flashings had failed, and several had.
Before a single shingle went down, we spent time on the roof cataloging every penetration: pipe boots serving plumbing vents, an HVAC curb with open seams, and a chimney flue collar that was visibly compromised. Skipping that diagnostic step and just laying new shingles over failed flashings is the single most common cause of callbacks in residential reroofing work.
Project Gallery
What Was Wrong with the Chimney Flue Collar?
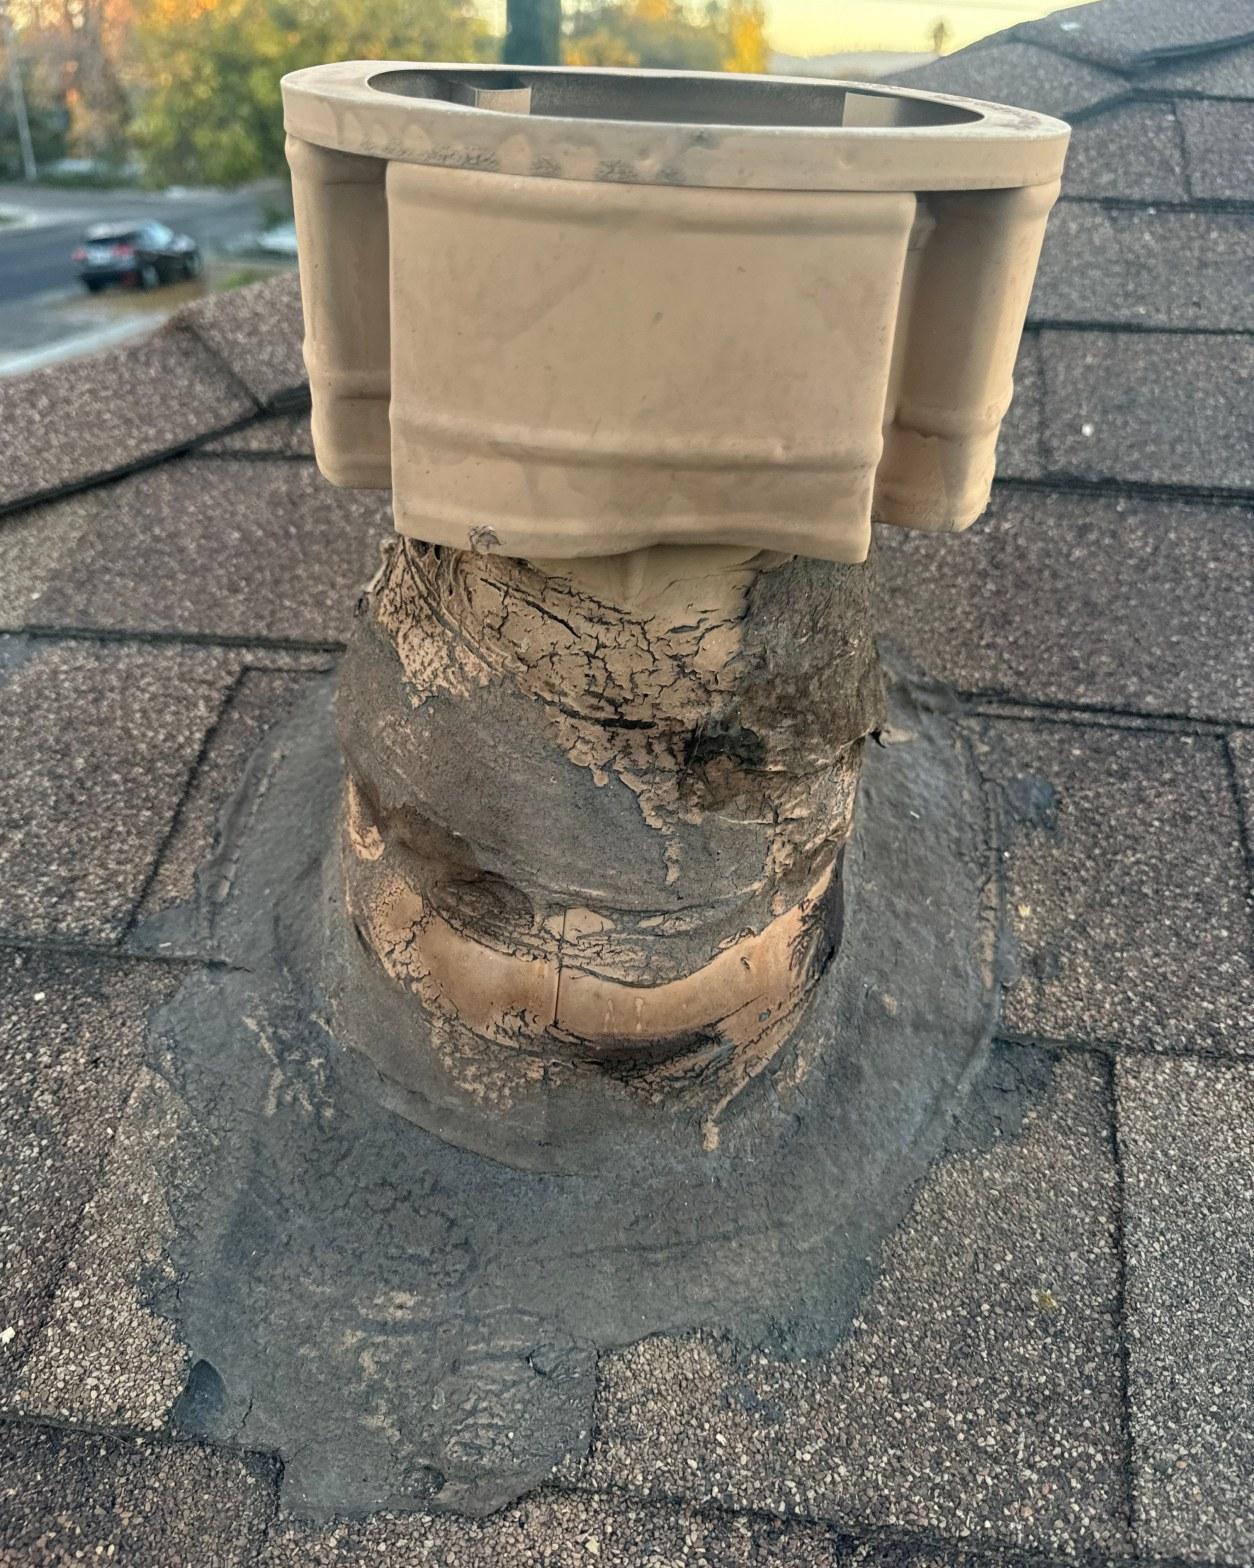
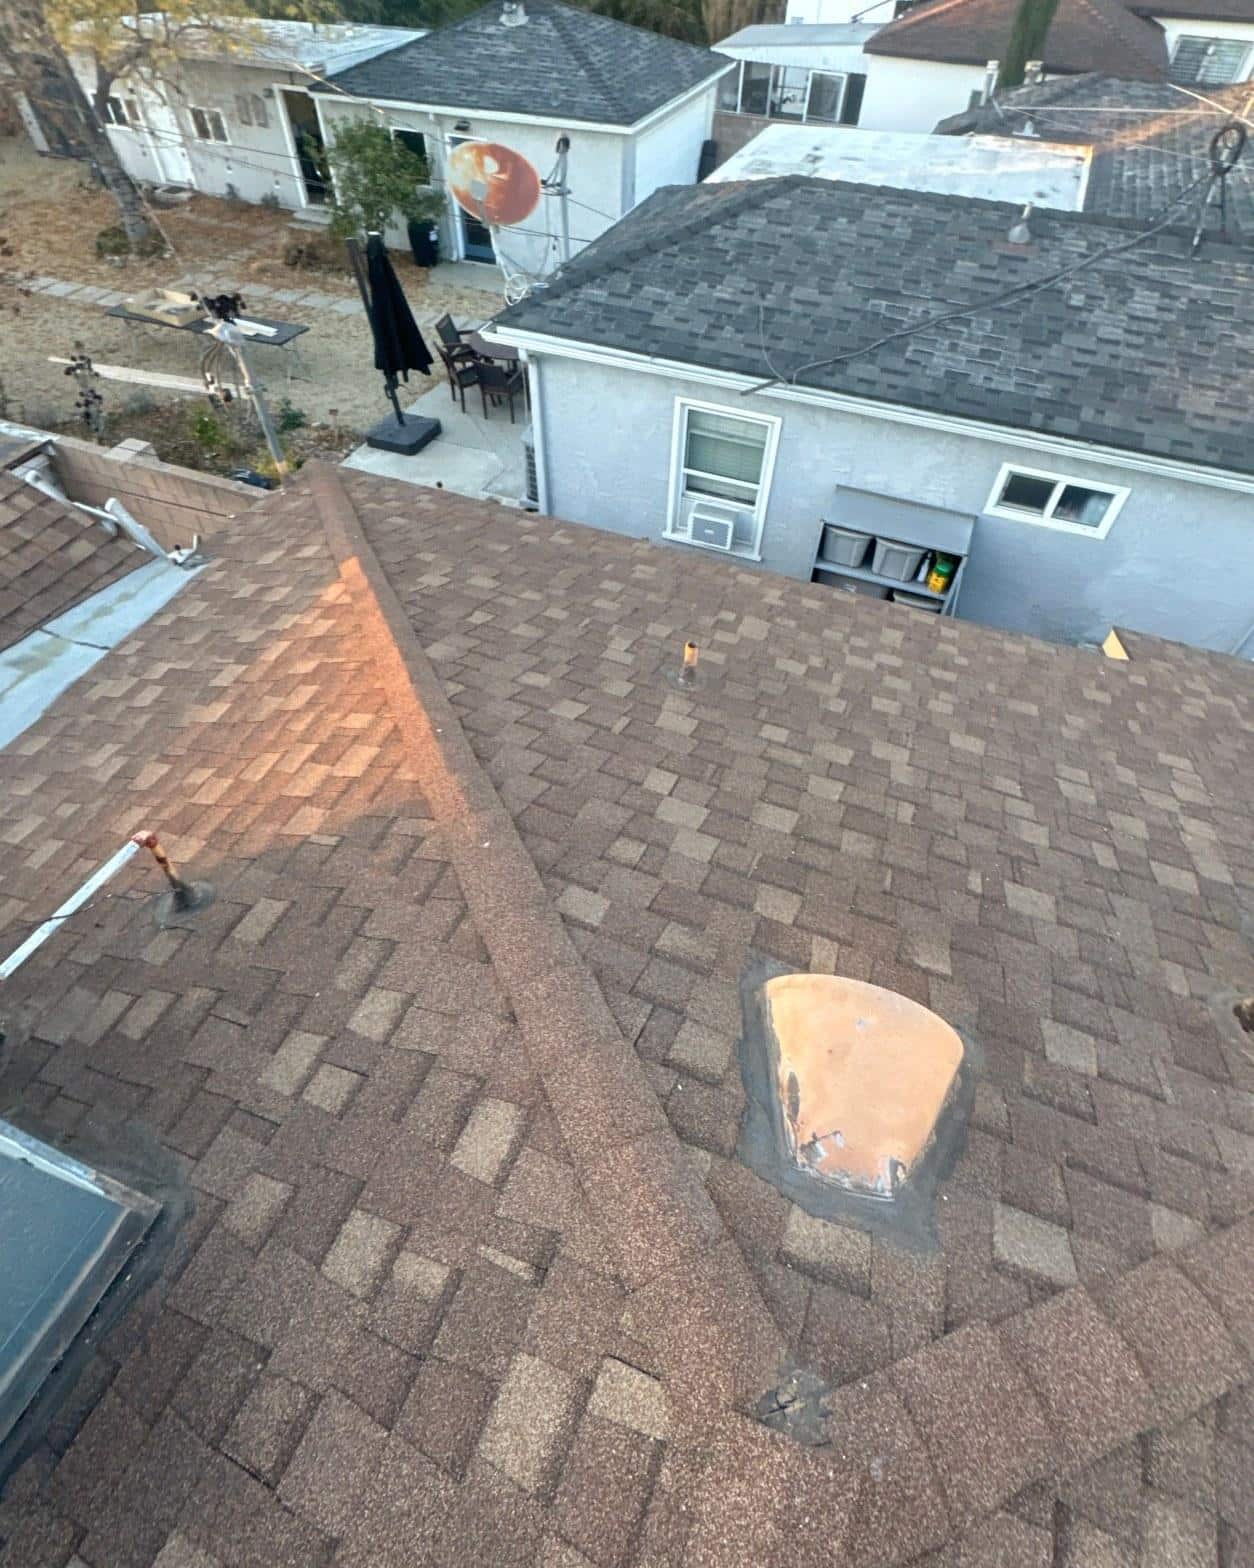
The chimney flue collar had failed completely. The elastomeric coating around the base had cracked into dozens of separate sections, the lead or aluminum base flashing had lifted away from the shingles, and the collar itself sat loose on the tile flue liner with no remaining watertight bond. In the photo above, you can see the coating peeling back in thick, curling sheets, a condition that typically develops after 15 to 20 years of UV exposure and thermal cycling in Southern California’s climate, where surface temperatures on a dark roof regularly exceed 150°F on summer afternoons.
The fix here was not a patch. Applying sealant over a base that cracked this severely would have lasted one rainy season at best. Instead, the collar assembly was removed, the flue liner was cleaned and inspected, and a new collar was seated and properly integrated into the surrounding shingle courses during the reroof.
How Did the HVAC Curb Flashing Fail?
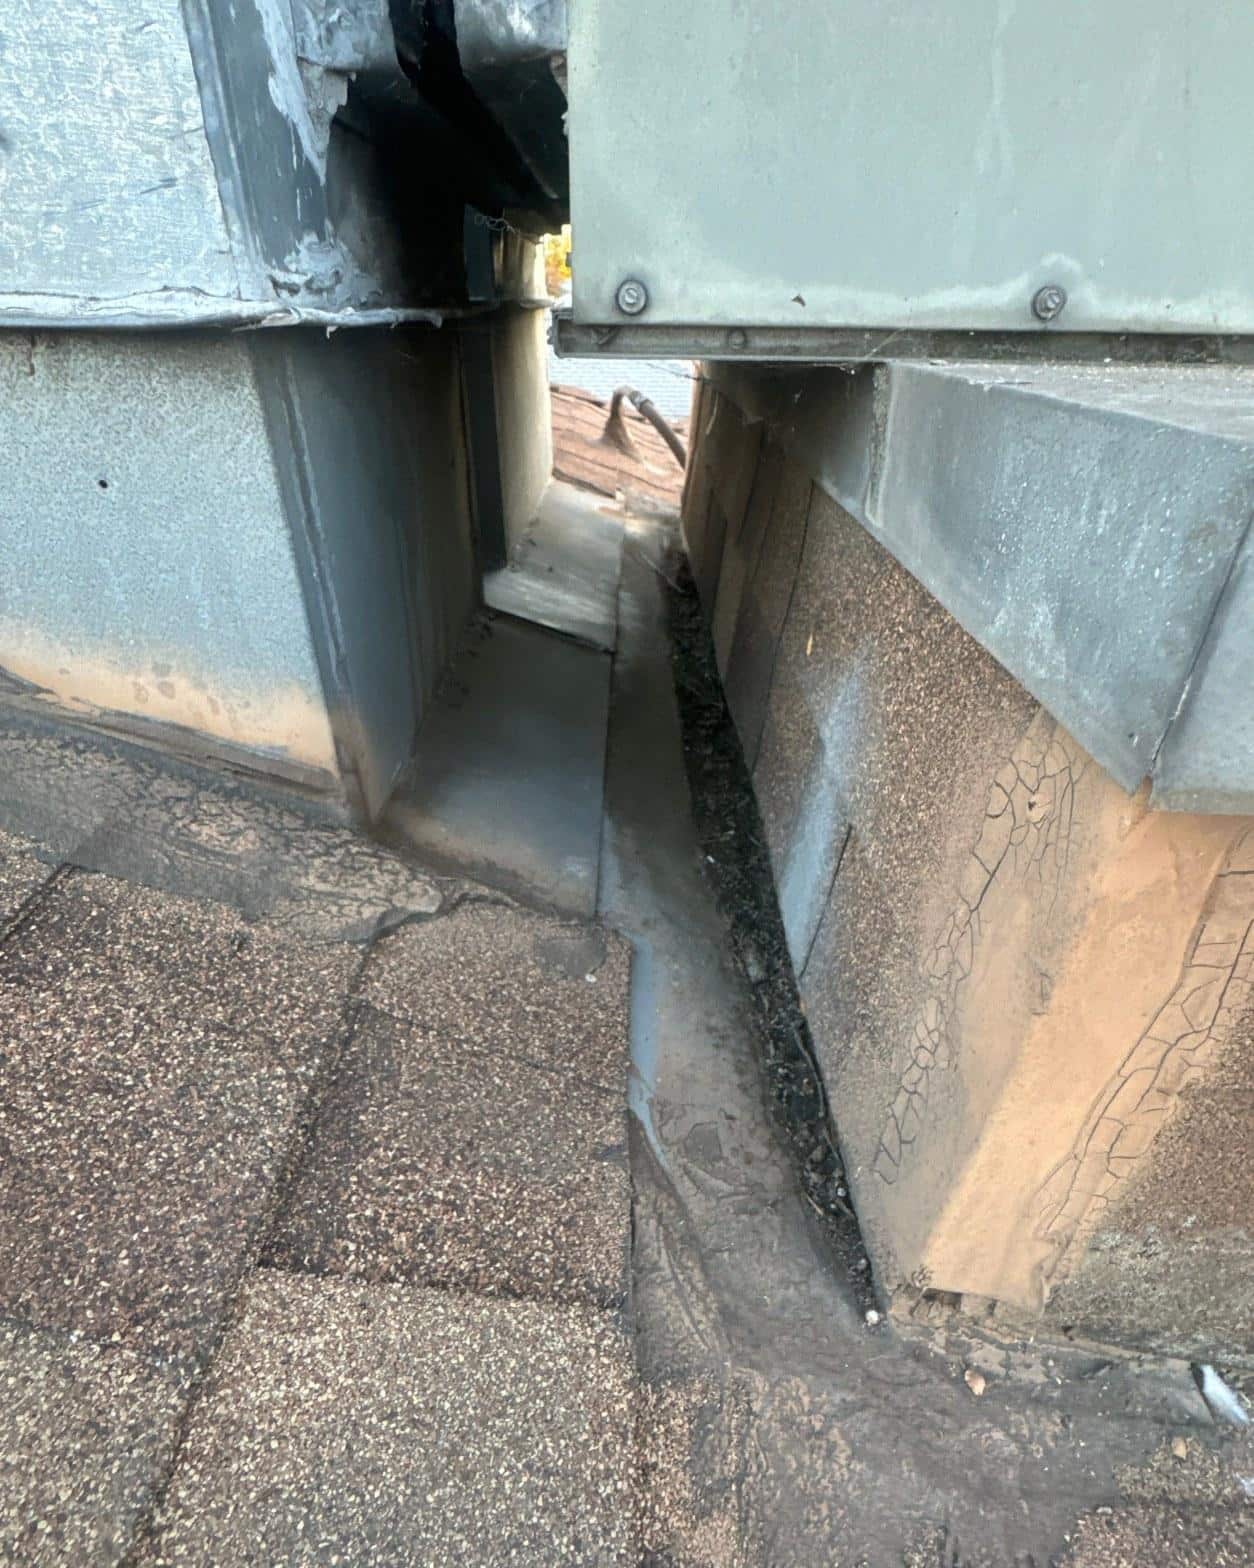
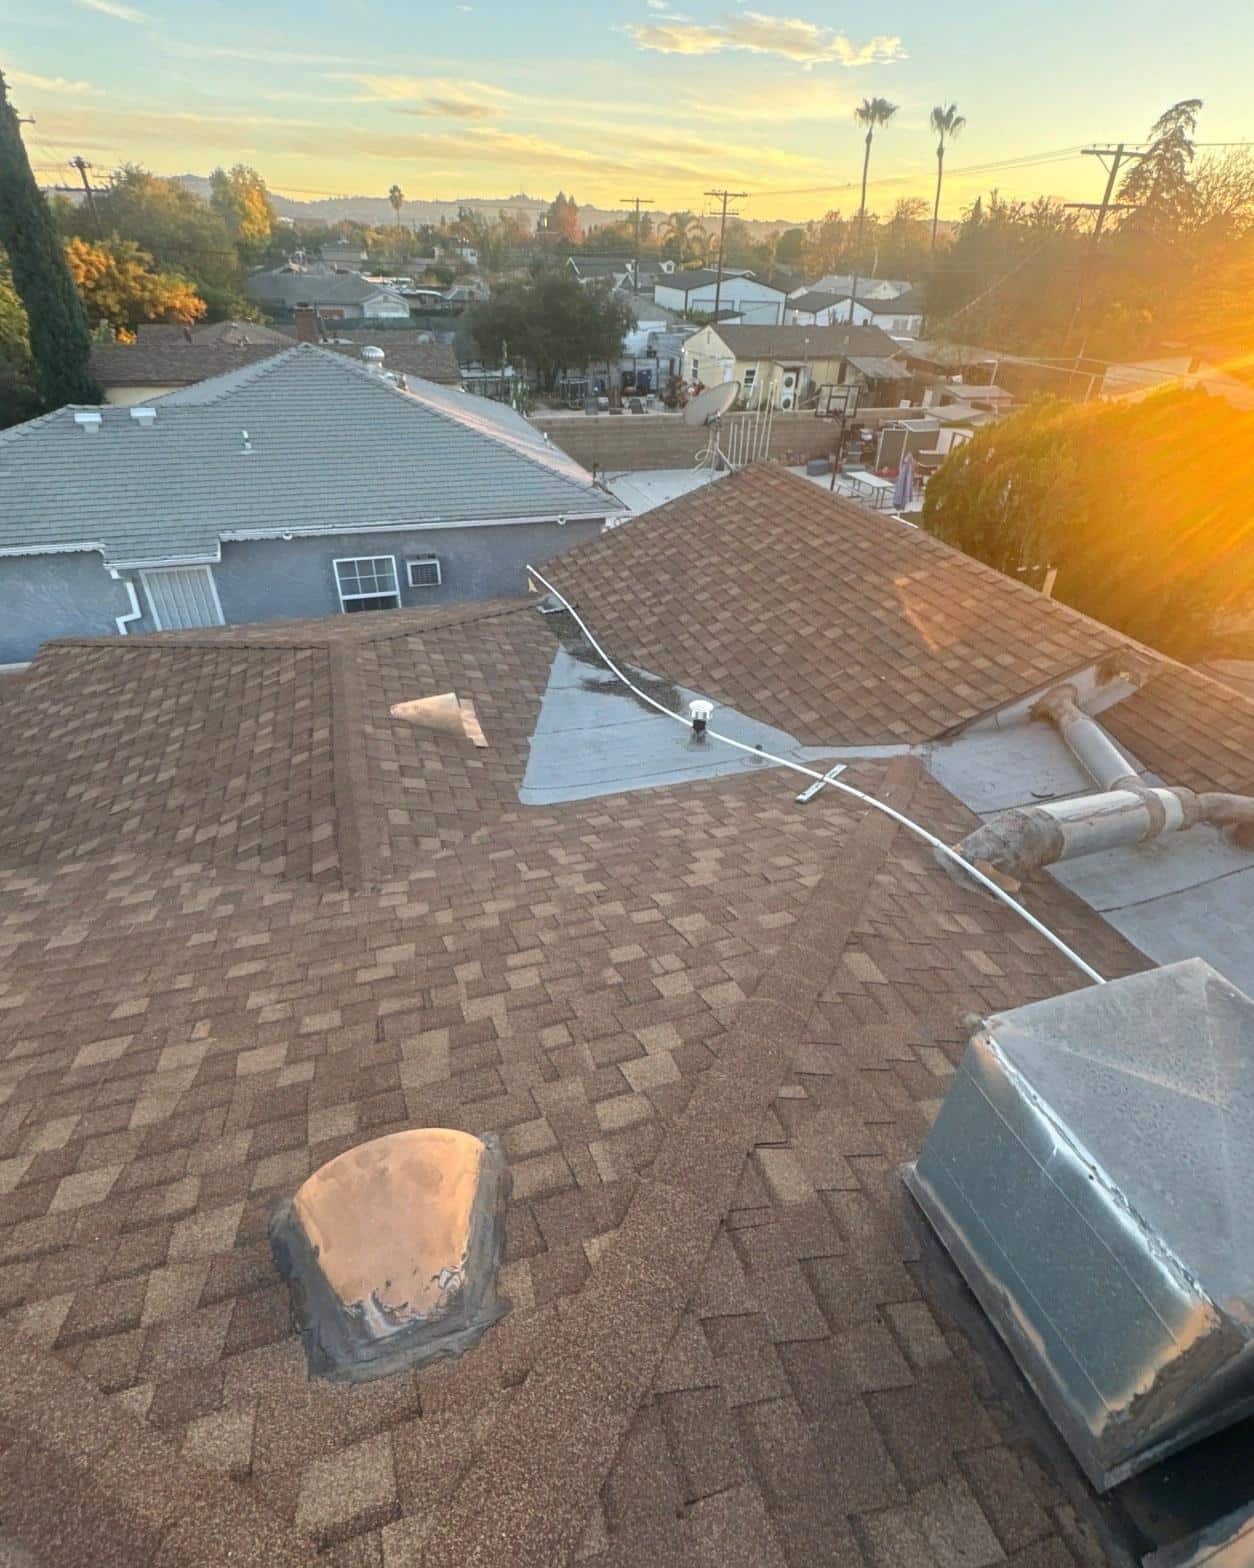
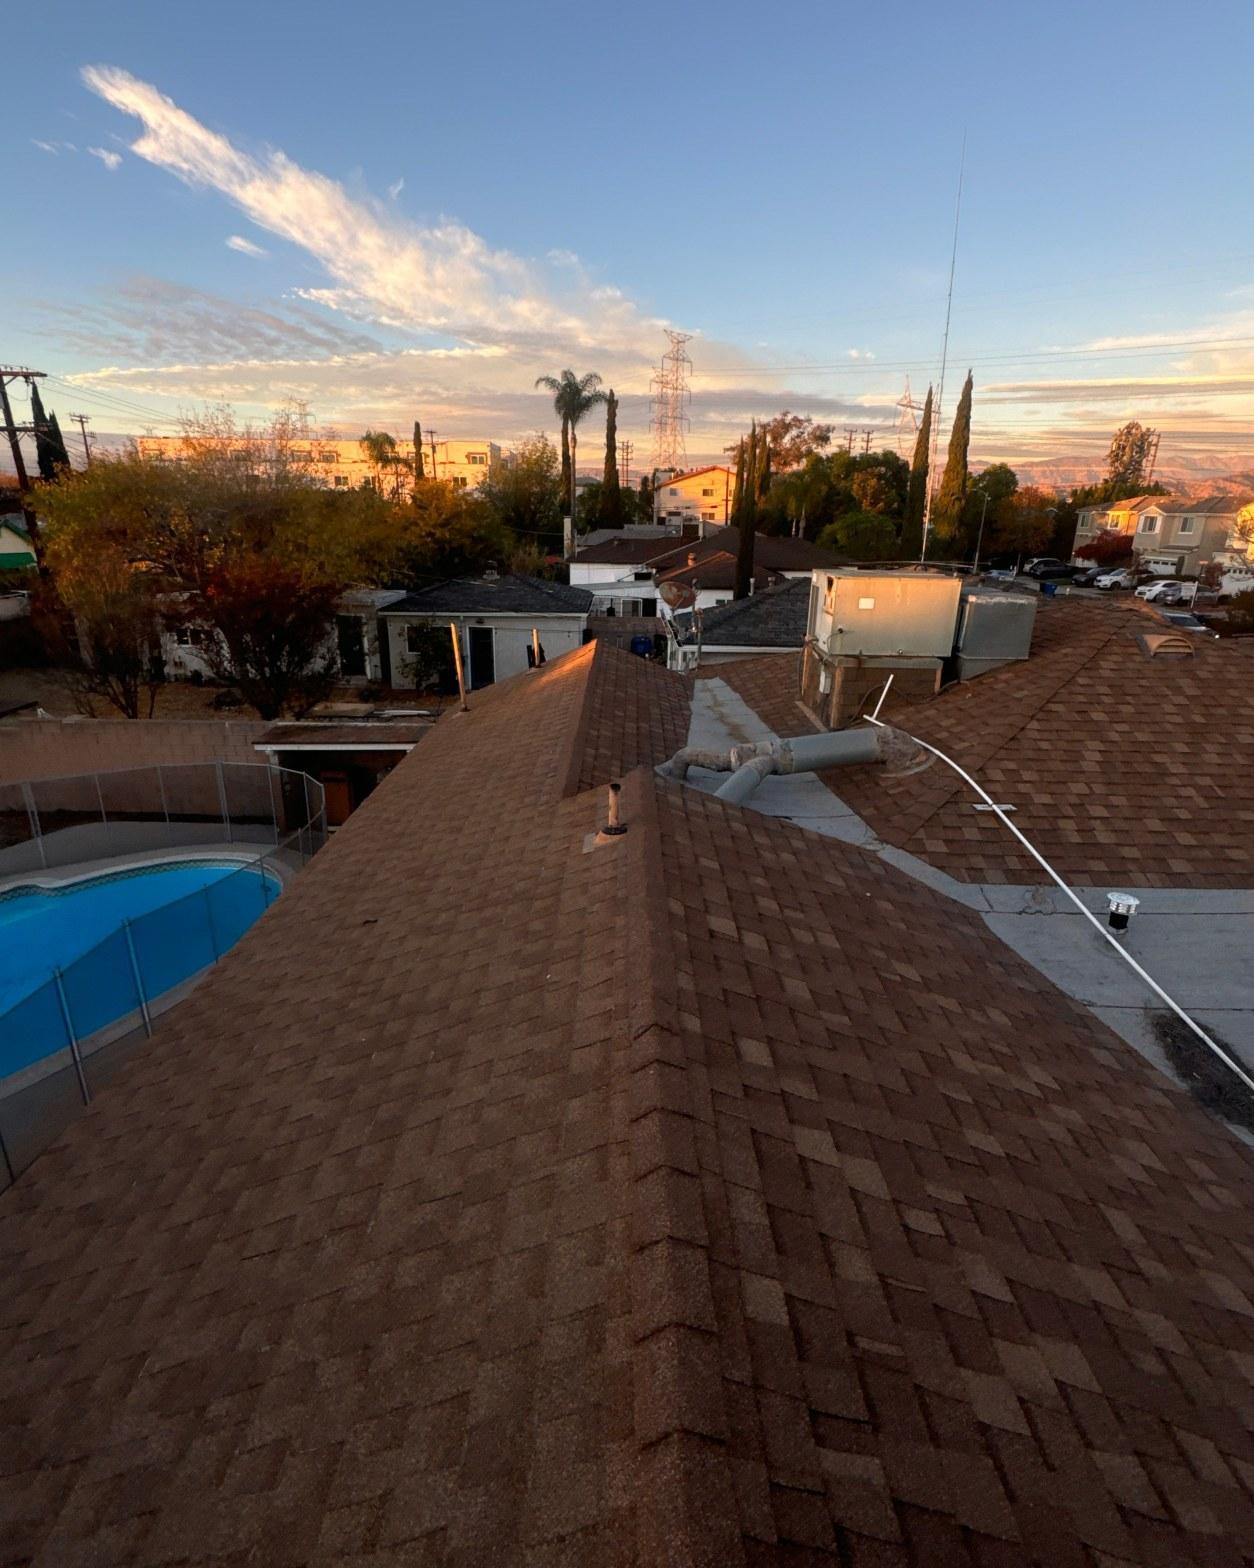
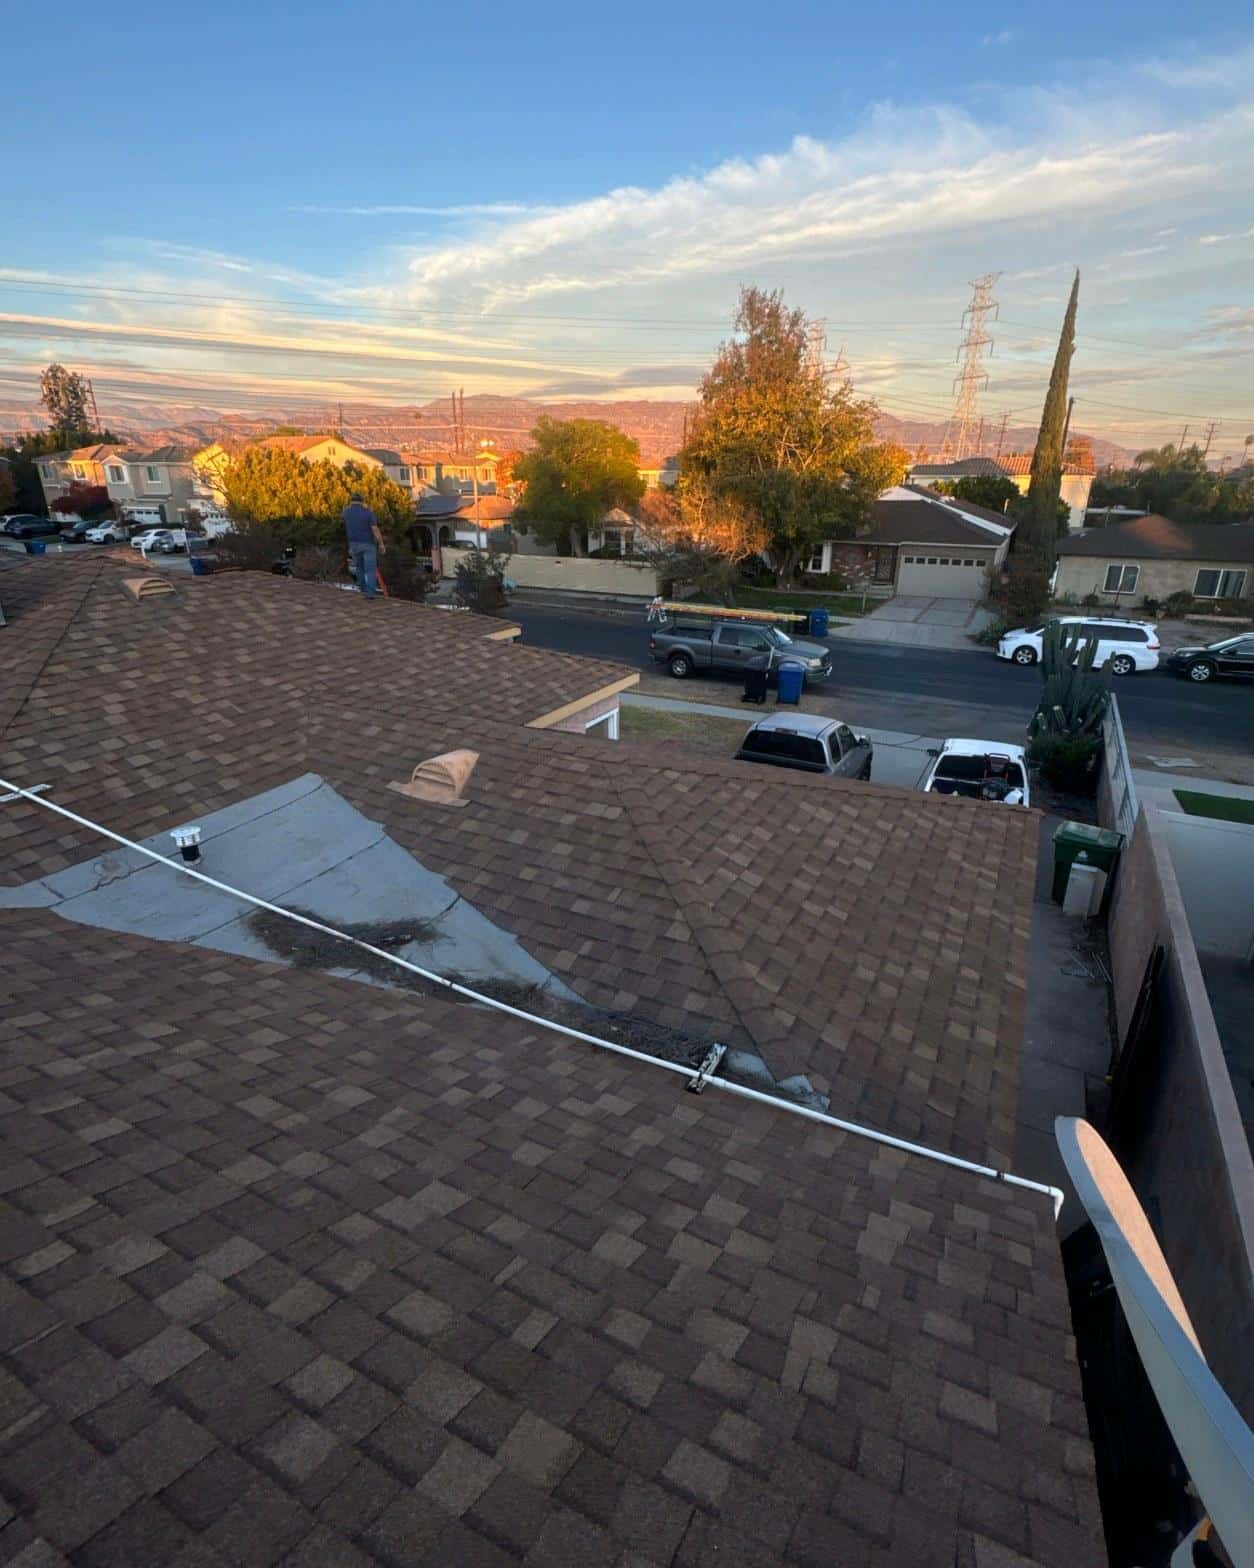
The HVAC unit curb showed a gap of roughly 1 to 2 inches along the uphill face of the curb pan, with no remaining sealant in the joint and visible daylight through the opening. Water running down the roof slope in that area had a direct path into the structure every time it rained.
HVAC curb flashings on low-slope or transitional roof sections are a weak point on homes built before the widespread adoption of factory-fabricated curb caps. On this property, the curb pan was a field-fabricated sheet metal unit, and the joint between the curb side and the roofing had simply opened as the metal expanded and contracted over the years. Our crew reseated and sealed the curb flashing before the new shingles were brought to that section of the roof, restoring the step-flash integration that the original installation required.
As of 2025, California’s roofing industry increasingly treats HVAC curb flashing as a code-adjacent detail under California’s Title 24 building energy standards, since an open curb joint allows conditioned air to escape the duct system at the point where it exits the building envelope. Sealing this joint properly matters for both weather resistance and energy performance.
The Reroof: Shingles, Valleys, and Penetrations
Once every penetration had been addressed, the crew installed new composition asphalt shingles across all roof planes, working from the eaves up and weaving each interior valley to match the complex geometry of this multi-hip, multi-valley layout. The aerial view of the completed shingle field shows clean, consistent coursing across sections that had previously displayed cupping, granule loss, and exposed substrate around the failed pipe boots.
New neoprene or TPO pipe boot flashings were set at each of the remaining plumbing vent penetrations, which numbered at least 4 across the main and secondary roof sections. Properly sized boots are sized to the pipe diameter with no more than 1/4-inch clearance around the pipe, so the flexible collar can seat flush against the shaft without bridging.
We have replaced pipe boots on roofs throughout the San Fernando Valley where the originals were undersized for the pipe diameter, leaving a chronic gap that no amount of caulk could permanently seal. Matching boot diameter to pipe diameter exactly is a detail that prevents callback repairs within 2 to 3 years of a new reroof.
The aerial shots taken after completion show the same multi-plane layout looking uniform and clean, with no visible gaps at any of the penetrations or valley intersections. The roof now meets the weatherproofing standard that any composition shingle system requires before the first Southern California rainy season arrives.
Because this is a licensed project, all work was performed by a contractor licensed by the California Contractors State License Board (CSLB), with the appropriate insurance in place for a reroof of this scope.
Get a Quote for Your Reroof
If your roof has multiple penetrations showing boot failure, open curb flashings, or a deteriorated chimney collar, a full reroof with rebuilt details is almost always more cost-effective than sequential patch repairs over 3 to 5 years. Call Roof Replacement Inc to schedule a roof inspection, and we will document every penetration condition before providing a written scope of work.