

What Was the Condition of This Roof Before the Work Started?
The existing shingle roof on this single-family home had reached the end of its service life, showing granule loss across multiple planes, lifted hip cap shingles, and exposed base mat in the valley and ridge areas. The featured photo taken before tear-off tells the story clearly: the lighter-colored patches running along the hip lines are areas where granules have worn away almost completely, leaving the underlying fiberglass mat exposed to UV and moisture. In Southern California, where the Burbank basin regularly sees daytime temperatures above 90°F from June through September, that kind of UV exposure accelerates deterioration significantly once the protective granule layer thins past a critical point.
The homeowner’s goal was straightforward: replace the entire roof system before the winter rain season, address any compromised decking discovered during tear-off, and install a shingle with a cool-roof granule coating to reduce attic heat gain going forward.
Project Gallery
What Did the Tear-Off Reveal About the Decking?
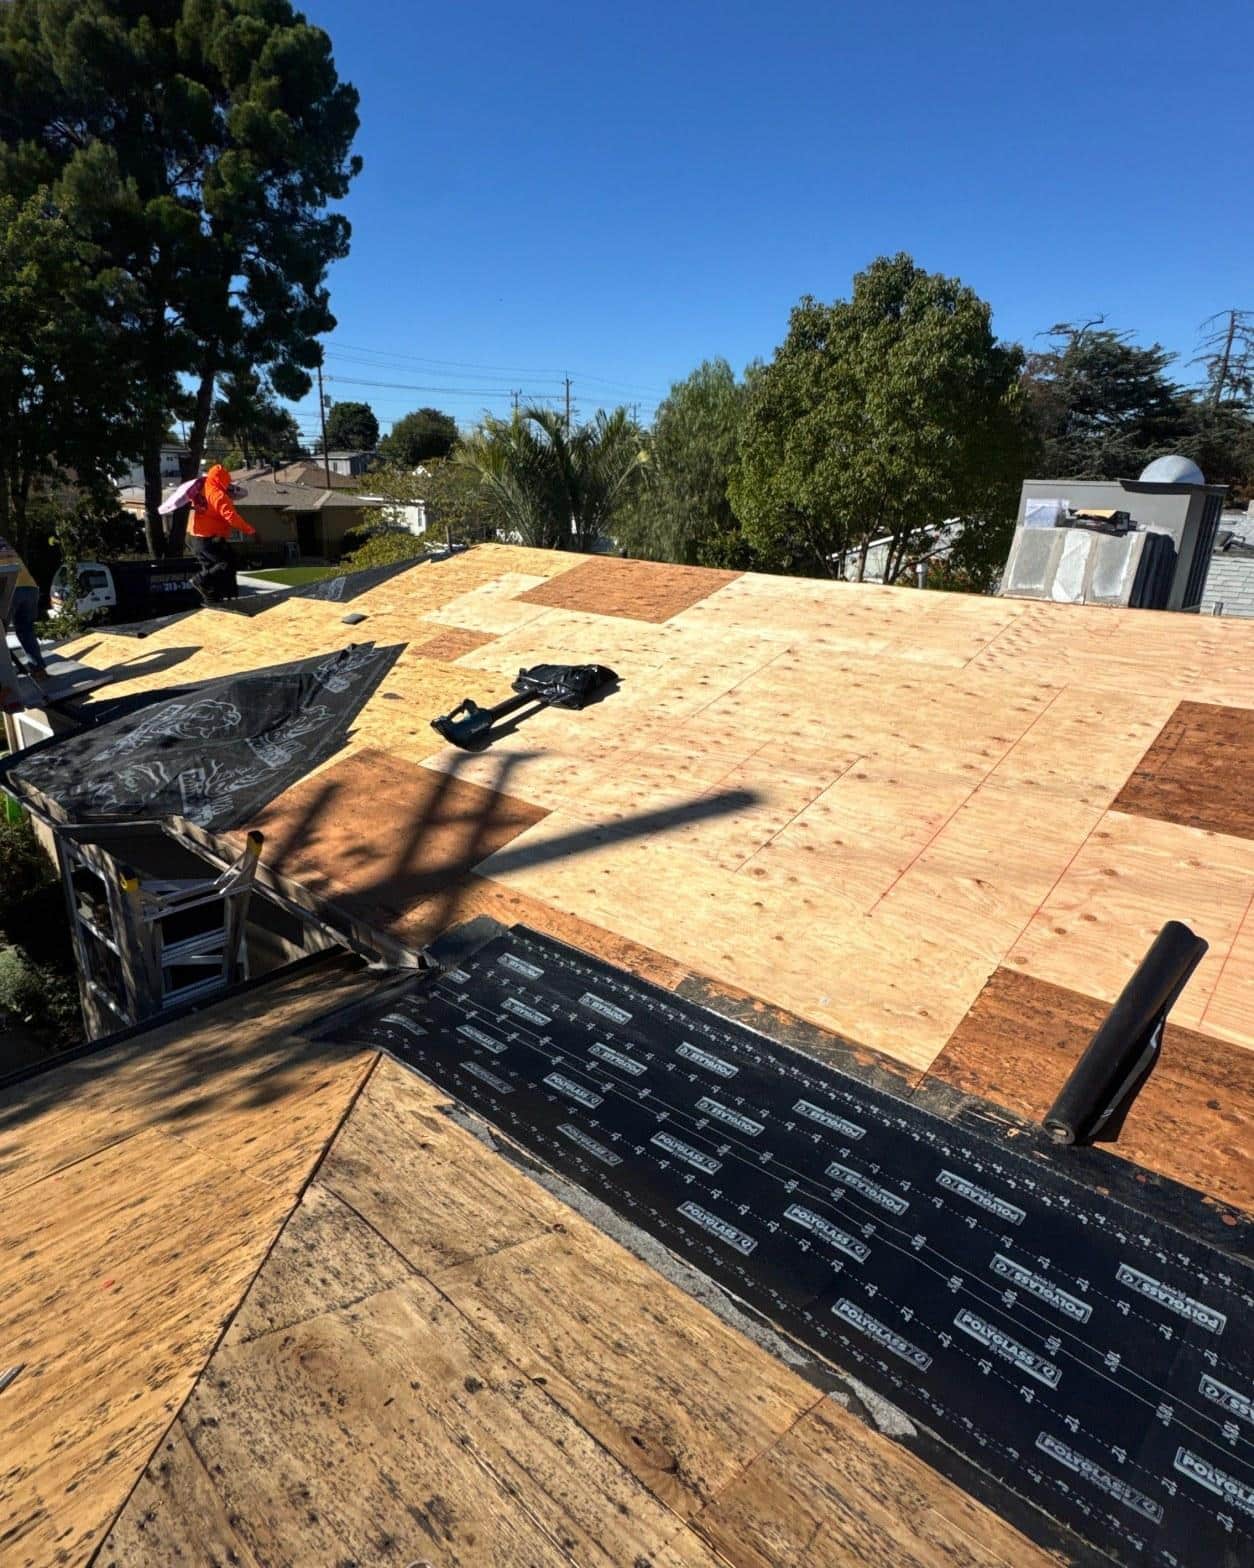
Pulling the old shingles exposed a decking surface made up of original boards alongside at least 3 distinct plywood replacement panels from earlier repairs, indicating previous spot work that never addressed the full roof. The photo above, taken mid-tear-off, shows the patchwork clearly: darker original wood sits next to lighter new OSB patches added over the years. This kind of layered history is common on homes built before 1980 in the area, and it creates an uneven nailing surface that compromises shingle adhesion over time.
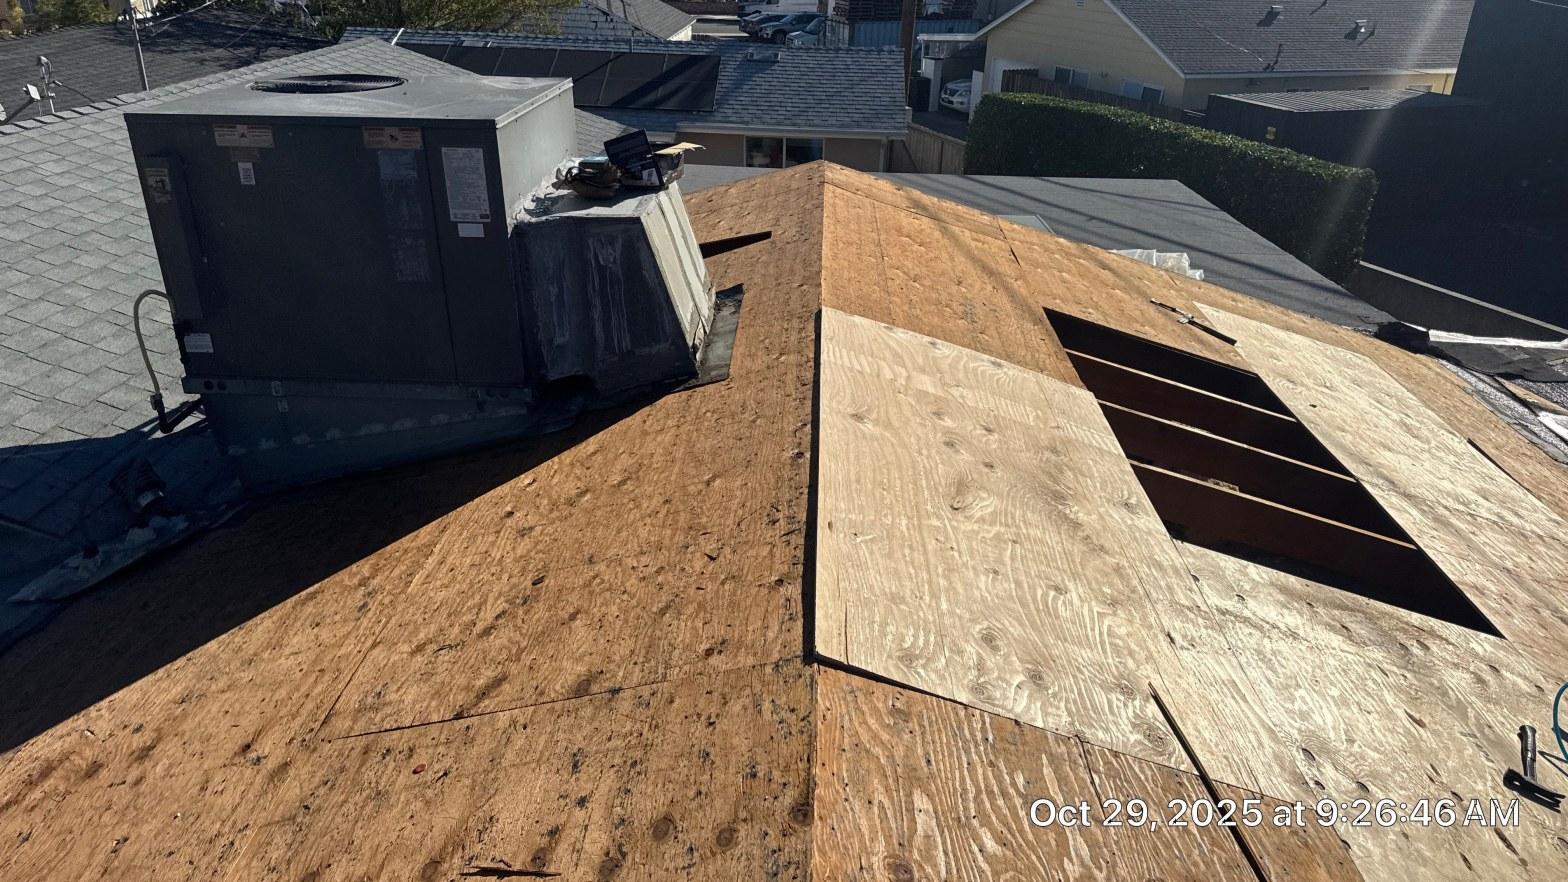
Our crew identified and replaced every section of decking that showed soft spots or delamination before any underlayment went down. A second photo, taken on October 29, 2025, shows a section near the rooftop HVAC unit where a full panel had to be cut out and replaced because the original board beneath had lost structural integrity. New plywood was face-nailed into the rafters and brought flush with the surrounding deck before the next phase began.
What Underlayment System Did We Use, and Why Does It Matter?
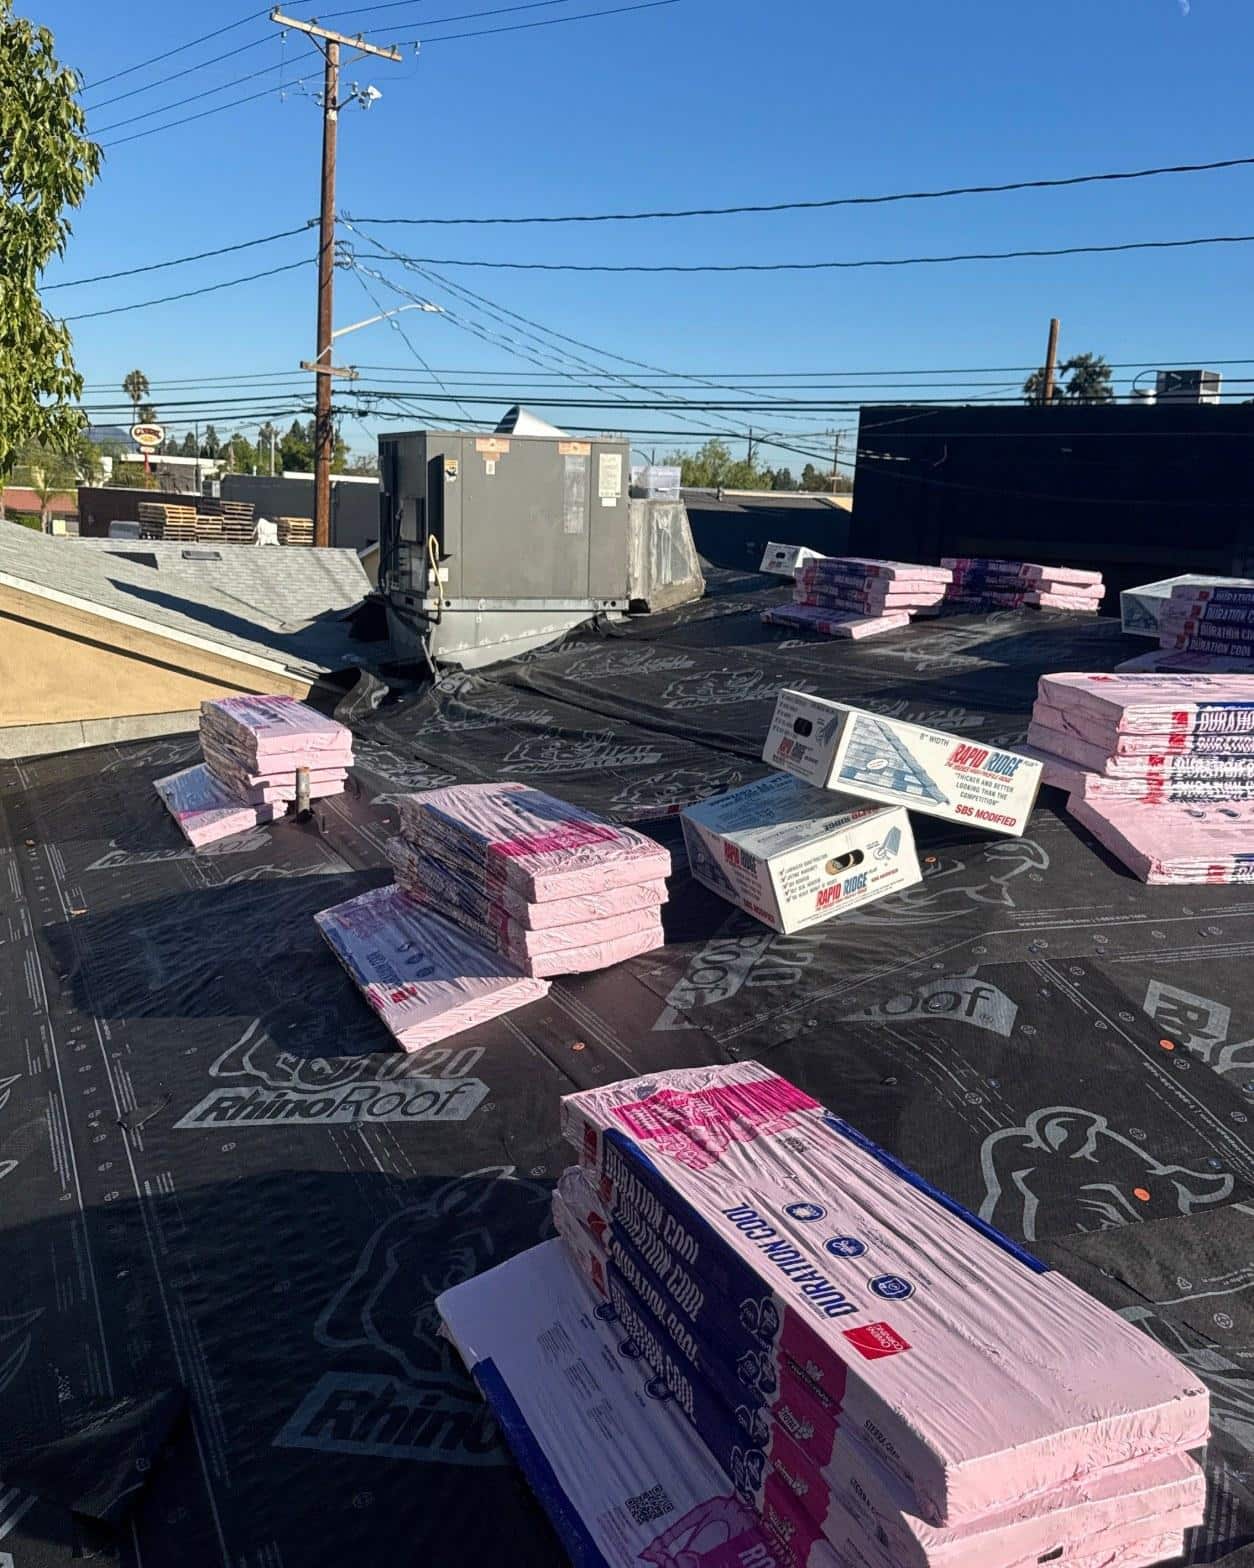
This project used two synthetic underlayment products: Polyglass self-adhering underlayment at the eaves and critical transition zones, and RhinoRoof U20 synthetic felt across the field of the roof. Synthetic underlayment outperforms traditional 15-pound or 30-pound felt in tear resistance and moisture resistance, and it is compatible with California’s Title 24 building energy standards when used beneath qualifying cool-roof shingles.
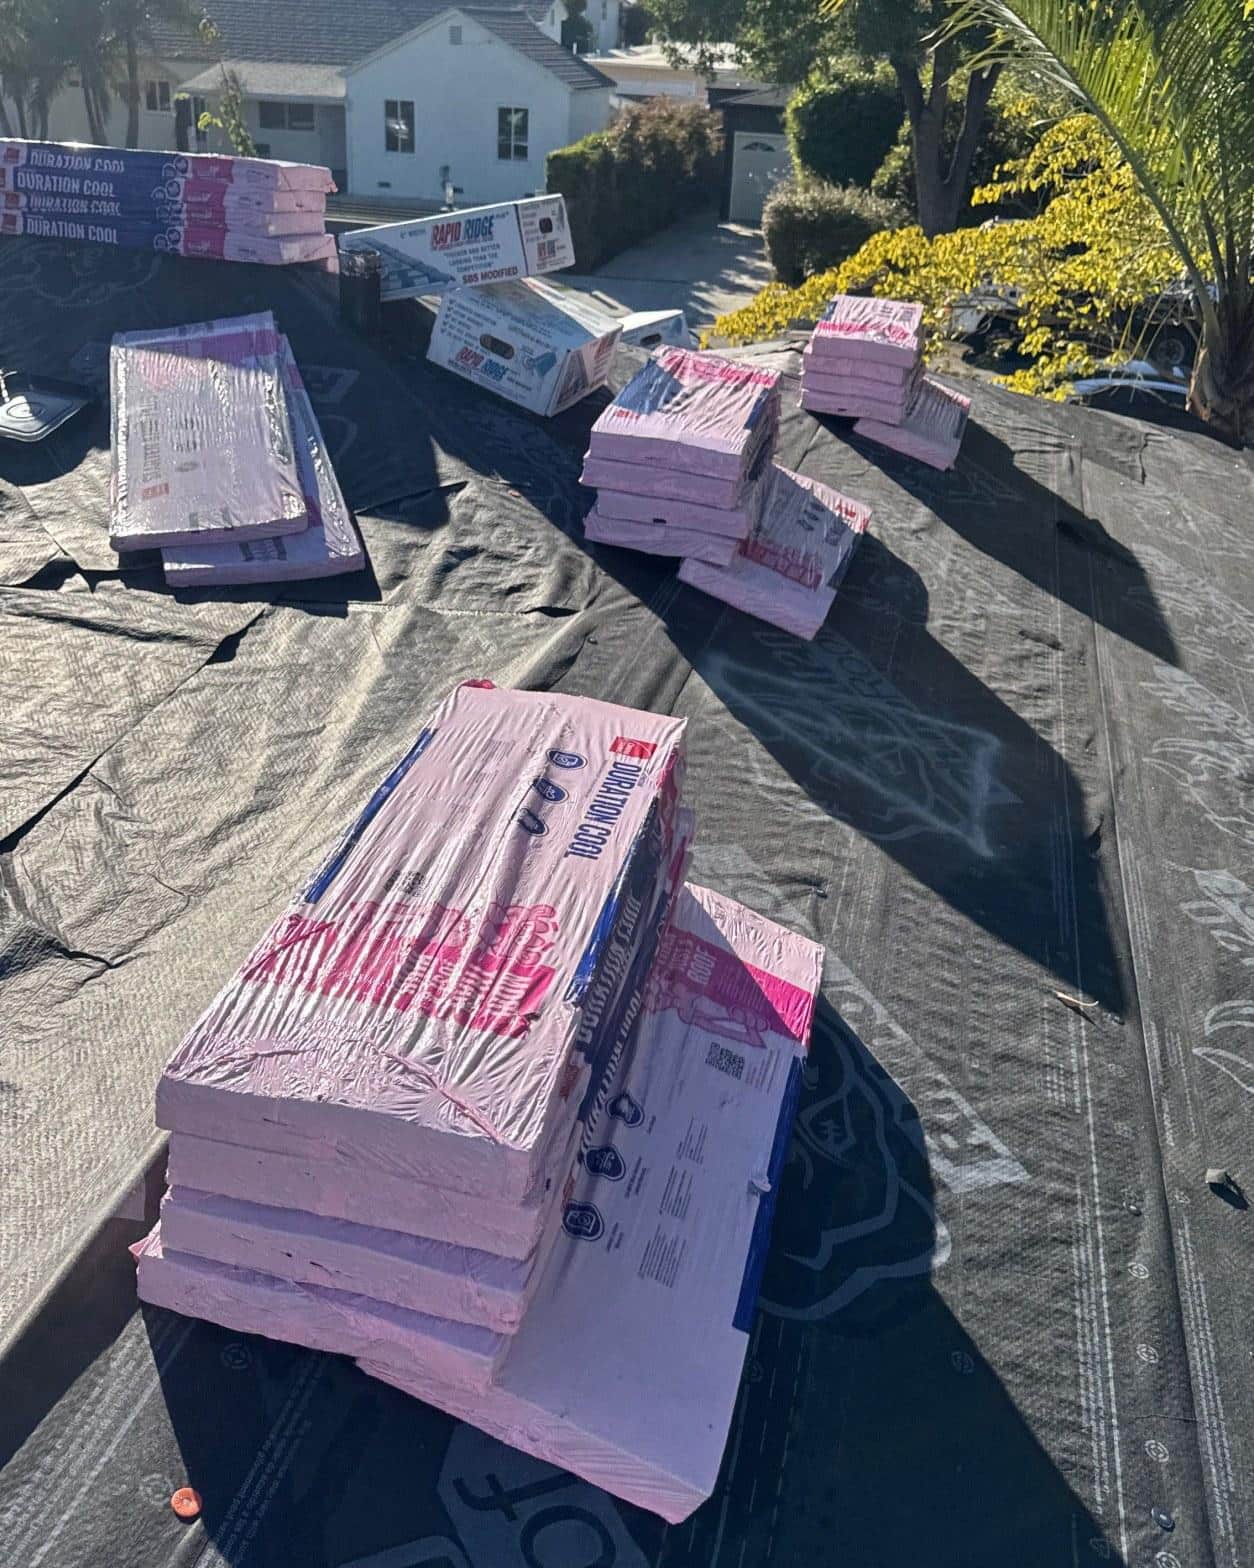
The shingle bundles staged across the underlayment in the photo below are Owens Corning Duration Cool, identifiable by the pink and silver packaging. Rapid Ridge cap bundles are visible in the upper background. Staging material across multiple load points rather than piling it in one spot distributes weight evenly and keeps the deck flat, which matters on a multi-plane hip roof like this one where precise alignment at every ridge and hip intersection is visible from the street.
In our experience on multi-plane hip roofs across the greater Burbank area, proper load distribution during staging prevents at least 2 to 3 hours of corrective straightening work once shingle installation begins, because an overloaded section will bow the new plywood just enough to throw off coursing lines.
The Installation: Underlayment, Flashing, and Final Shingles
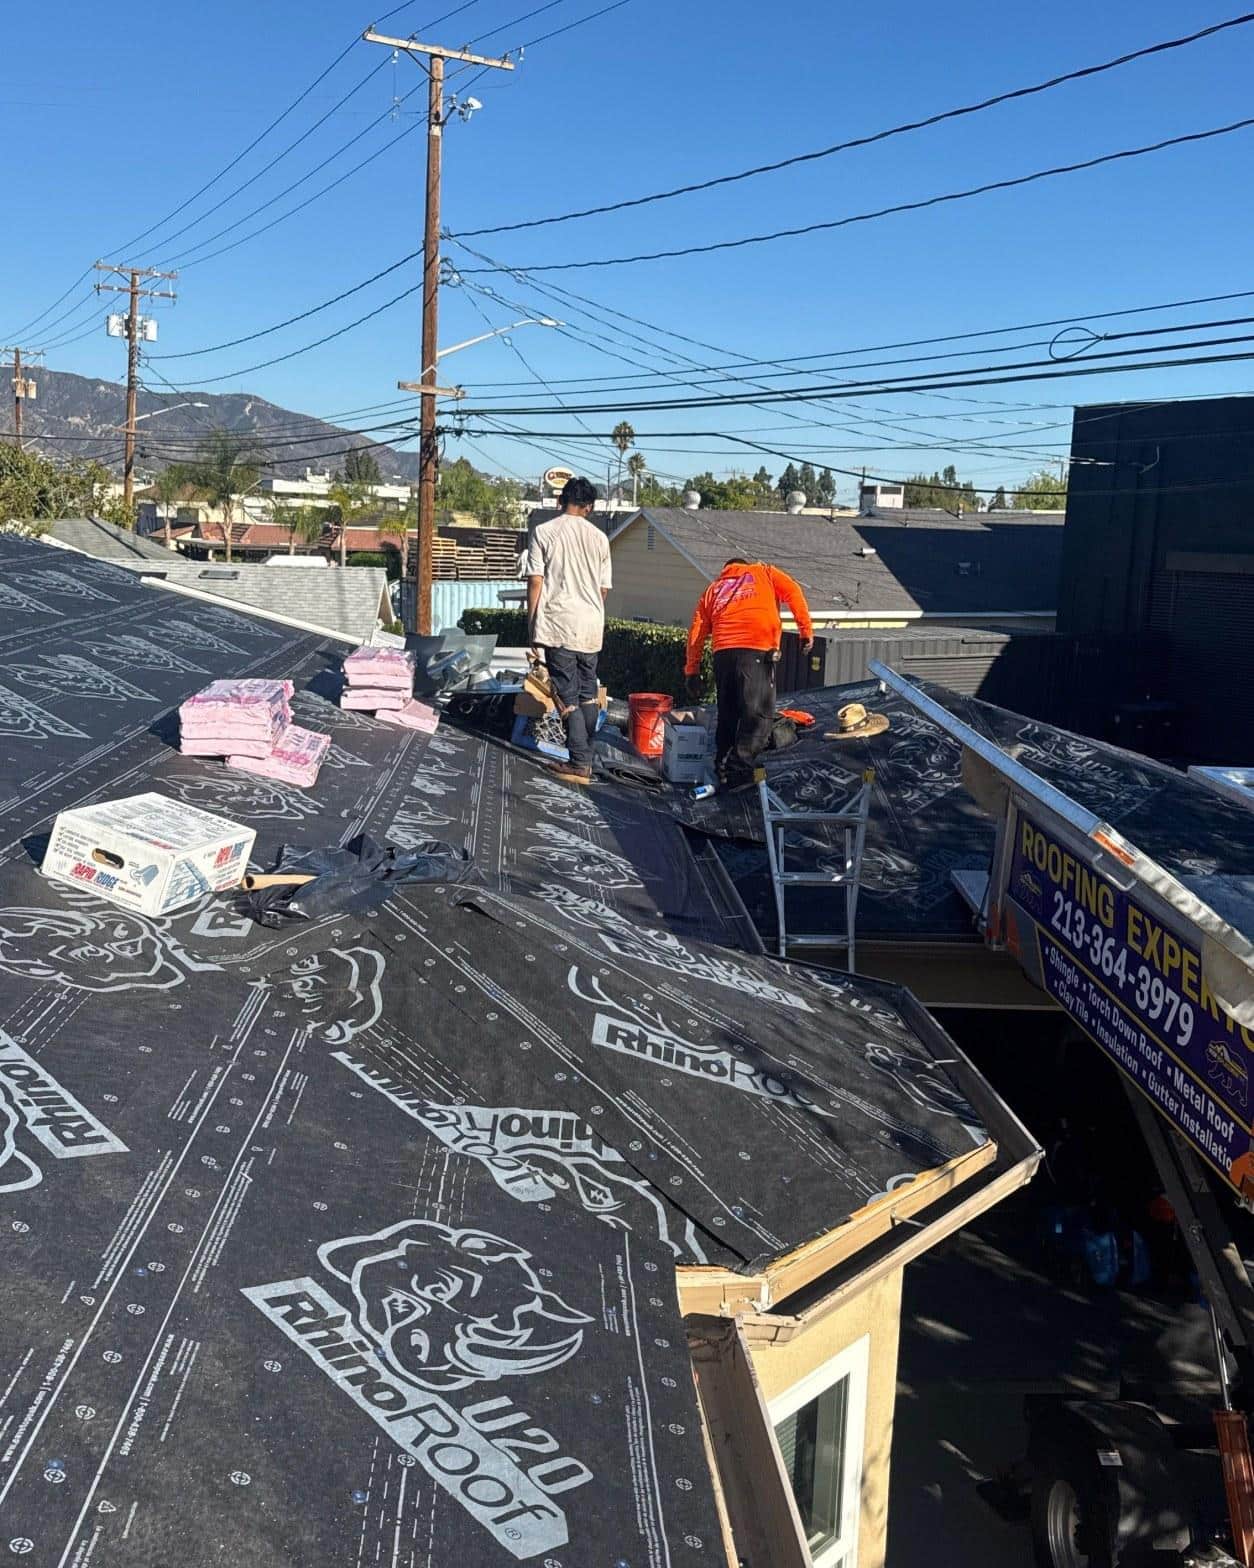
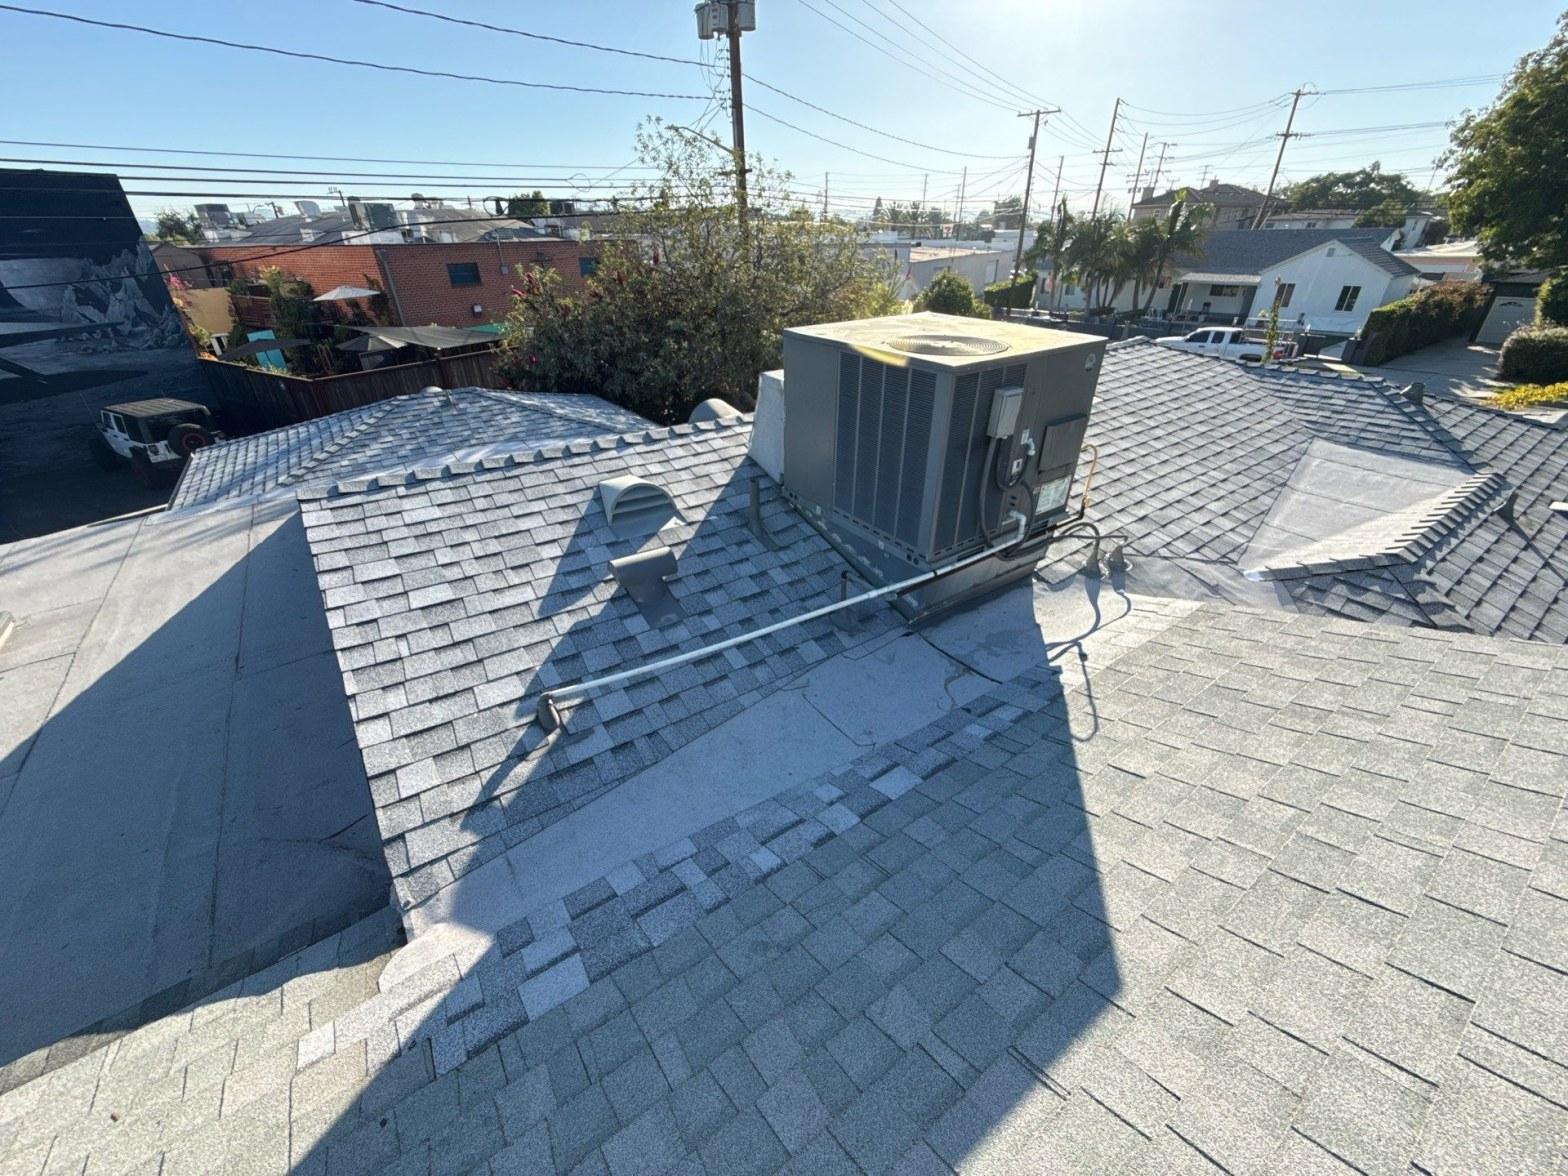
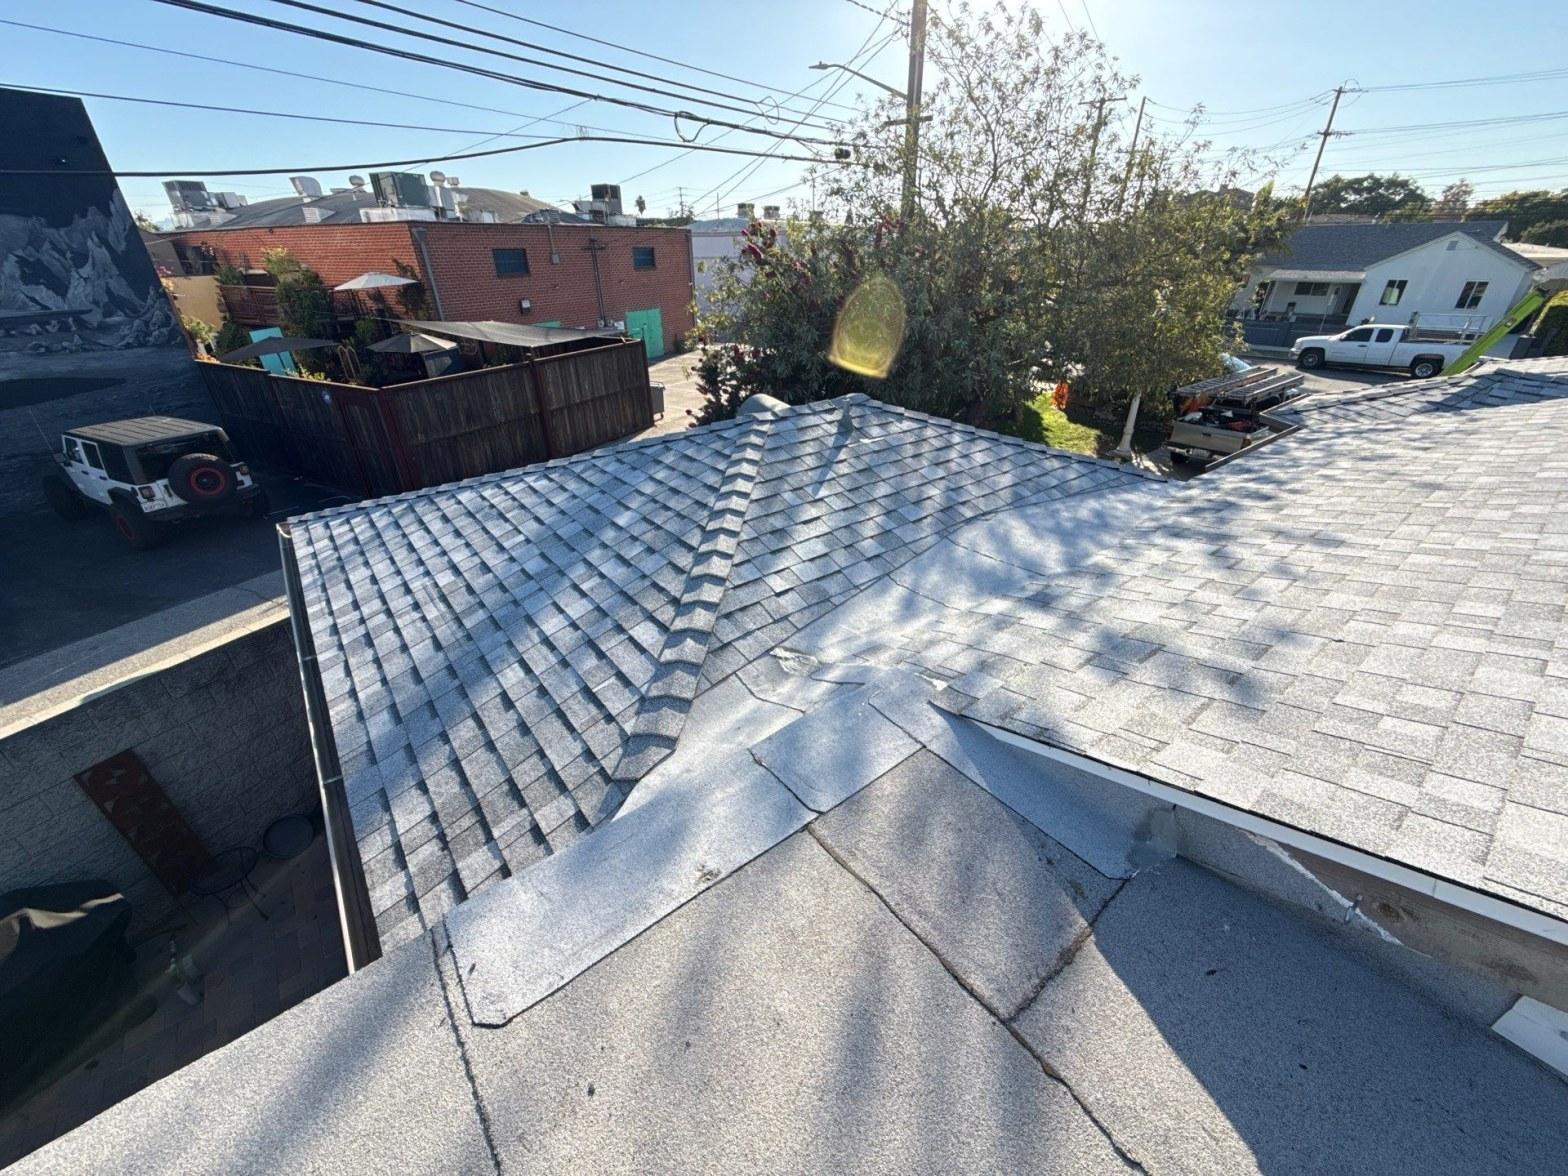
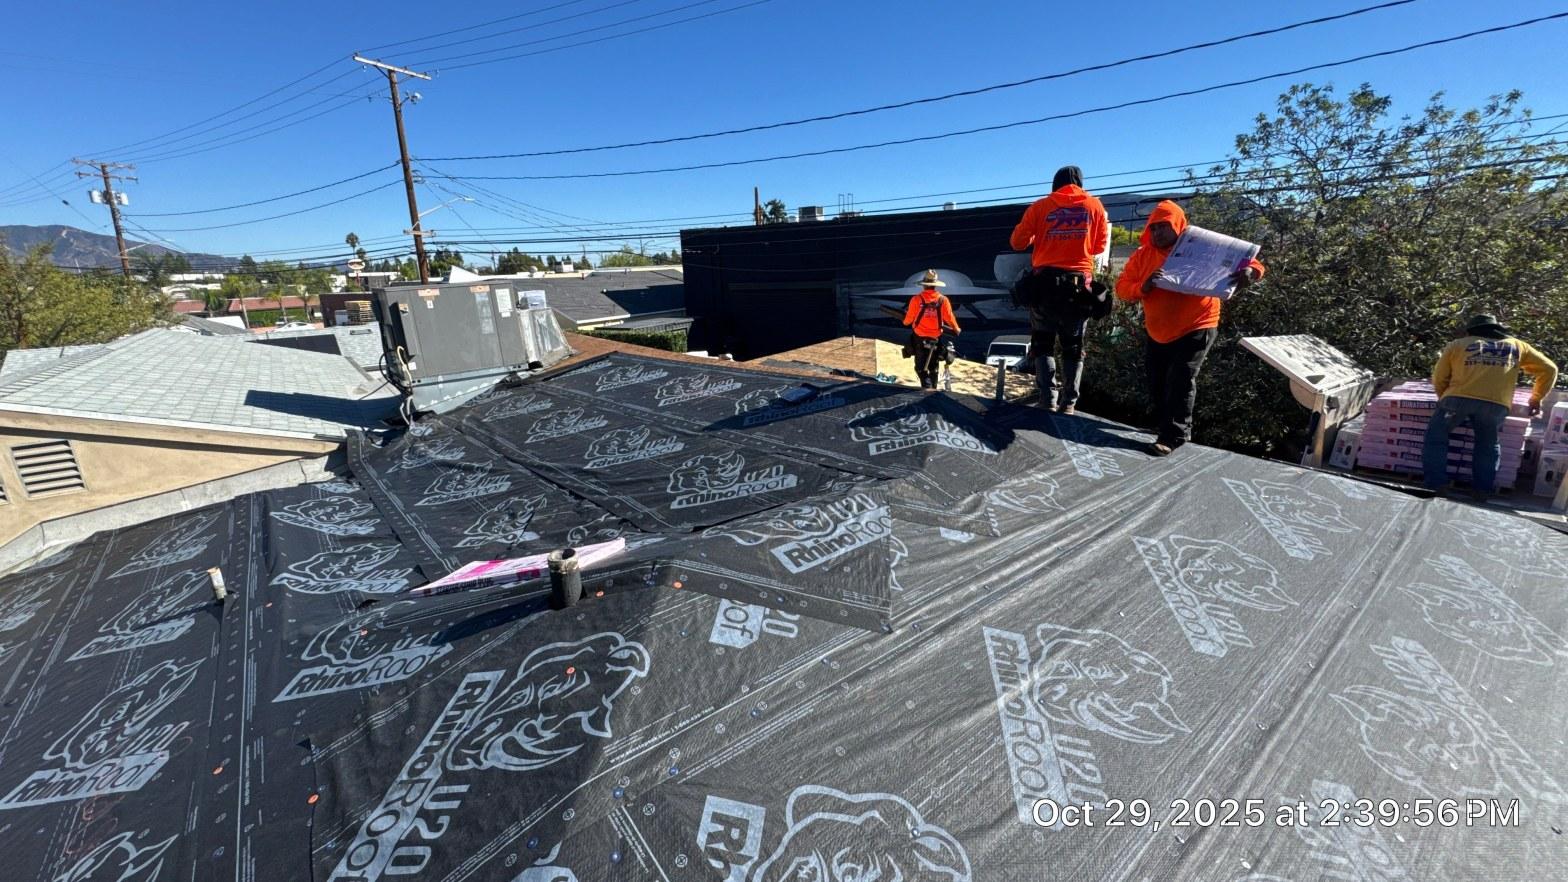
With the decking solid and the underlayment fully lapped and fastened, the crew moved to flashing, pipe boot replacement, and shingle installation from the eaves up. The photo below, taken during the underlayment phase, shows both the RhinoRoof U20 field coverage and the crew working at the ridge with cap material and flashing components already on site. The Roof Replacement Inc truck is visible at the lower right, confirming this is an active job site mid-installation rather than a staged shot.
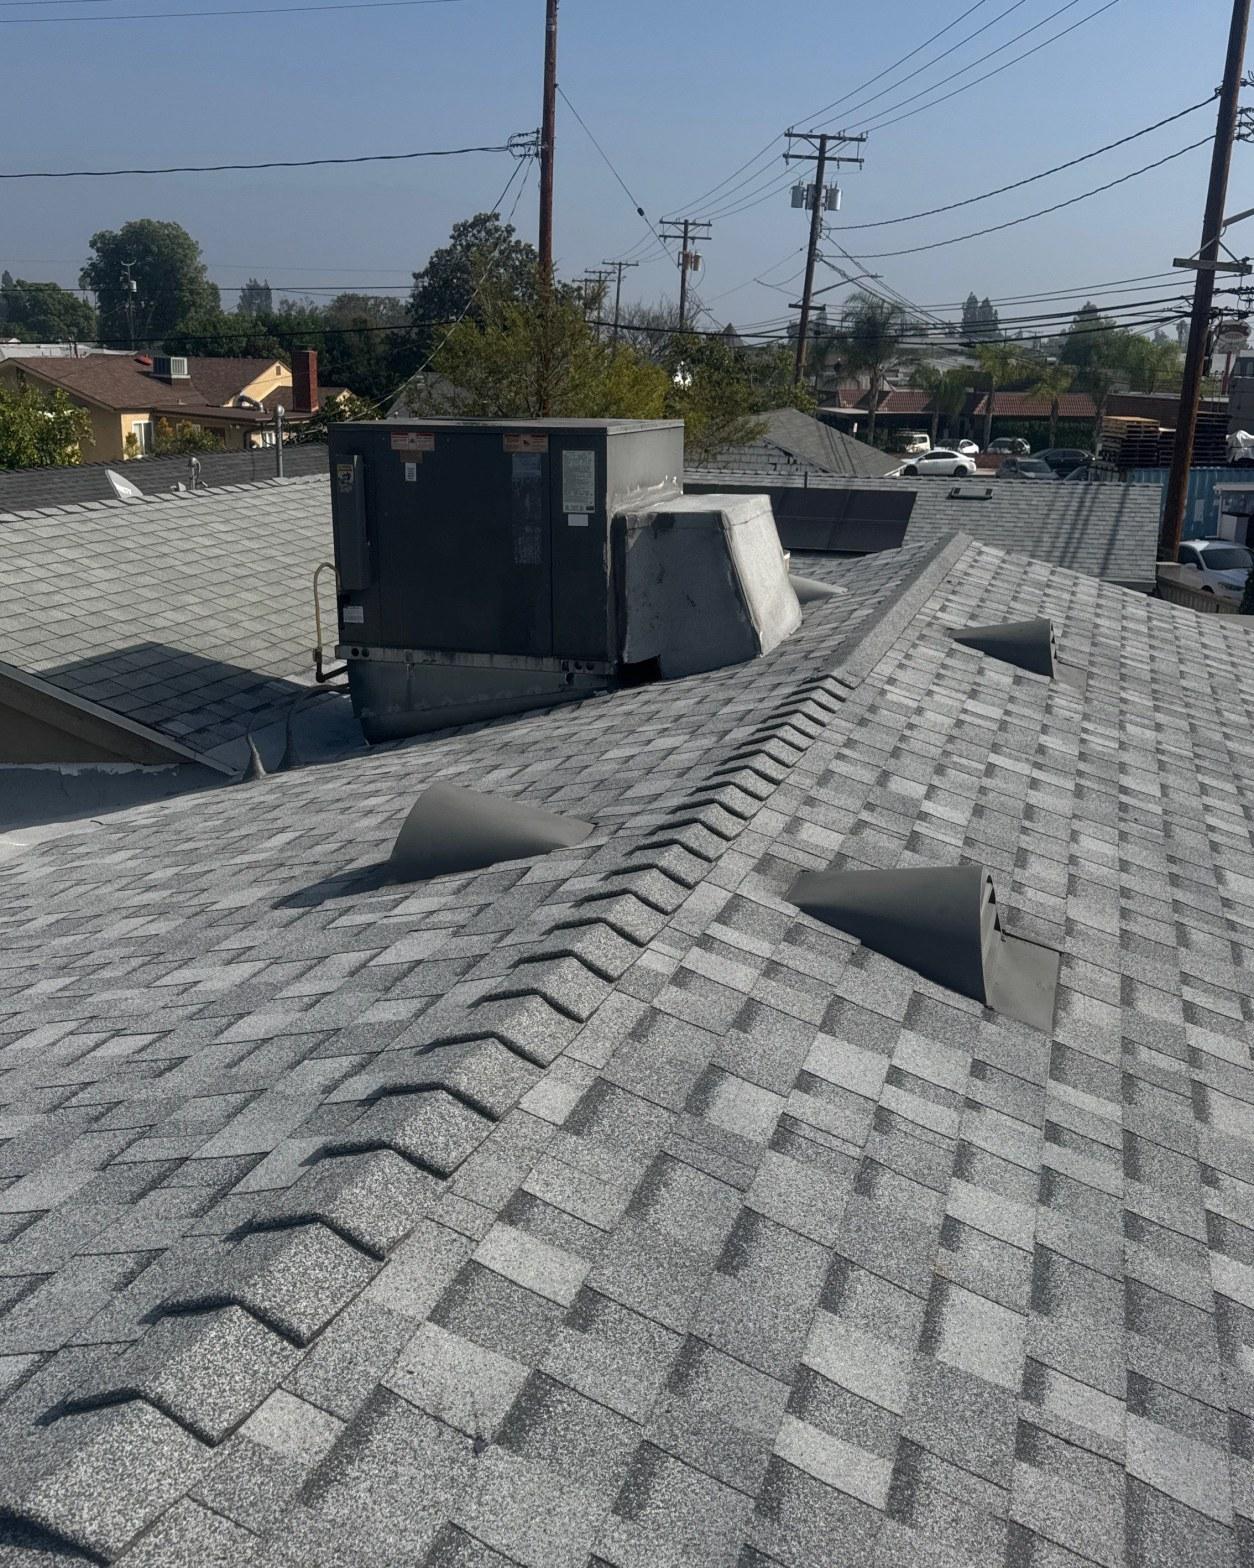
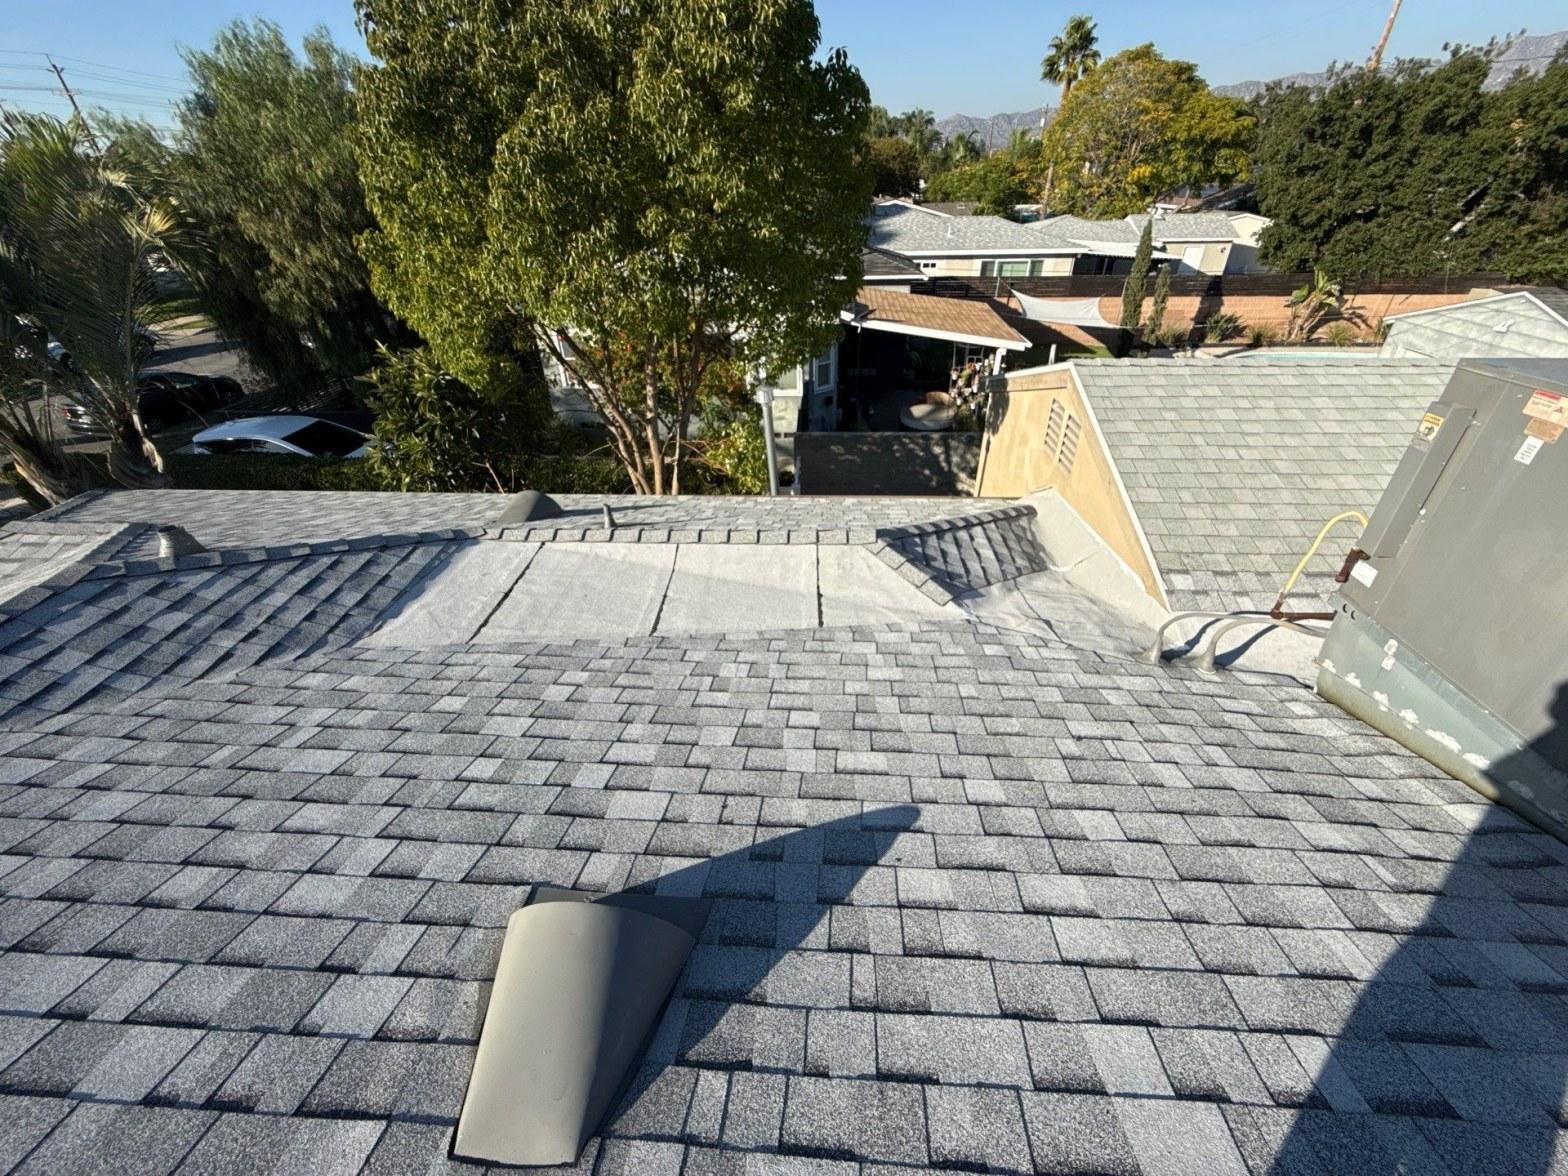
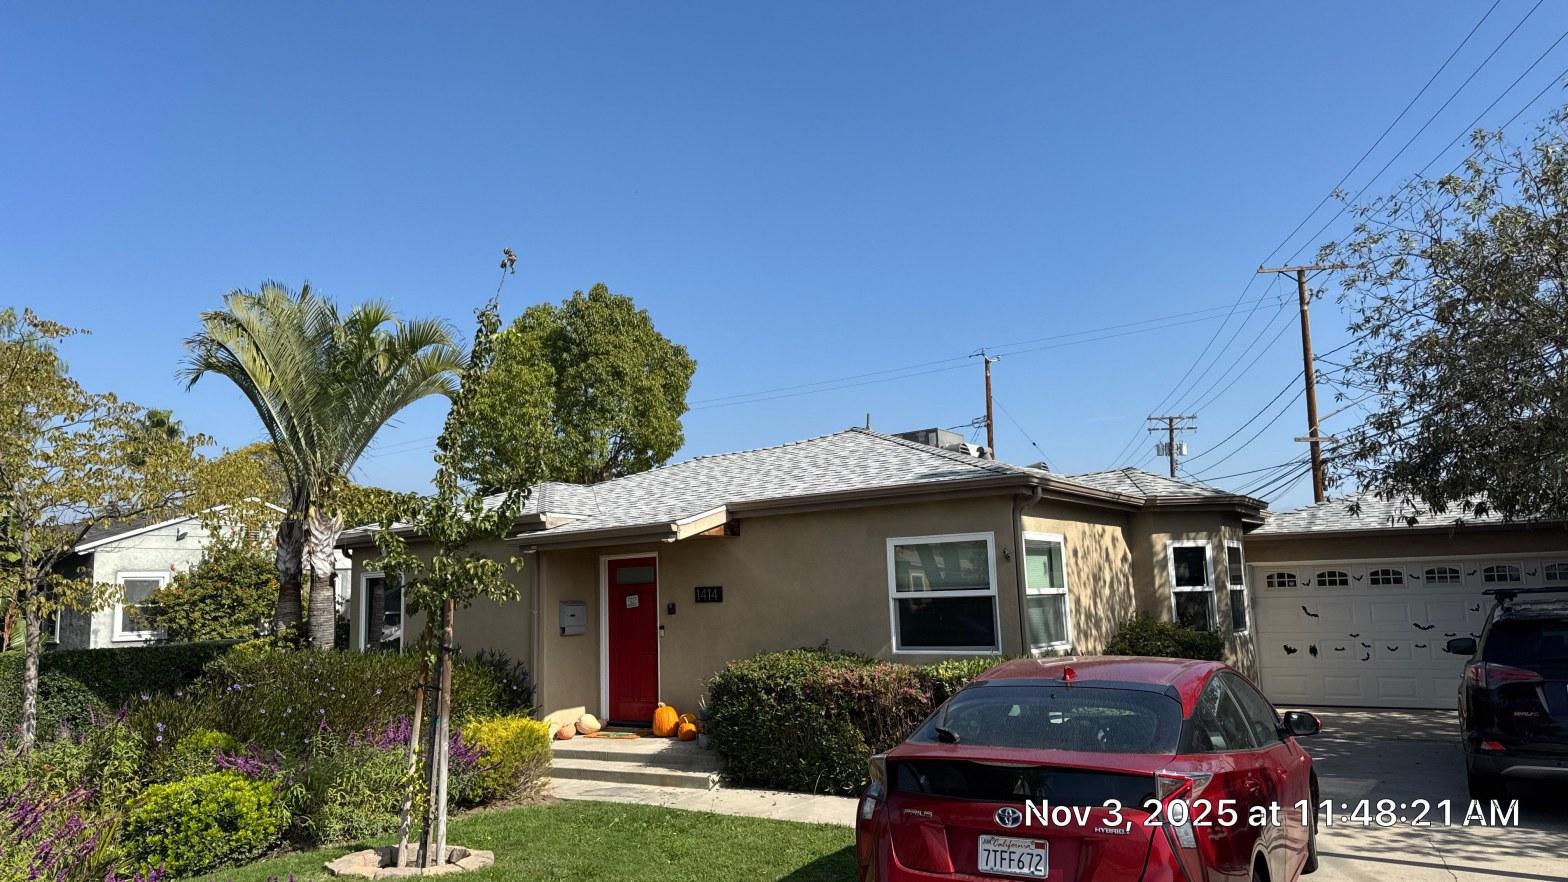
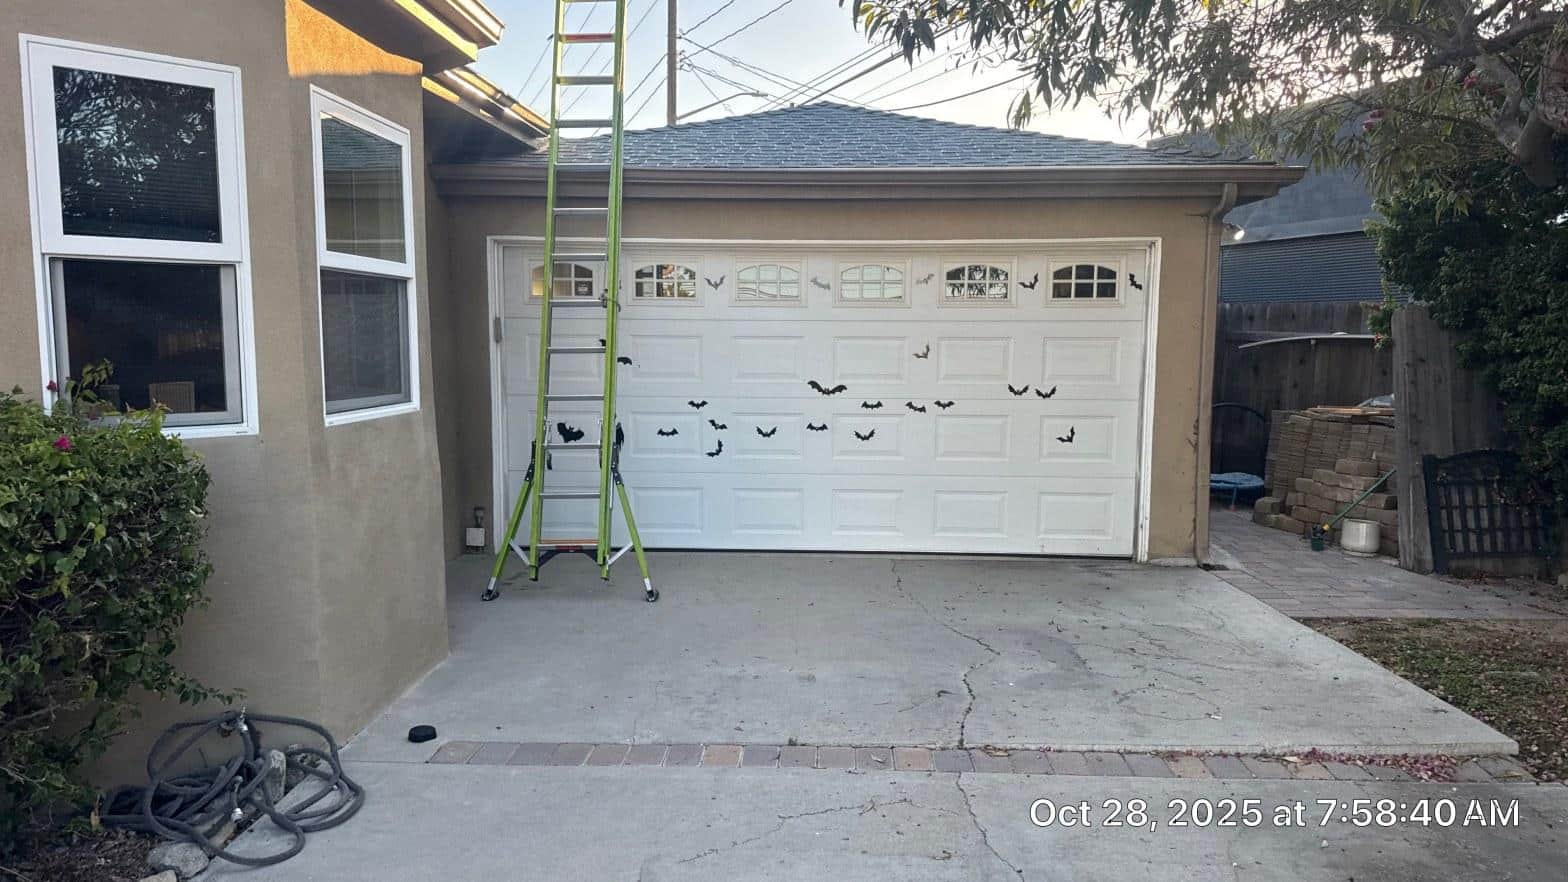
The finished roof, visible in the gallery images below, shows clean hip and valley lines in a charcoal-gray shade that reads as a cool-tone complement to the home’s tan stucco exterior. The HVAC curb flashing was reset and sealed as part of the scope. According to ENERGY STAR’s roofing product criteria, cool-roof shingles with solar-reflective granules like the Duration Cool line can reduce peak roof surface temperatures by up to 50°F compared to standard dark shingles, which translates directly to lower attic temperatures and reduced cooling loads during Southern California summers. Homeowners in areas subject to California’s Title 24 building energy standards should confirm that their selected shingle meets the applicable cool-roof solar reflectance threshold for their climate zone before finalizing a material choice.
The Finished Result
The completed reroof delivered a continuous, properly coursed architectural shingle surface across all planes of a complex hip roof, with replaced decking, a two-layer synthetic underlayment system, reset pipe boots and HVAC curb flashing, and Rapid Ridge cap shingles at every hip and ridge line. The before-and-after difference is visible from the street: where the old roof showed bleached, lifting sections, the new surface presents a uniform charcoal field with sharp, well-defined lines at every intersection.
If your home has shingles showing granule loss, lifting edges along the hips, or a patchwork decking history from previous repairs, this project is a close parallel to what a full reroof scope looks like in practice. Call Roof Replacement Inc or use the contact form on this site to request an inspection and written scope for your property.


