

What This Project Involved
This job was a complete asphalt shingle reroof on a single-family home in the San Fernando Valley, complicated by a rooftop solar array that had to come down before any roofing work could begin. The homeowner’s goal was straightforward: replace shingles that had aged past their useful life before the next rainy season, without losing the solar investment already sitting on the roof.
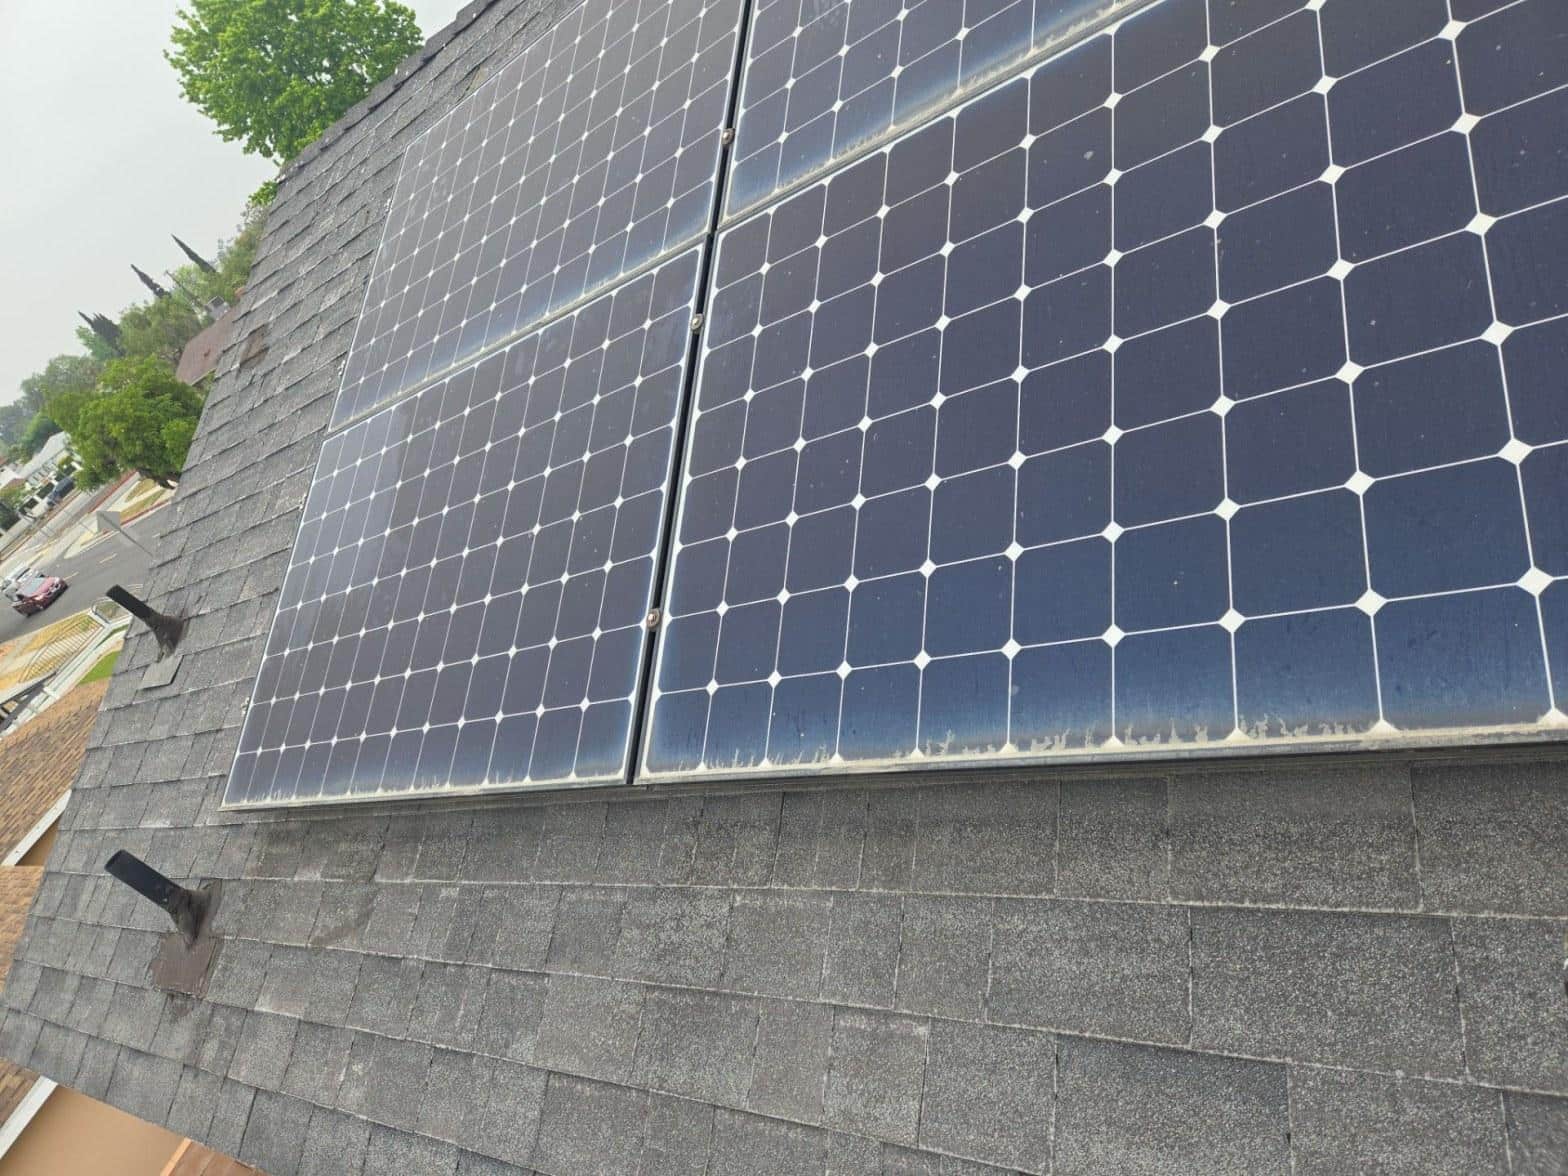
The property sits in a neighborhood where many homes were built in the 1970s and 1980s, and the roofline showed it. By the time we arrived, the existing shingles had shed most of their protective granule coating, the flashings around pipe penetrations had cracked open, and sections of the hip and ridge were starting to lift. Leaving the system in place while working under it was not a realistic option, so our first step was a careful, systematic detachment of all solar panels and their mounting rails.
Project Gallery
What Did We Find Under the Solar Array?
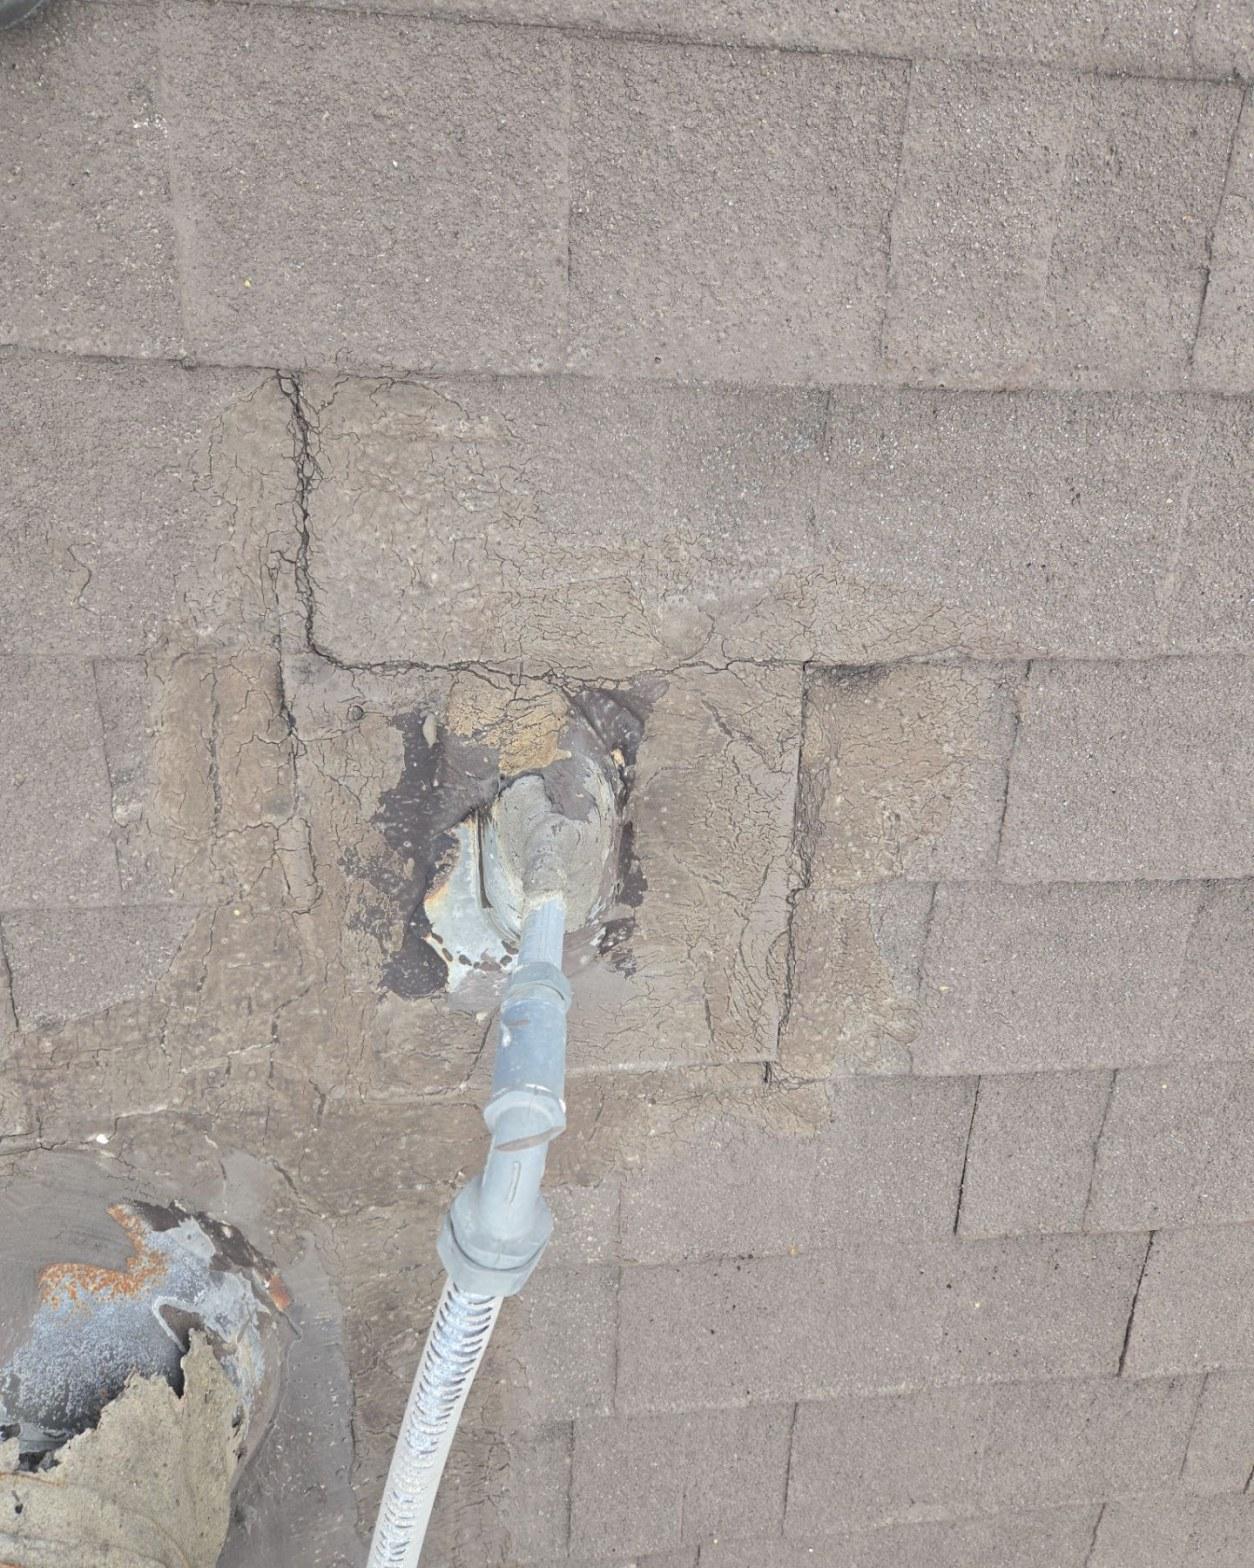
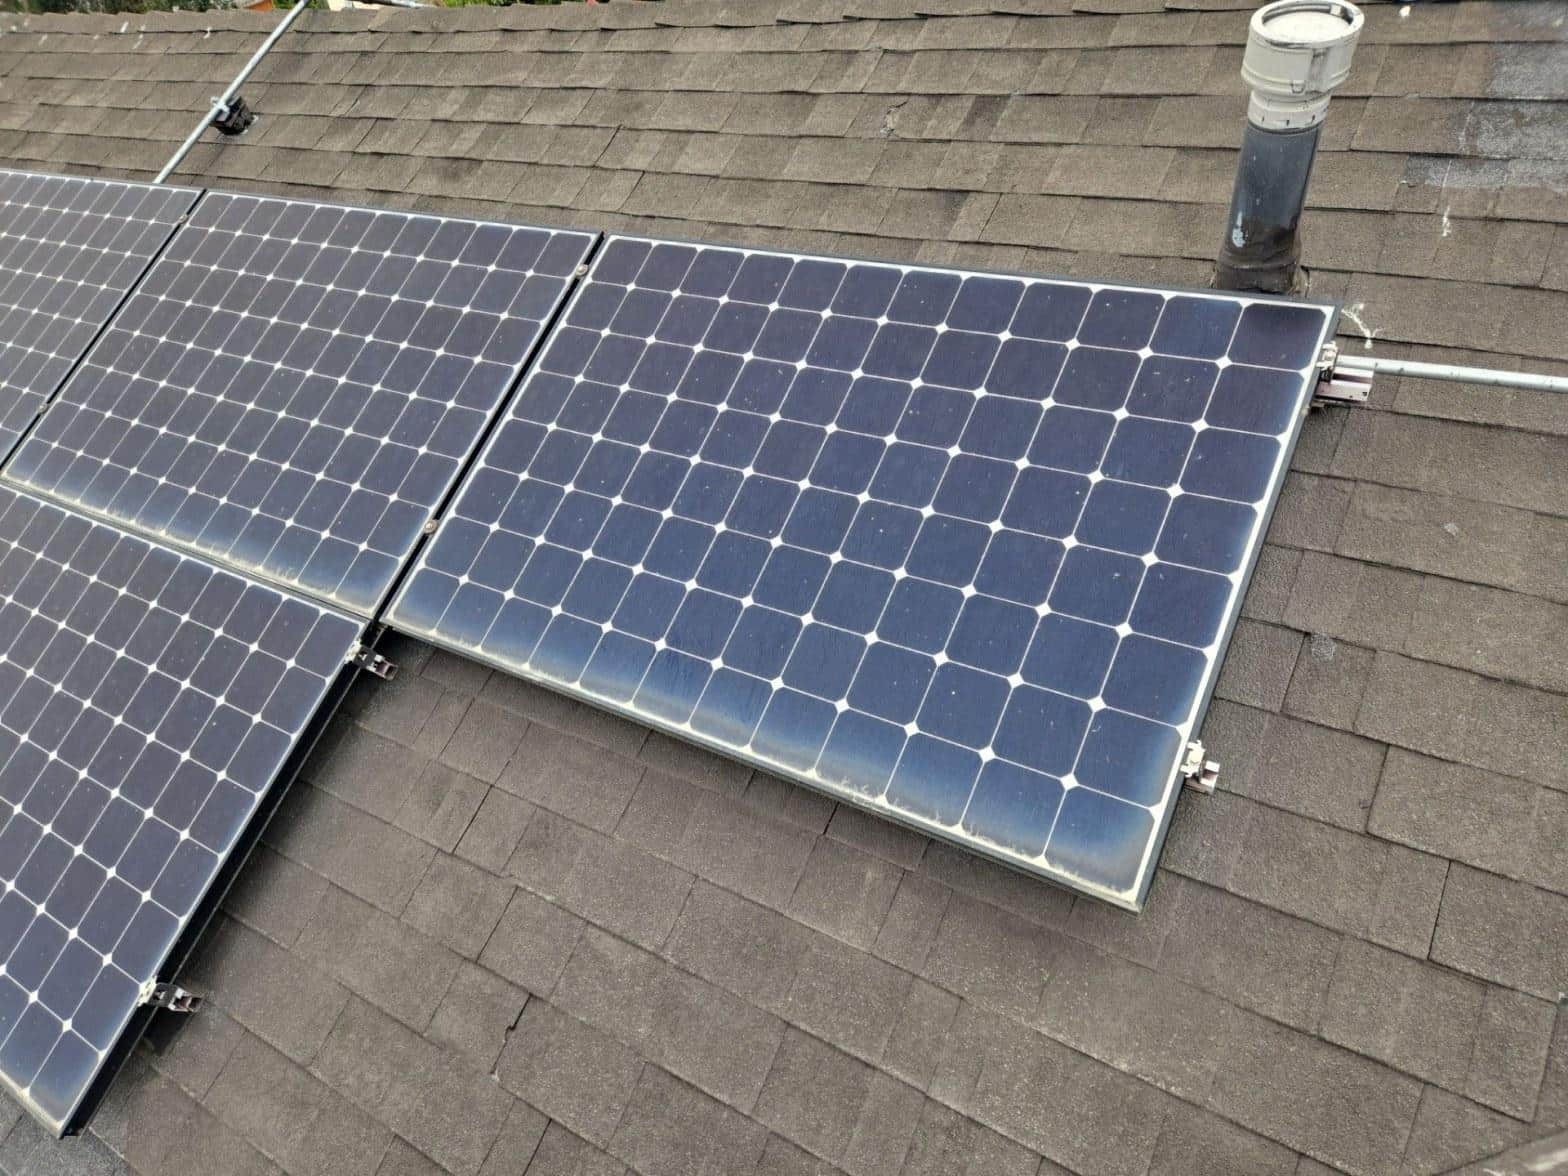
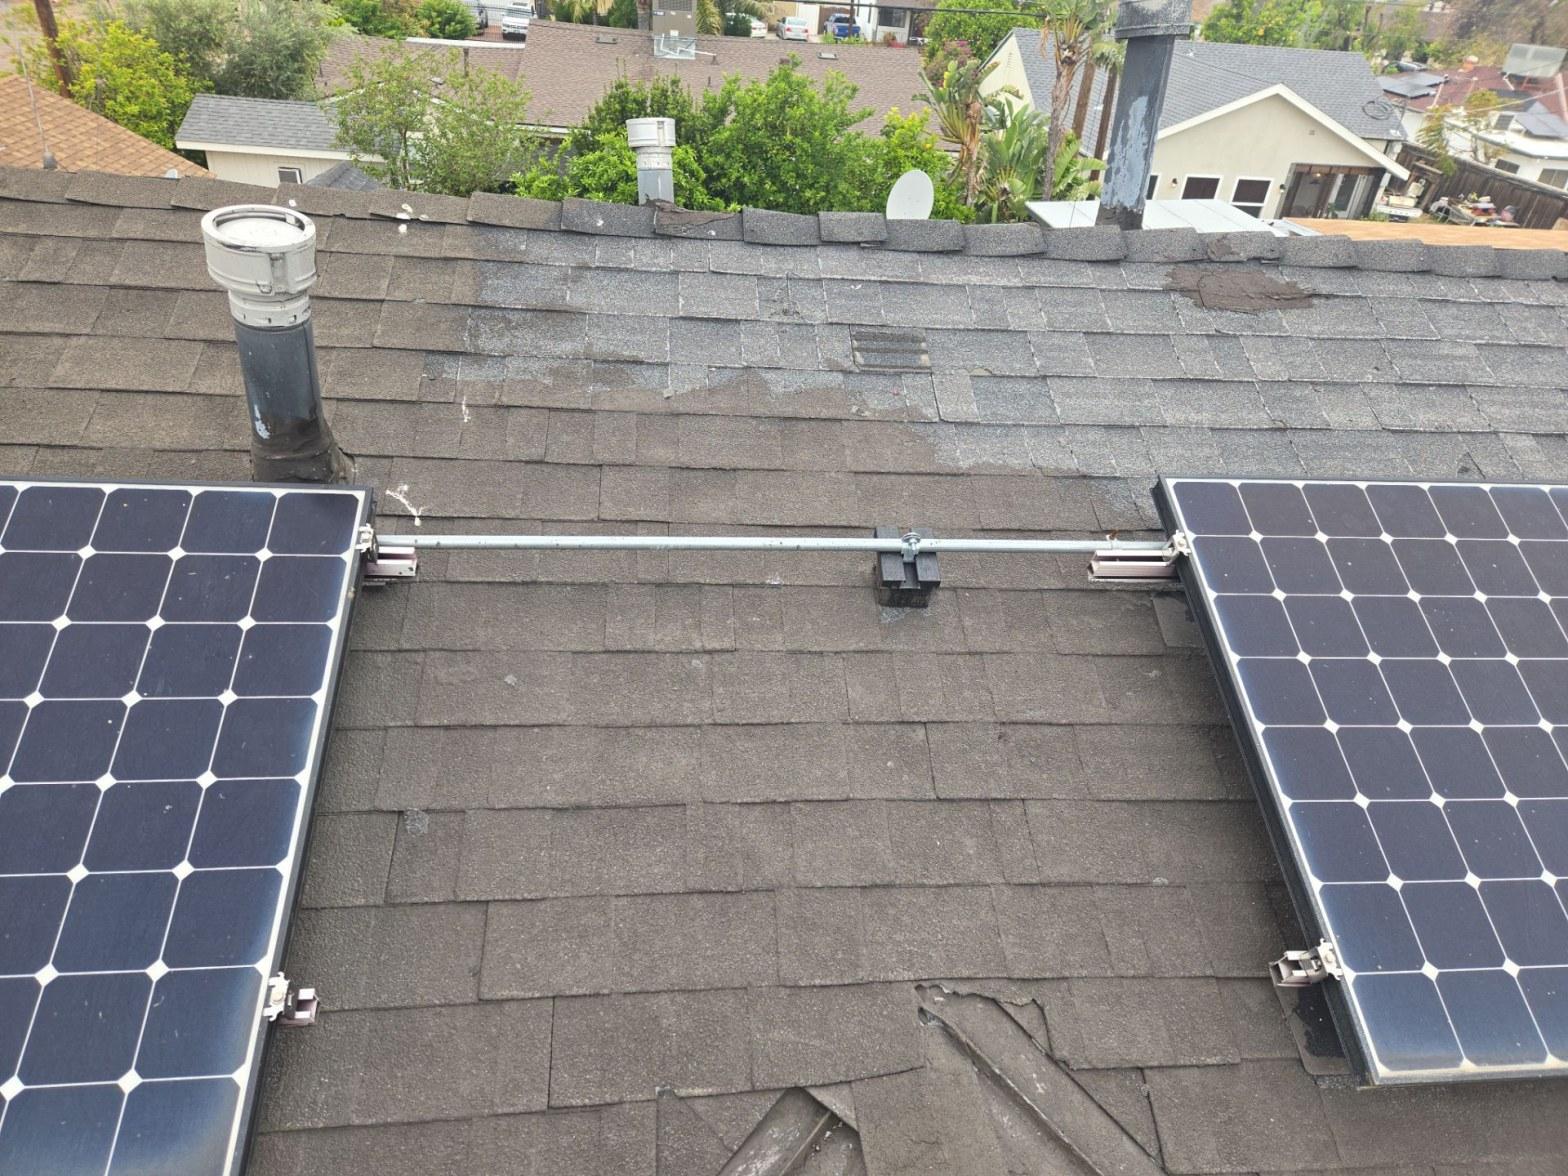
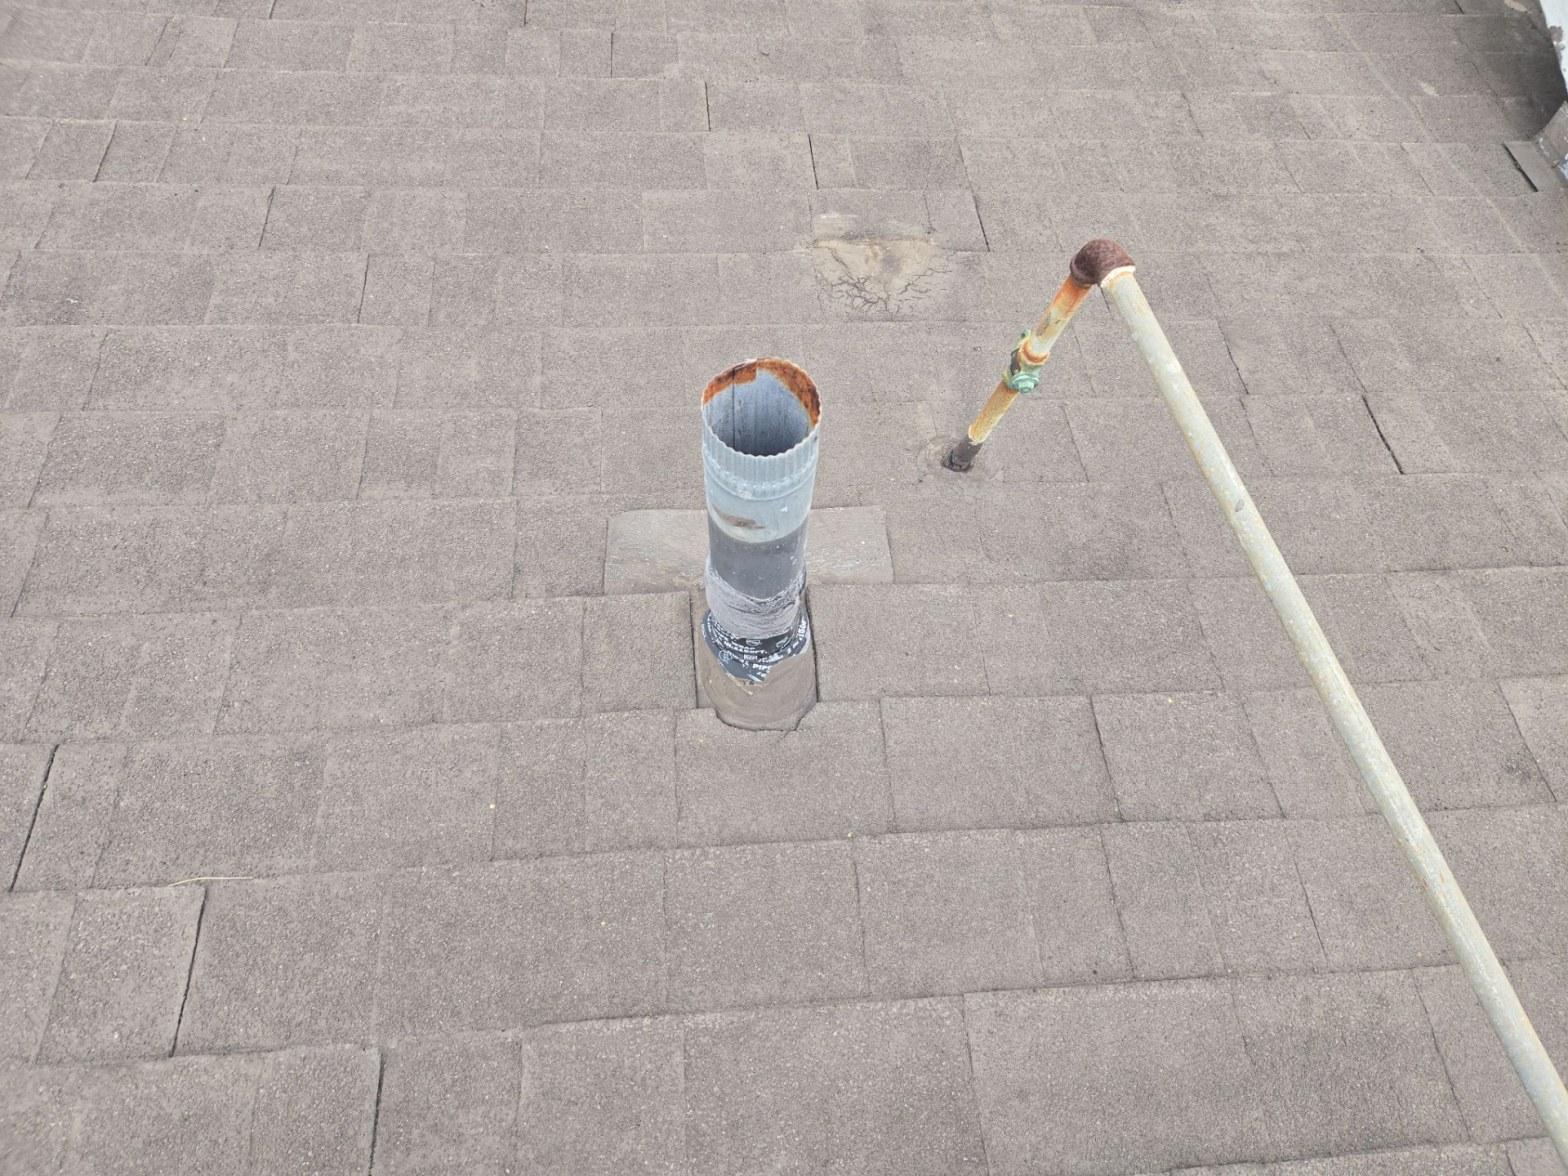
Directly beneath several of the solar mounting feet, the shingles had cracked and the sealant around the roof penetrations had failed completely, leaving open pathways for water to reach the deck. The close-up photo above shows exactly what that looks like: a conduit penetration packed with old, crumbling roofing cement, cracks radiating outward from the pipe fitting, and shingle granules missing across several surrounding tabs. This kind of hidden damage is common on roofs where solar was installed 10 or more years ago and the original penetration seals were never re-inspected.
Asphalt shingles in Southern California typically carry a rated lifespan of 25 to 30 years under standard conditions, but the North Hollywood basin’s prolonged UV exposure and summer temperatures that regularly exceed 90°F can accelerate granule loss by several years. On this roof, the shingles were clearly past the point where spot repairs would hold.
Across roofs in this region, our crews see pipe boot failures concentrated at conduit and plumbing penetrations where the original installer used roofing cement alone rather than a proper lead or aluminum boot with mechanical flashing. On this job, we counted at least 3 separate penetrations in that condition, each rebuilt from scratch with correctly lapped boot flashings before the new shingles went down.
How Were the Vent Pipes and Wall Flashings Rebuilt?
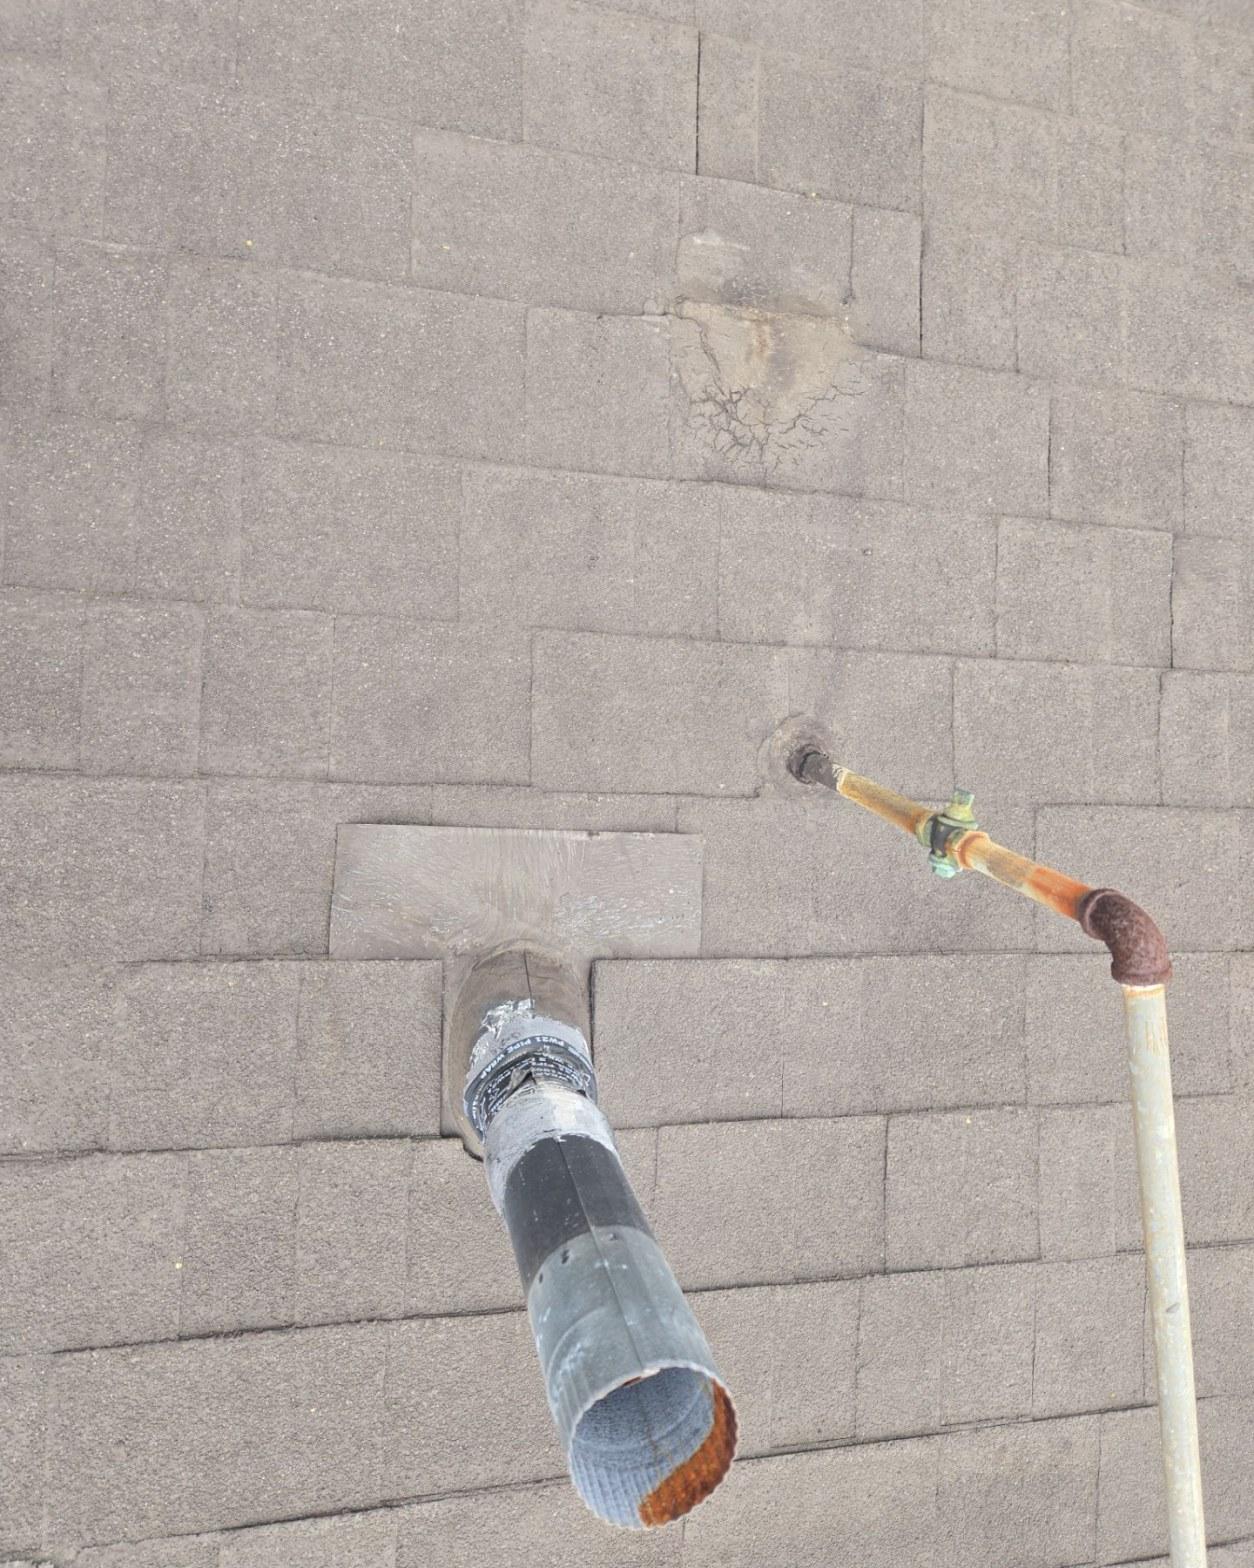
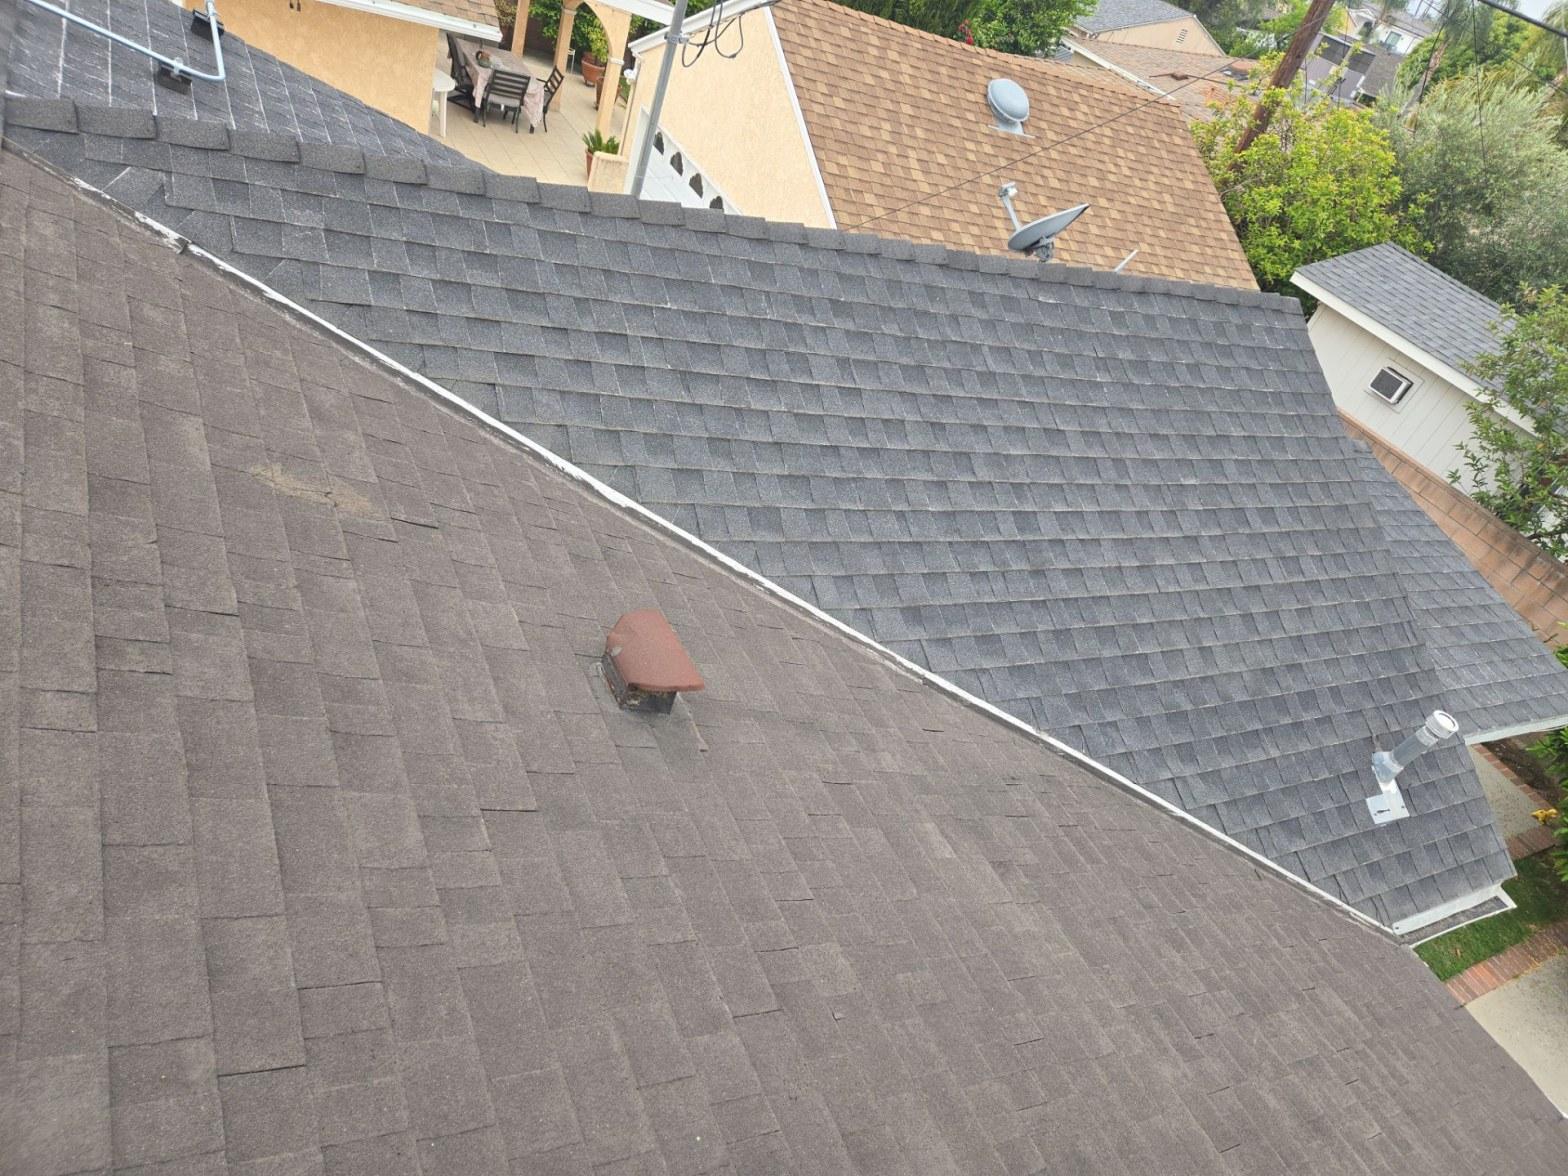
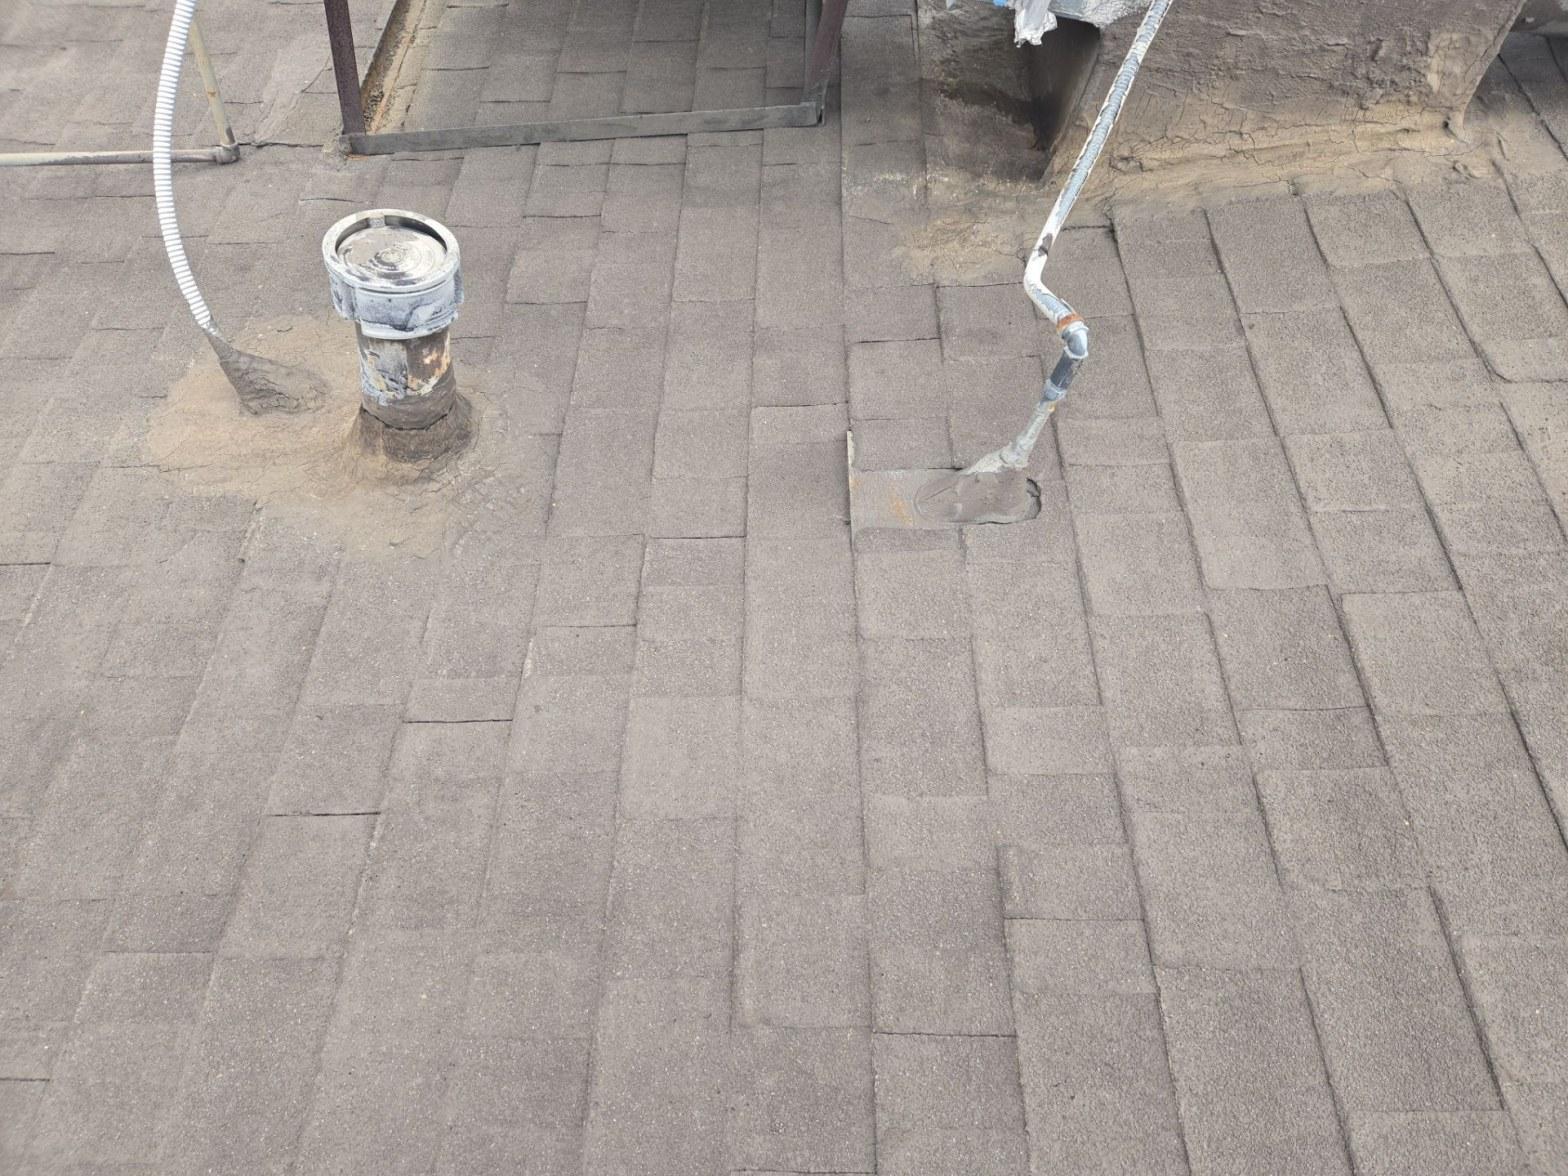
Every penetration on this roof received a new vent boot seated under the uphill shingle course and sealed at the collar, replacing the failed cement patches visible before work began. The photo above shows the roof mid-process, with a replacement vent boot set cleanly into the new shingle field and a second copper pipe penetration visible nearby. Note the difference between the new boot and the older pipe stub to its right: the older fitting still shows the rust staining and improvised sealant typical of an original install that never had proper flashing.
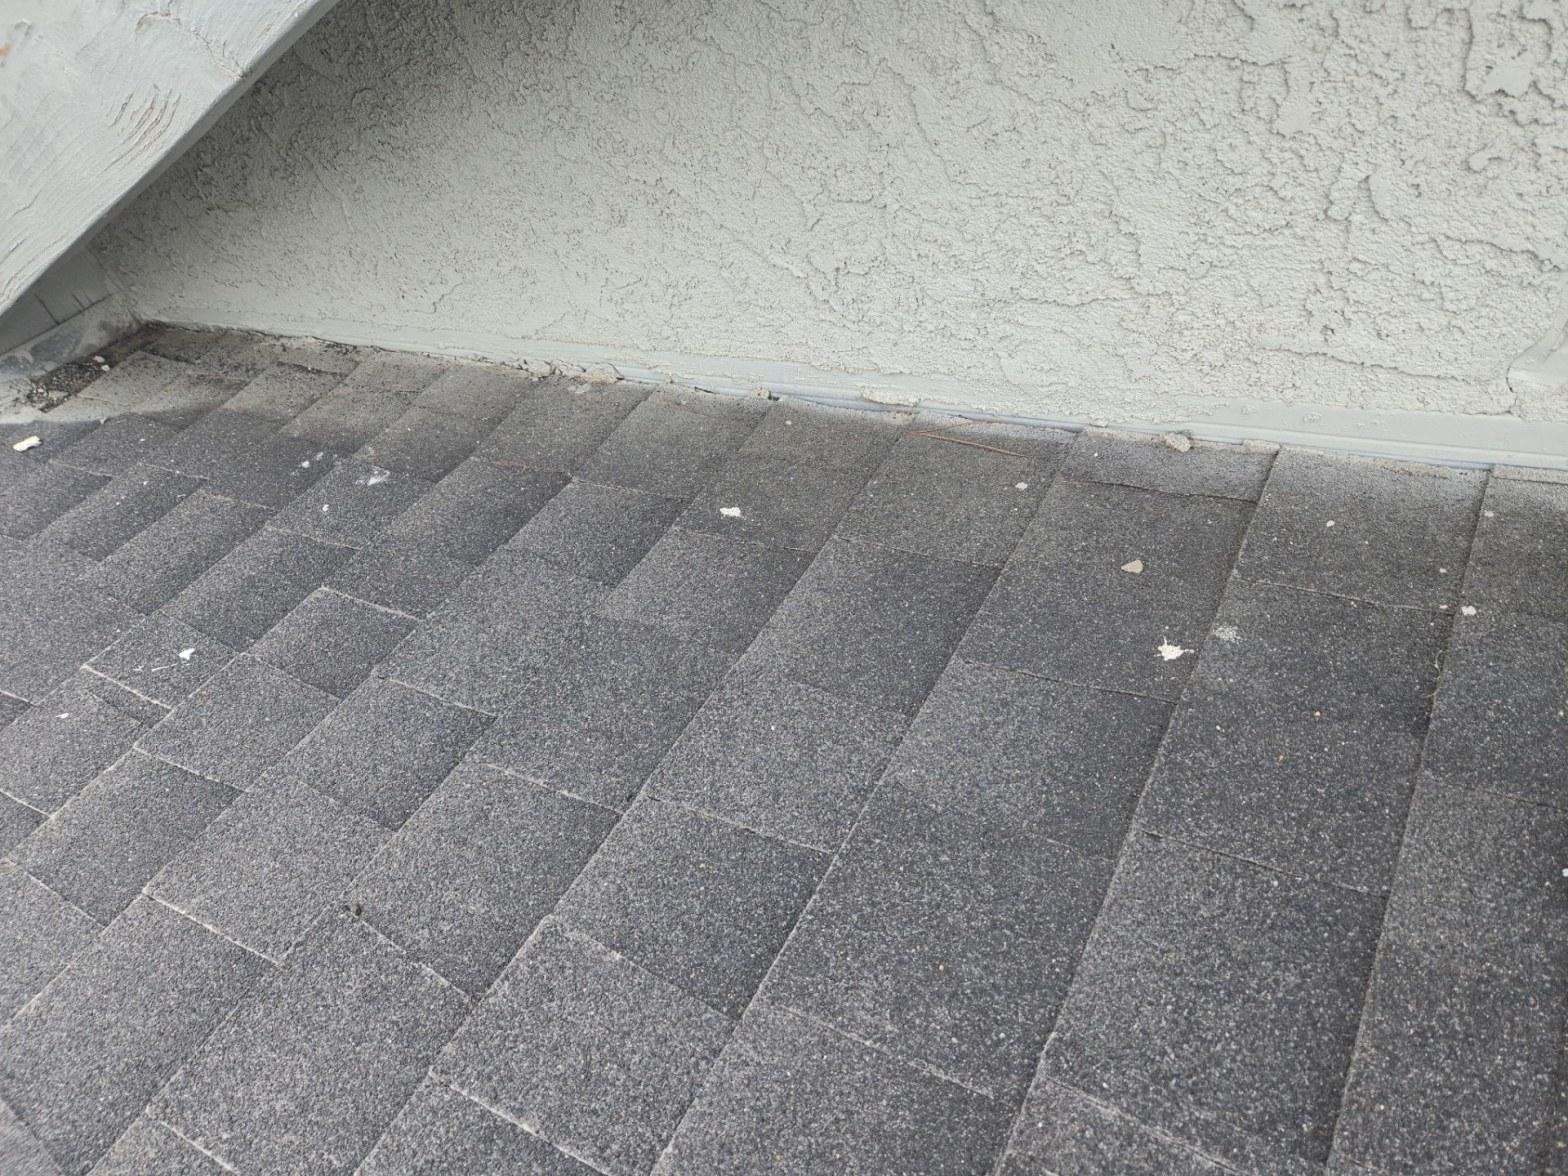
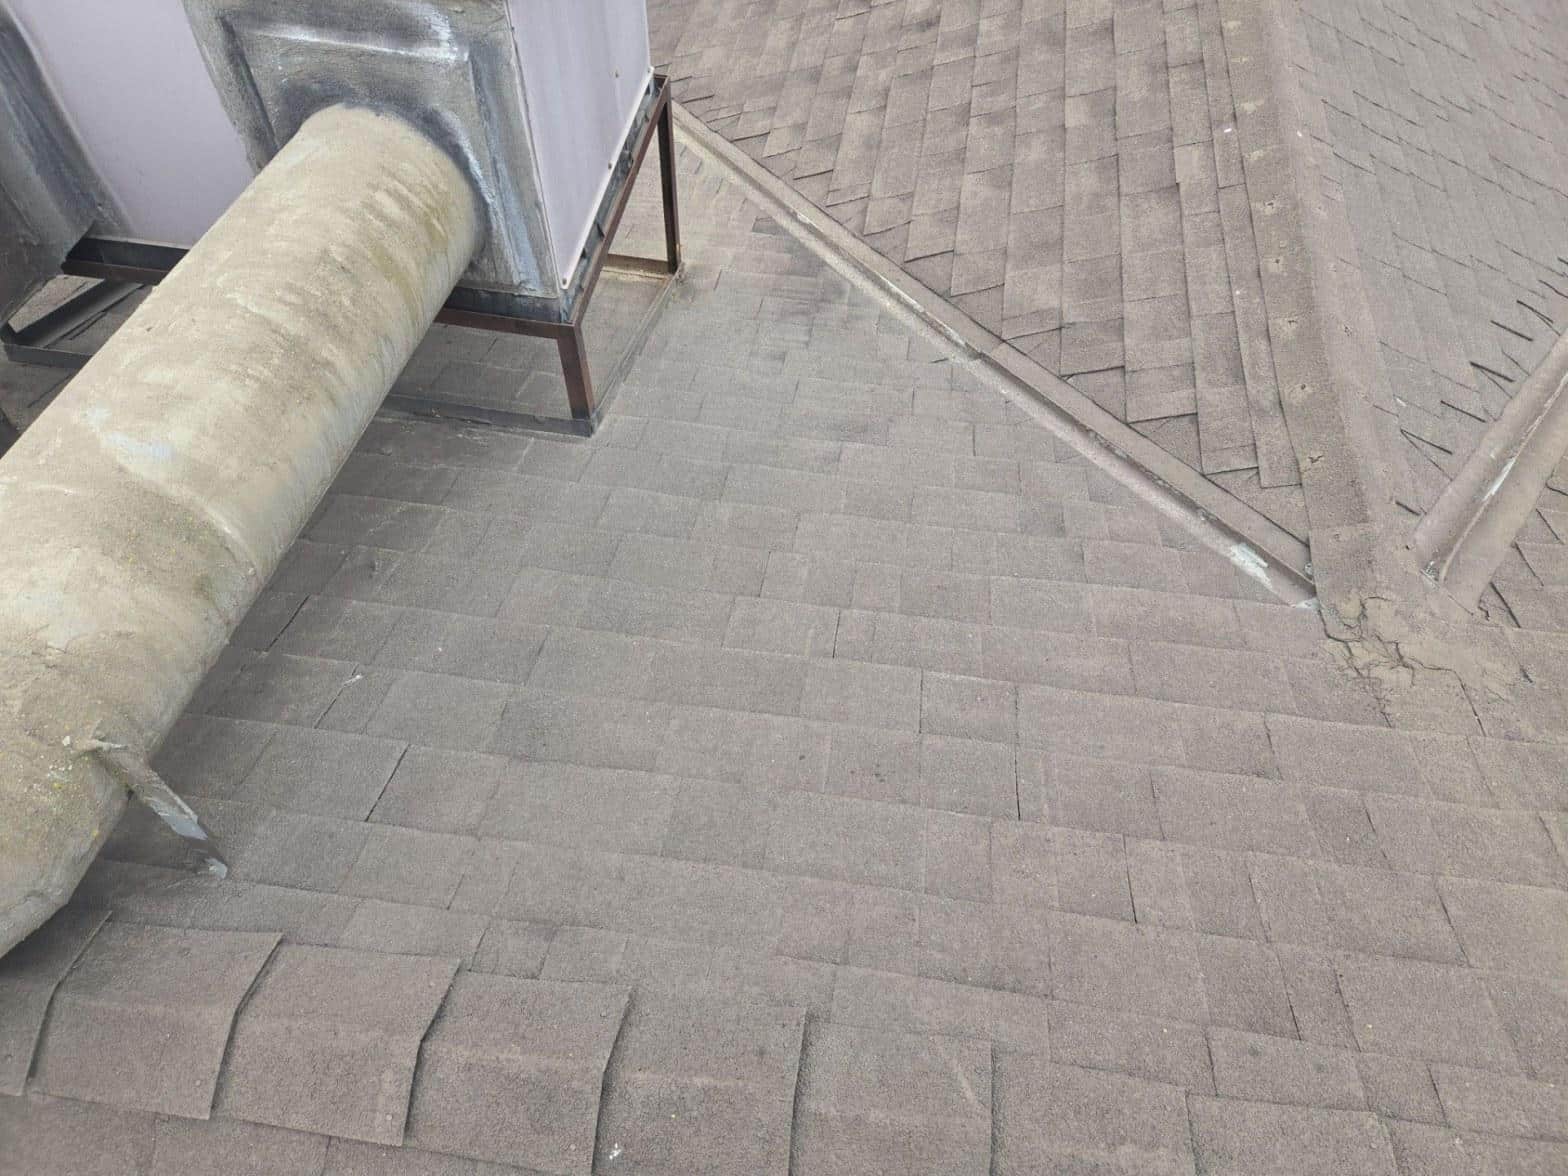
The wall flashing along the parapet and chimney base was in similarly poor condition. Sections of the step flashing had separated from the wall, and the counter-flashing embedded in the stucco had cracked at several points. Step flashing is lapped course over course so water is carried out onto the shingle below, a standard the original installation did not consistently meet. We replaced the full runs of step and counter-flashing before the new shingle field was completed up to the wall.
It is worth noting that as of 2024, California’s roofing permit process in most San Fernando Valley jurisdictions requires inspection of flashings at penetrations as a separate line item during rough inspection, which means this work had to be done correctly before the deck could be covered.
What Condition Was the Shingle Field In?
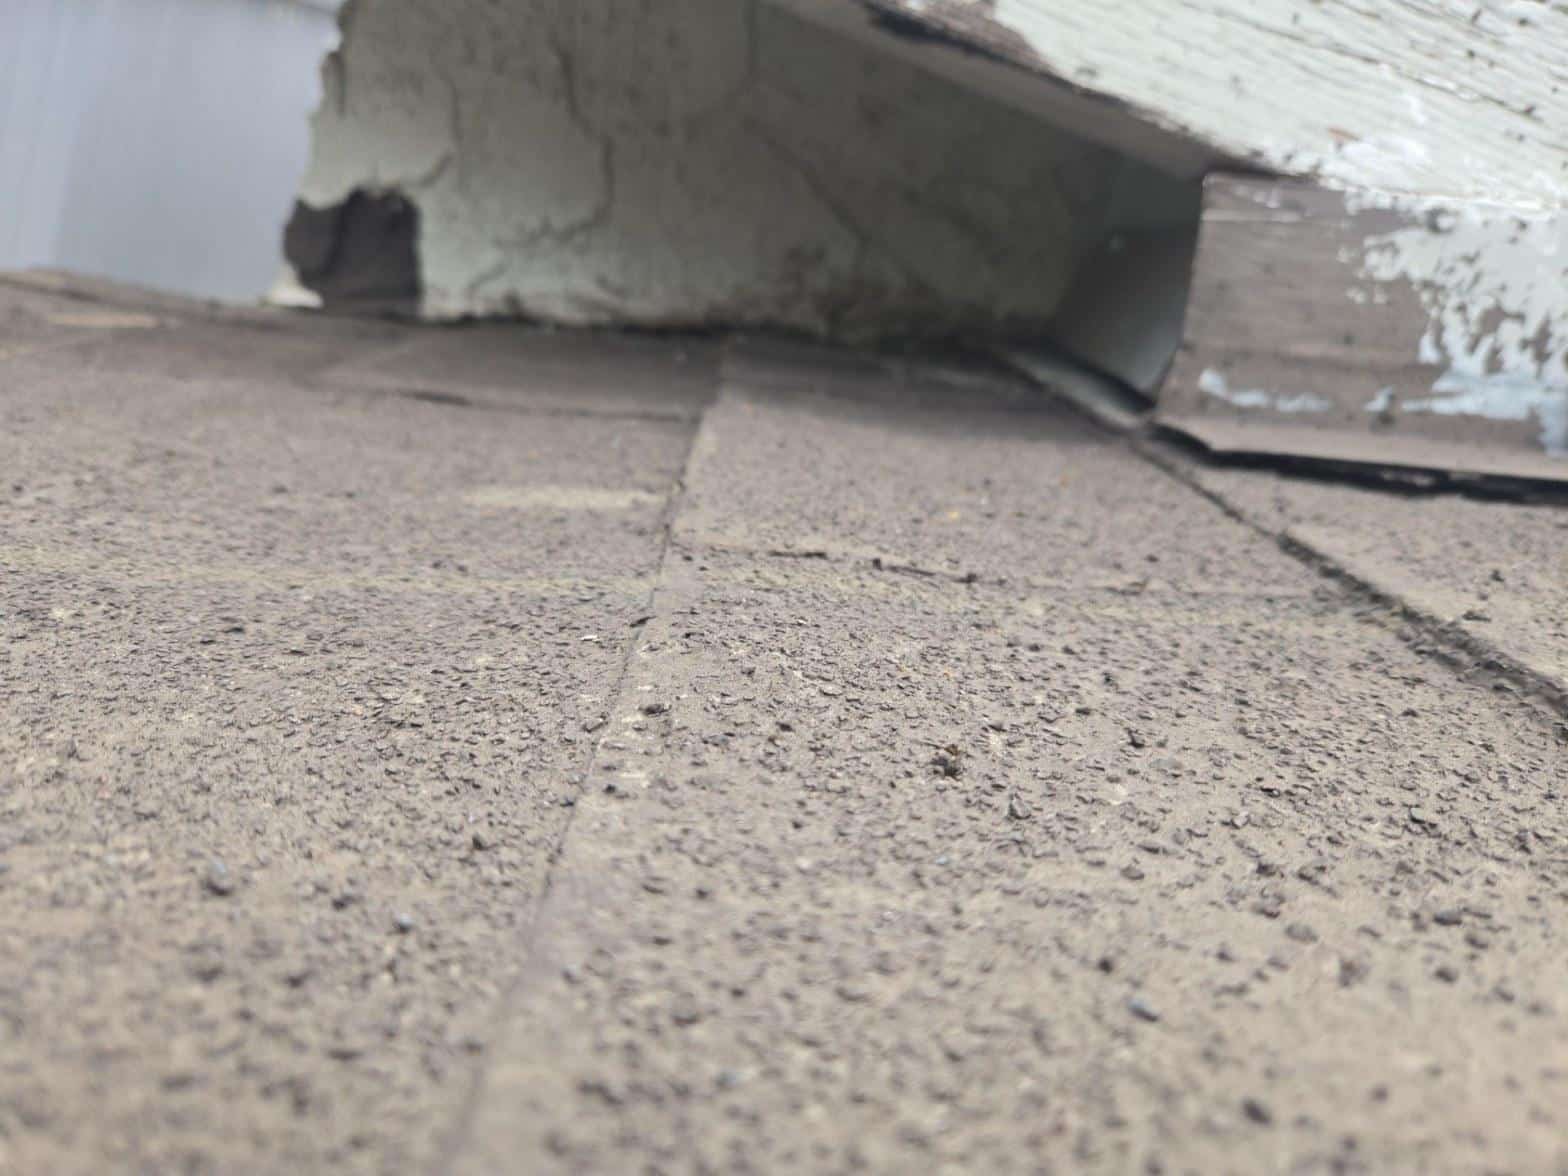
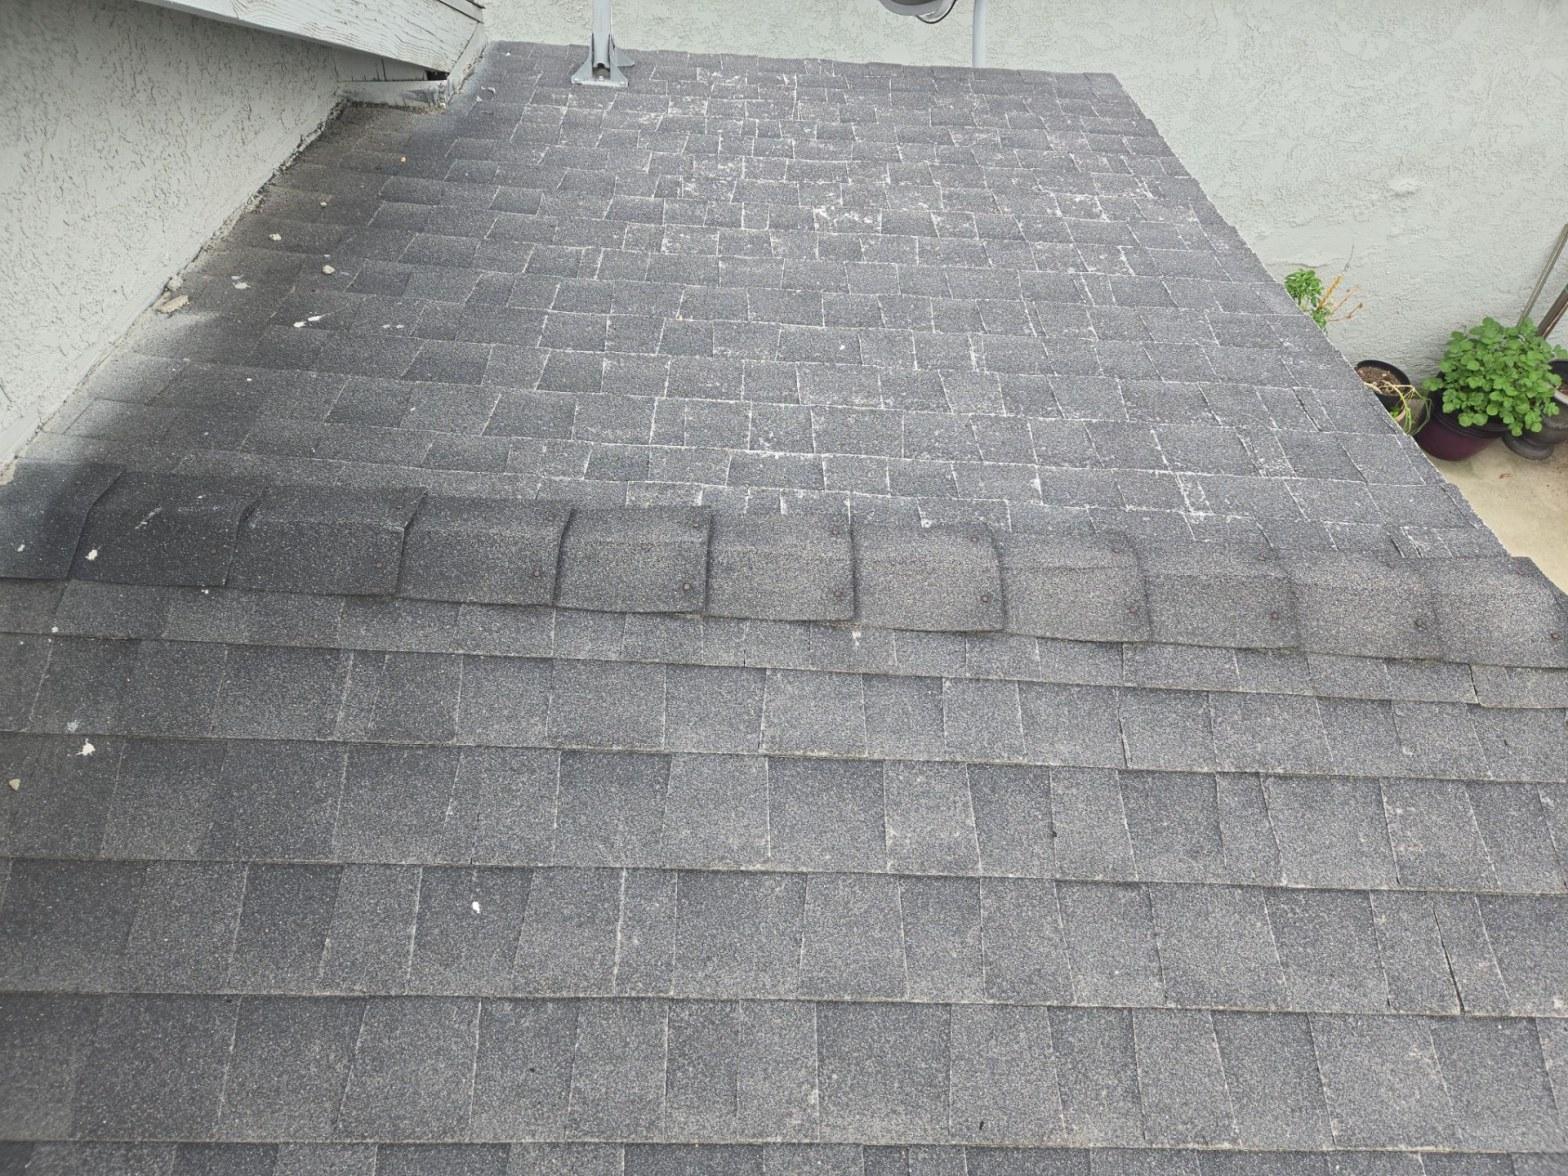
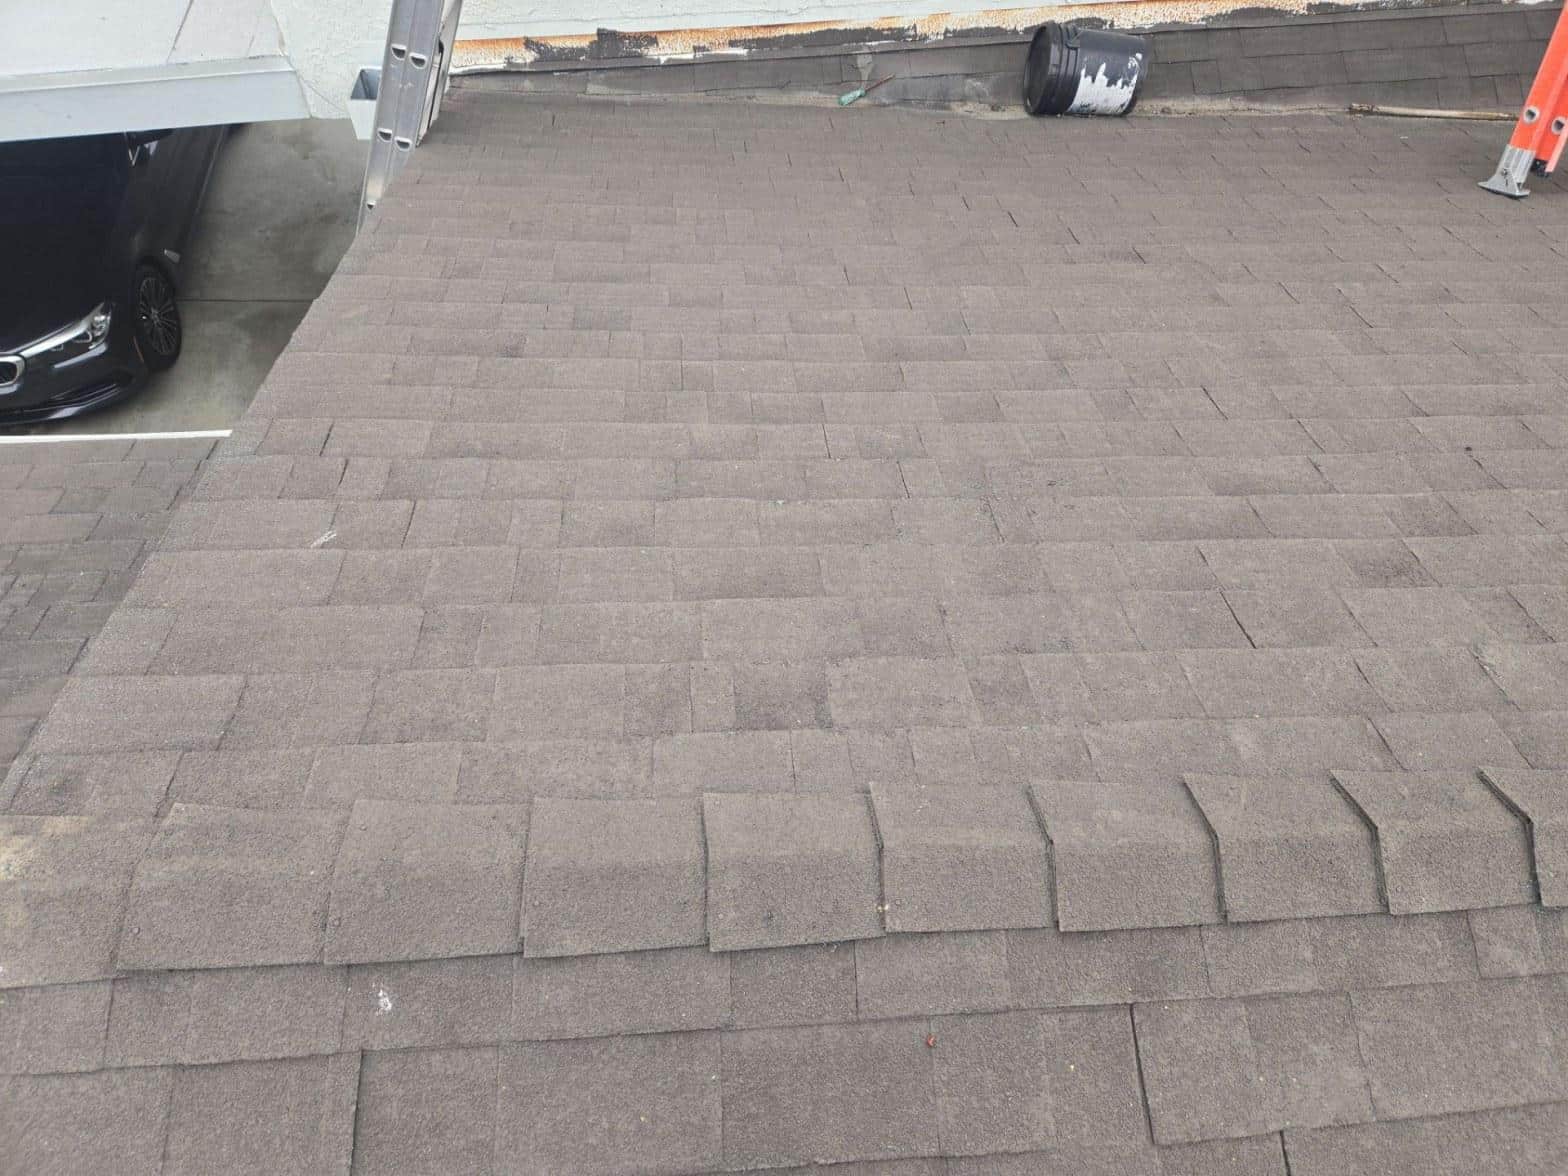
The granule loss across the main shingle field was severe enough to expose the underlying asphalt mat on multiple tabs, and cupping was visible along at least 2 full courses near the eave. The close-up shot shows shingles that have shed granules down to the bare substrate, with visible cracking at the tab edges and separation beginning at the butt seams. Shingles in this condition no longer shed water reliably; they absorb it instead, which accelerates deck deterioration underneath.
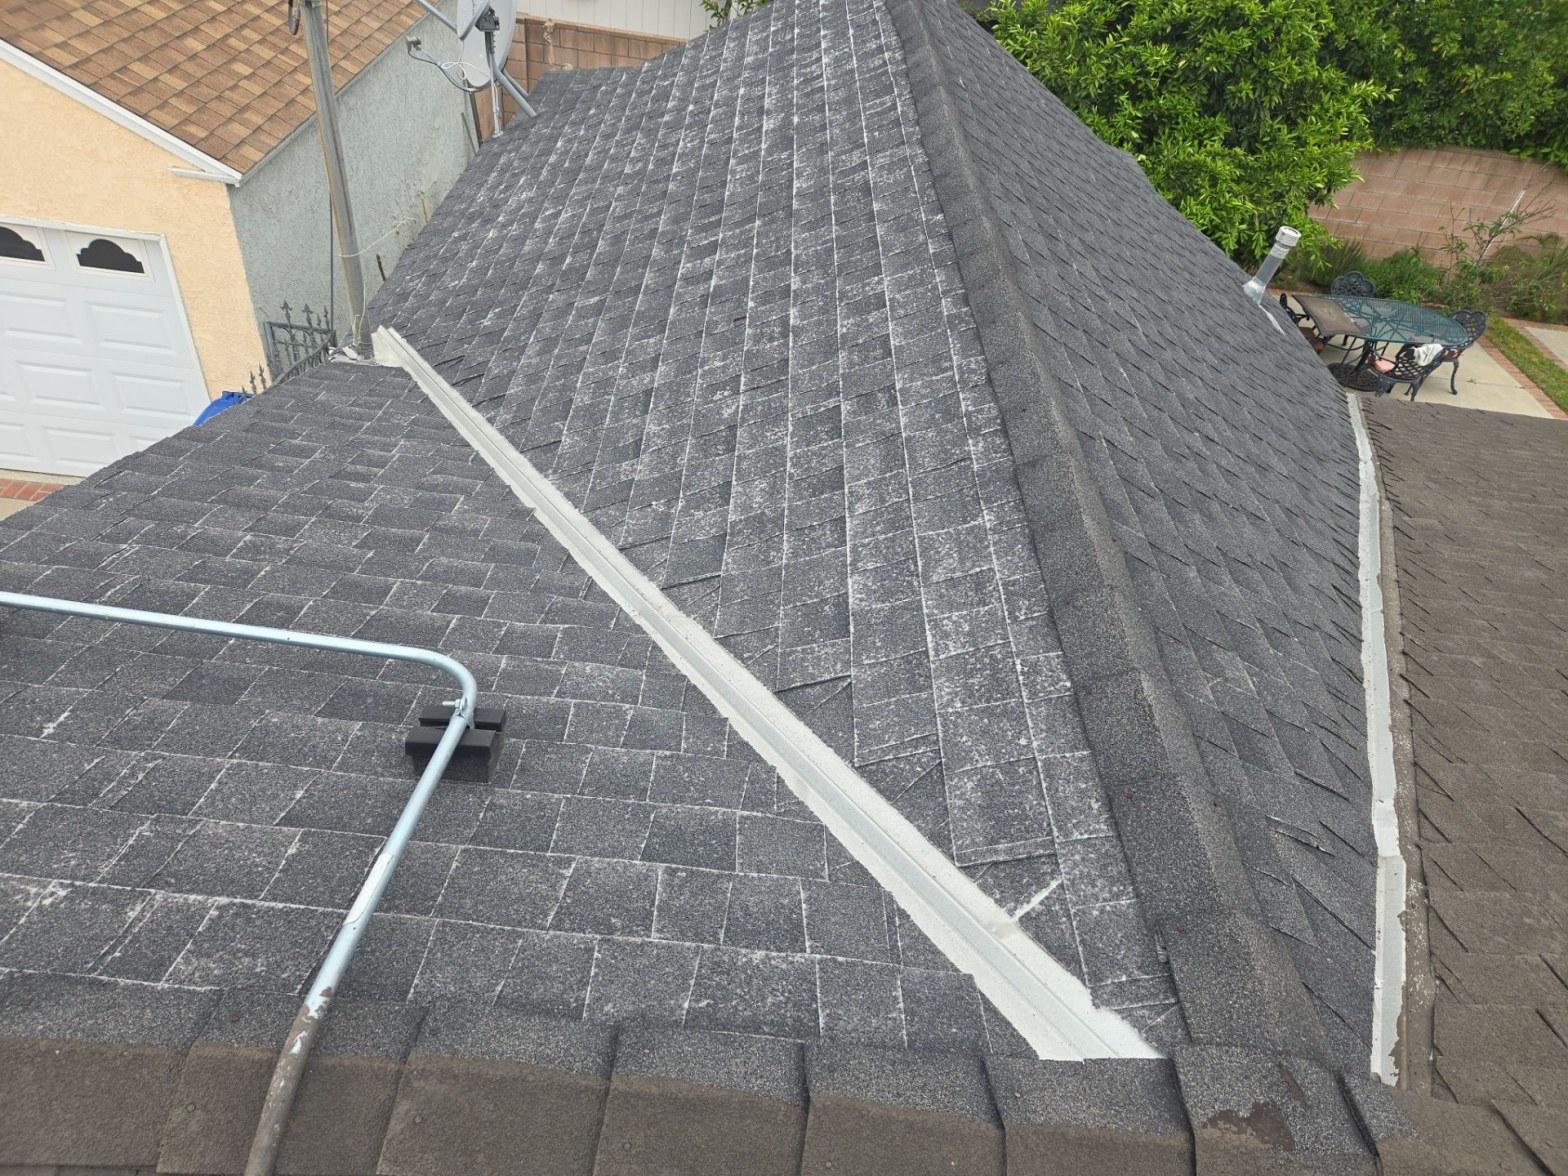
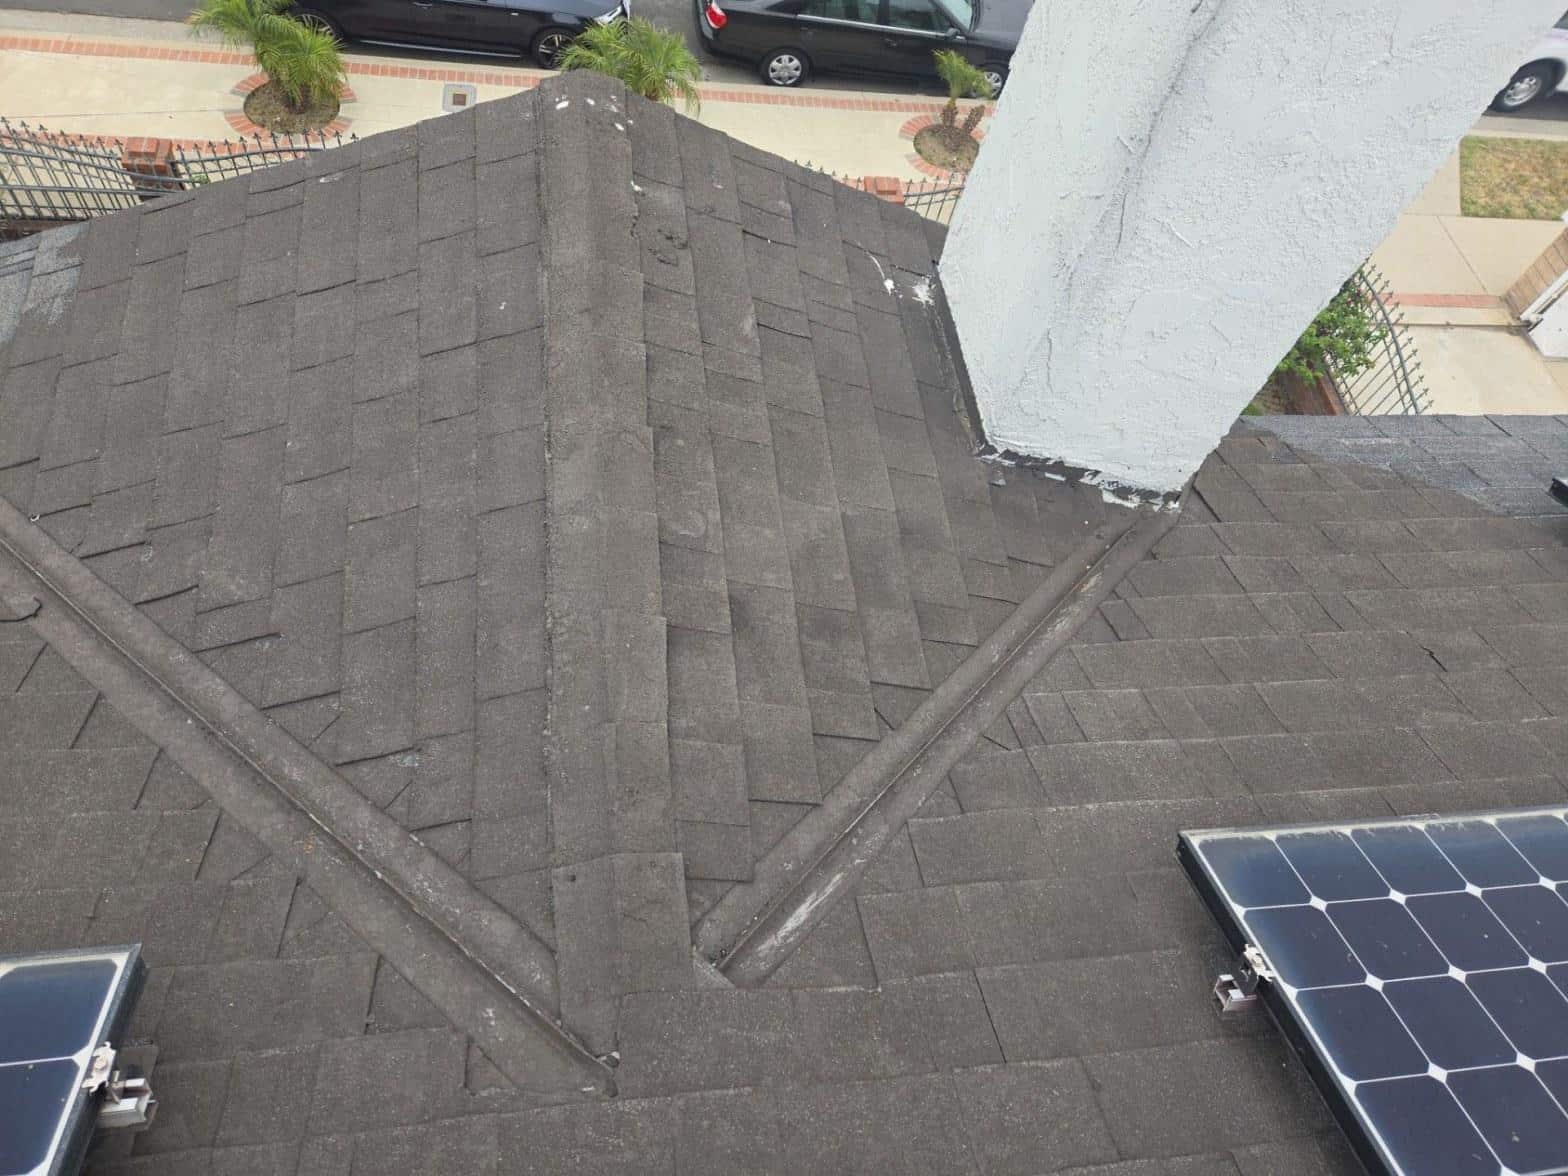
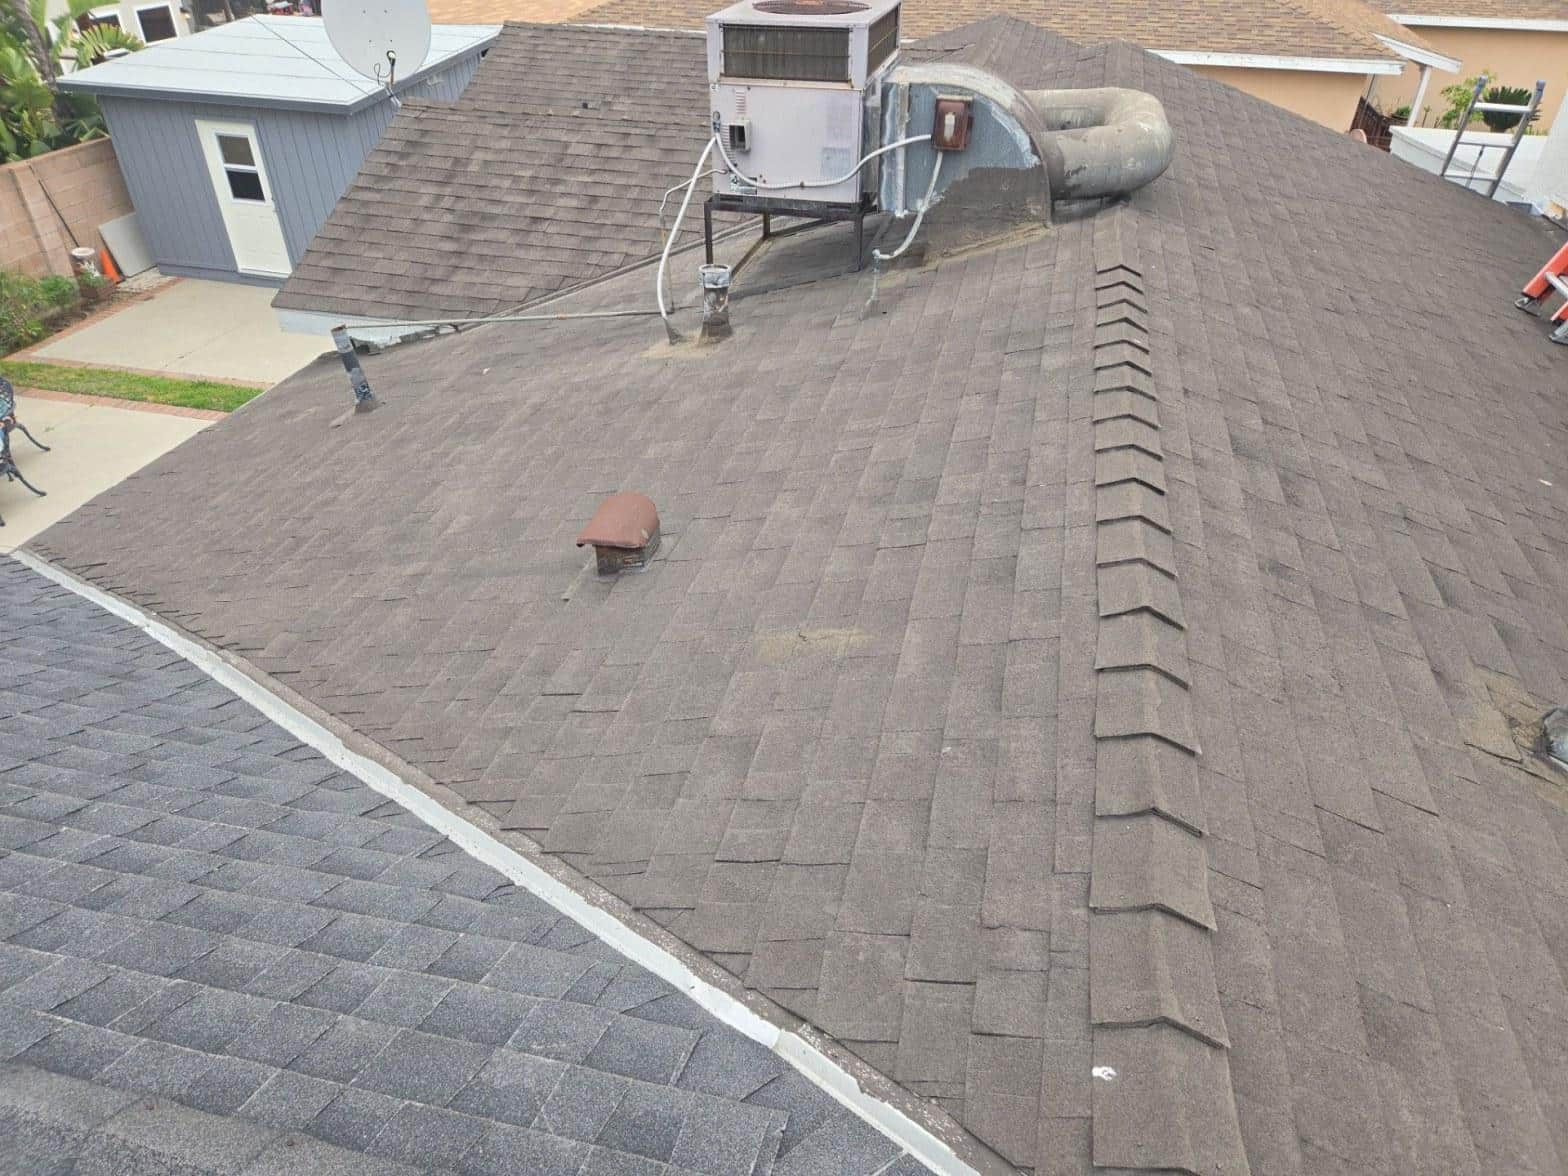
The ridge and hip caps told the same story from a distance. Granule bleed-through, the chalky white mineral residue visible across the hip lines in the wider overview shot, signals that the protective coating has migrated off the tabs entirely. ENERGY STAR-rated shingles carry reflectivity standards that depend on intact granule coverage; once that coverage is gone, any thermal performance advantage disappears along with the weather protection.
After tear-off, the deck was inspected board by board. Damaged sheathing sections were replaced before new underlayment was rolled and the fresh shingle field was installed from eave to ridge.
The Solar Panels: Detached, Stored, and Reset
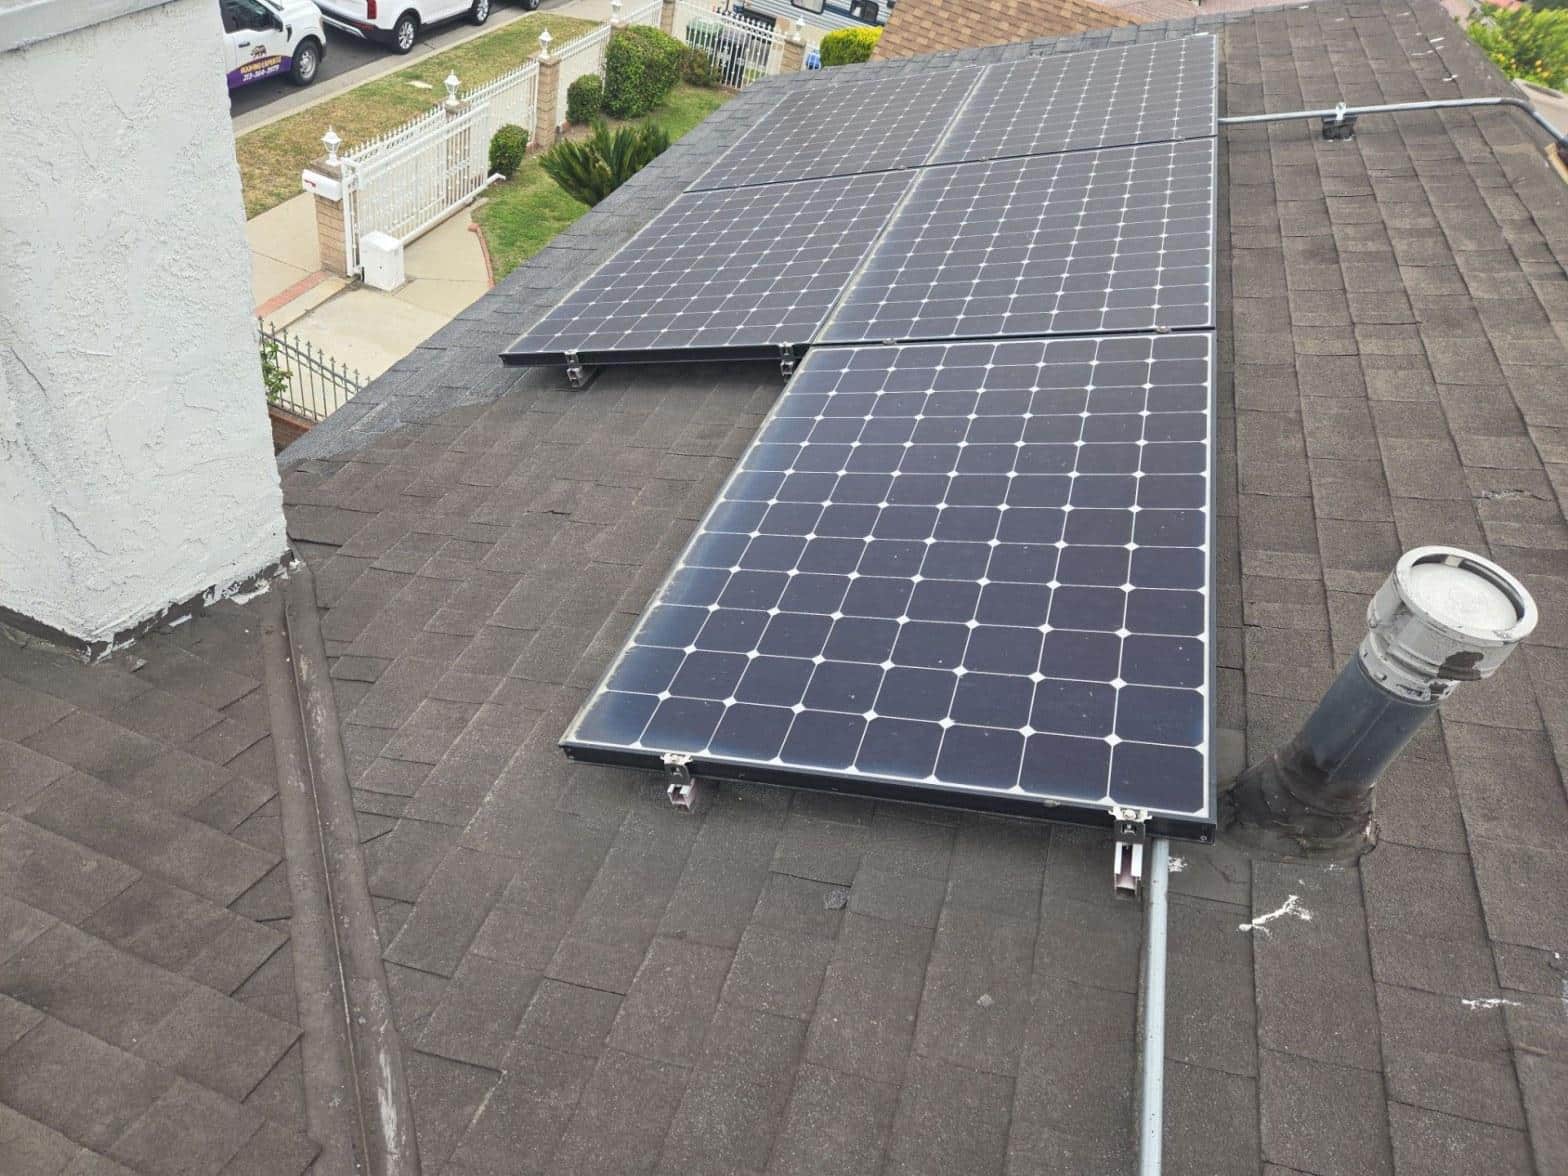
All solar panels were carefully detached from their mounting rails before tear-off, stored flat on the ground during the roofing work, and remounted on the completed roof using new hardware properly seated into the fresh shingles. The finished view of the array shows the panels sitting flush on a clean gray shingle field, rails level, and no visible gaps between mounting feet and the shingle surface.
Detaching and resetting a residential solar array adds meaningful labor to a reroof, but it is the only way to ensure the new roof is installed correctly from eave to ridge without any compromised sections hiding under equipment. Homeowners who try to reroof around a solar array without removing it almost always end up with unflashed rail penetrations and shingle courses that are cut short rather than properly overlapped. The Inflation Reduction Act federal tax credit that many homeowners used to fund their original solar installation does not cover roofing work, so protecting that investment with a properly executed reroof is worth the added step.
Get a Quote for Your Roof
If your home has an aging shingle roof, an existing solar array, or both, this project shows exactly what a careful replacement looks like from start to finish. Call Roof Replacement Inc for a roof inspection and written estimate. A licensed contractor, licensed by the California Contractors State License Board (CSLB), will review the full surface including flashings, penetrations, and any solar mounting points before recommending a scope of work.


