

What Brought Us to This Roof?
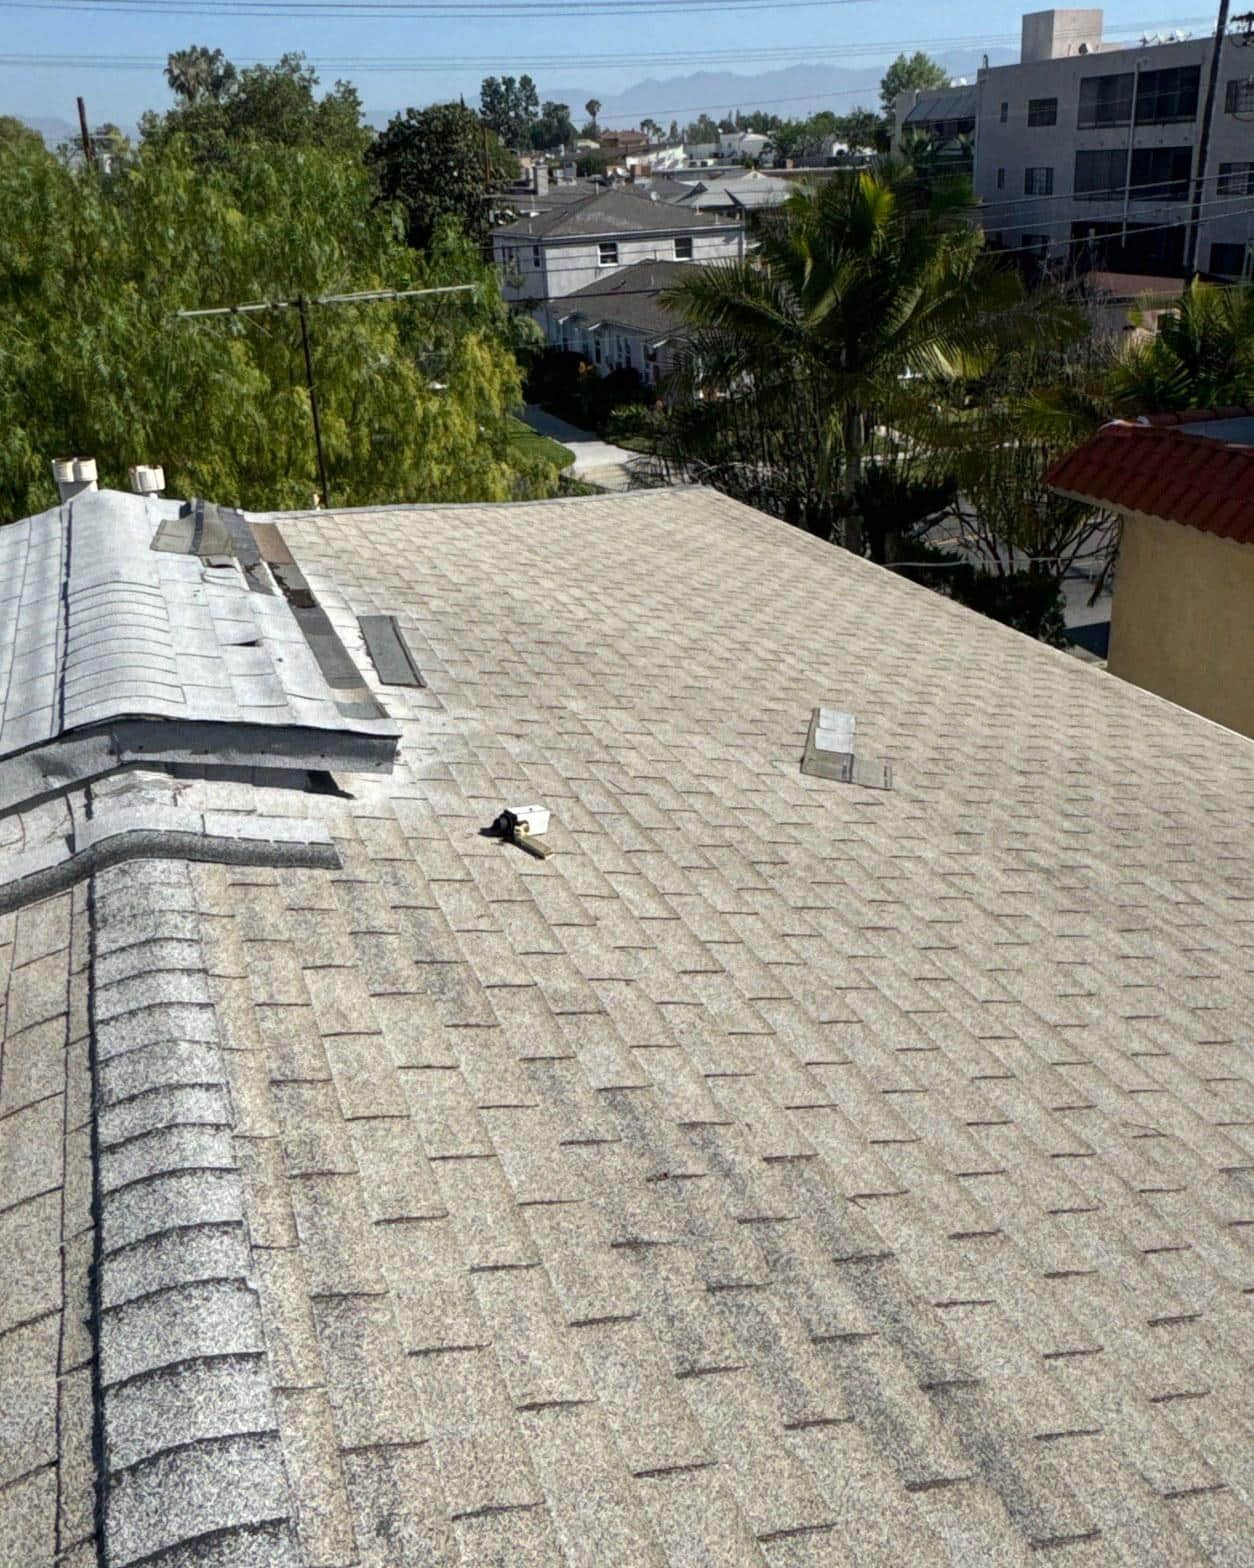
This project started as a leak complaint but turned into a full structural conversation once we got on the roof. The property is a multi-unit residential building in the San Fernando Valley, and the owner had been chasing water intrusion for some time. From the ground the roof looked tired but passable. From the ridge it told a different story: granule loss across most of the field, ridge caps separating, and vent jack bases sitting in puddles of cracked caulk.
The goal coming in was straightforward: pull everything off, assess what was underneath, fix what needed fixing in the structure, and put a new roof on that would last.
Project Gallery
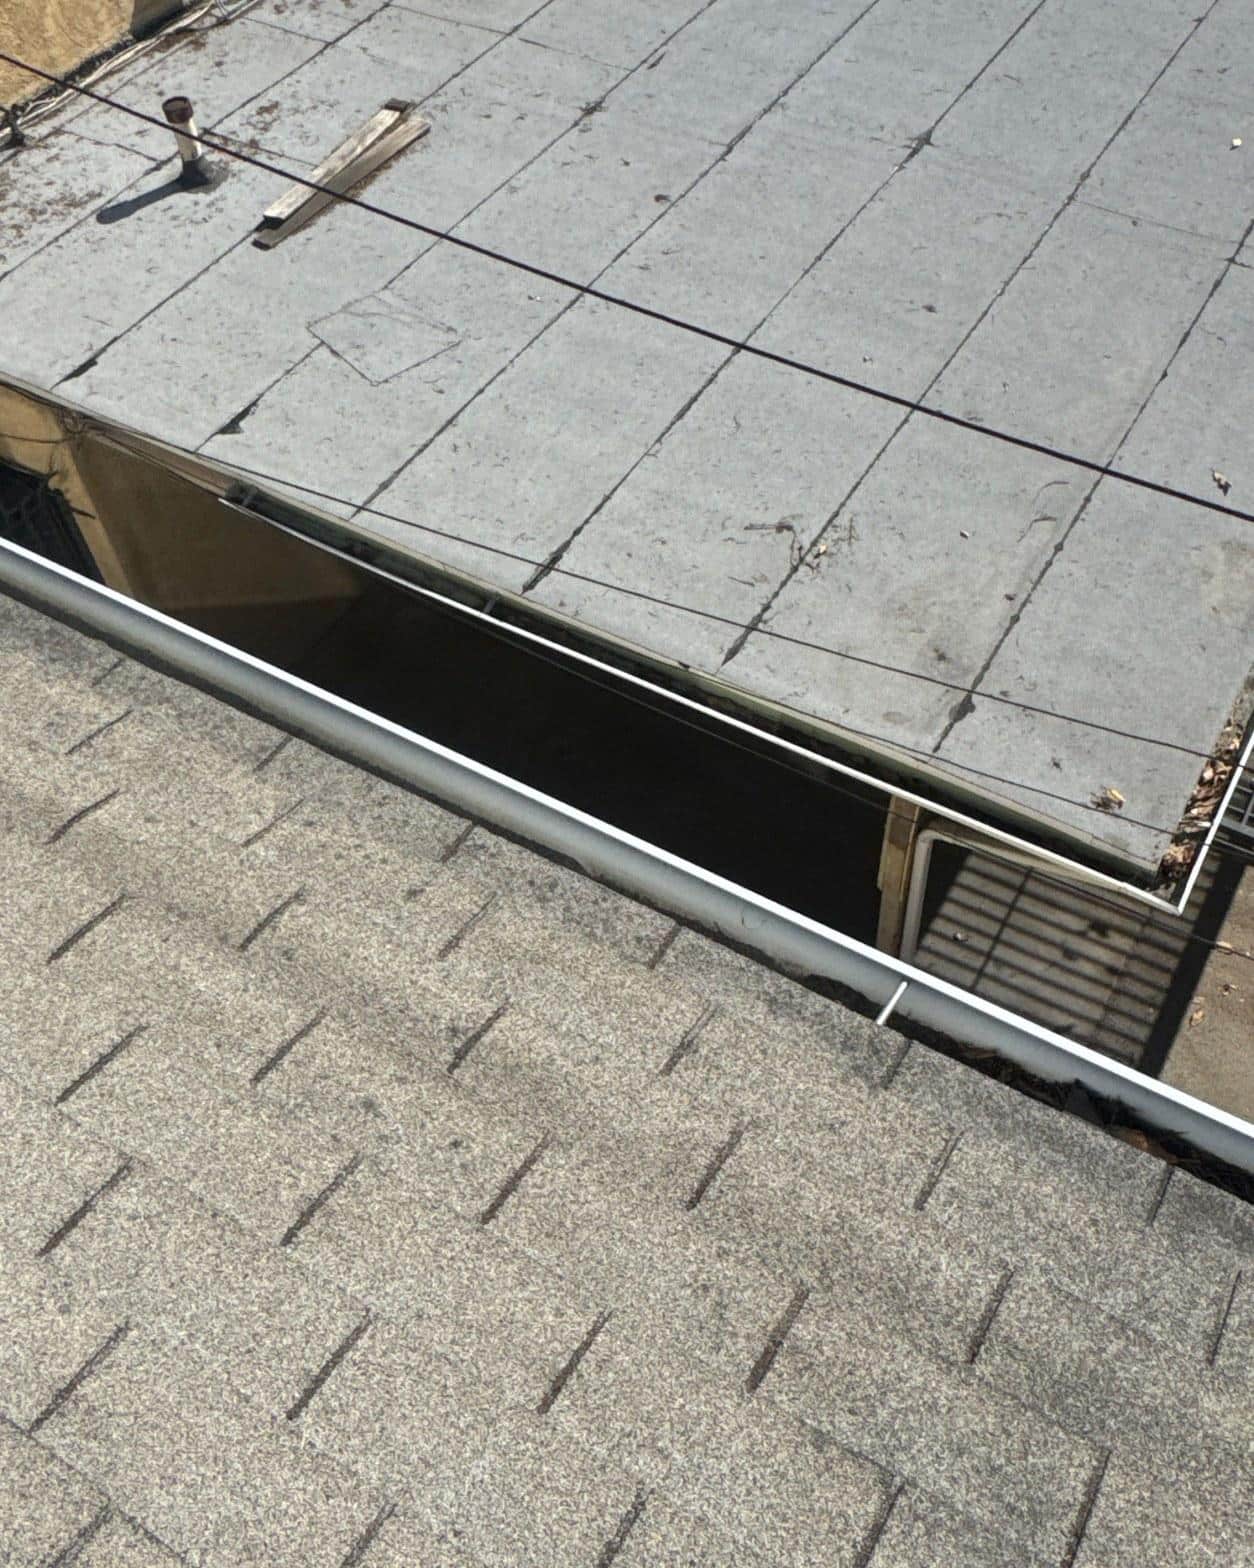
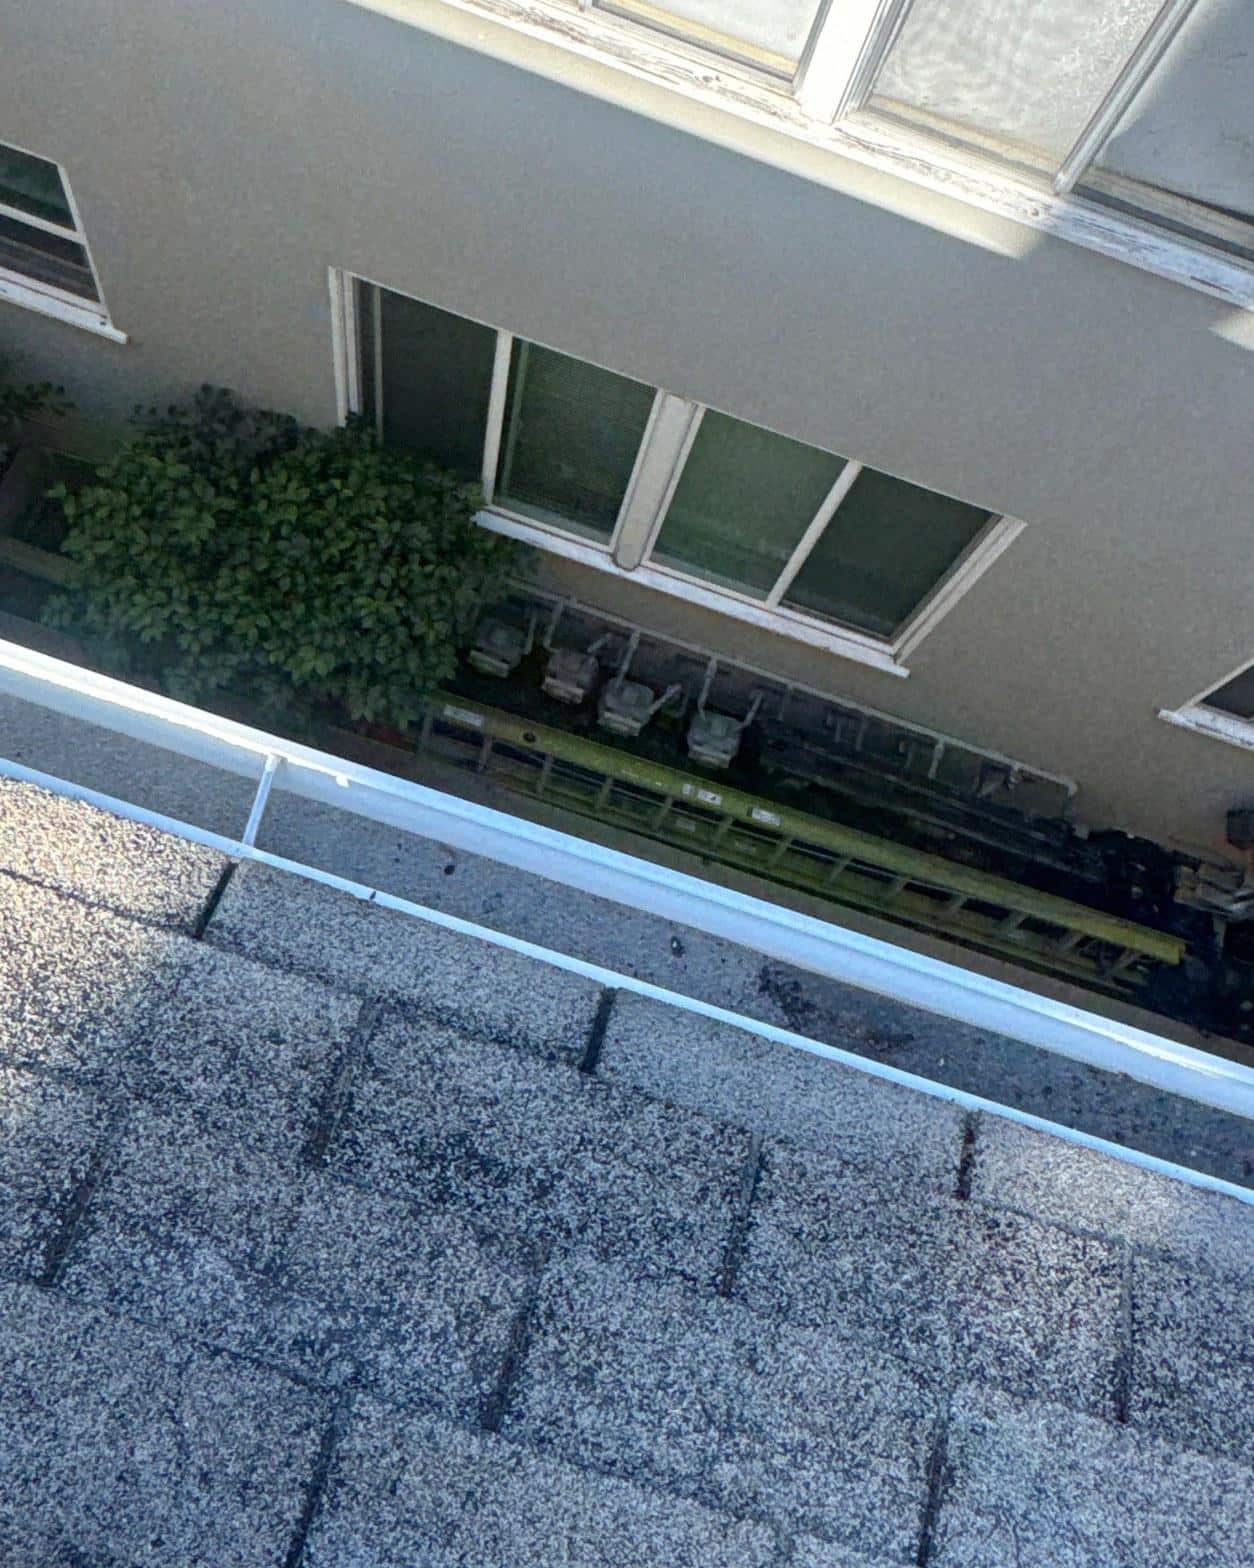
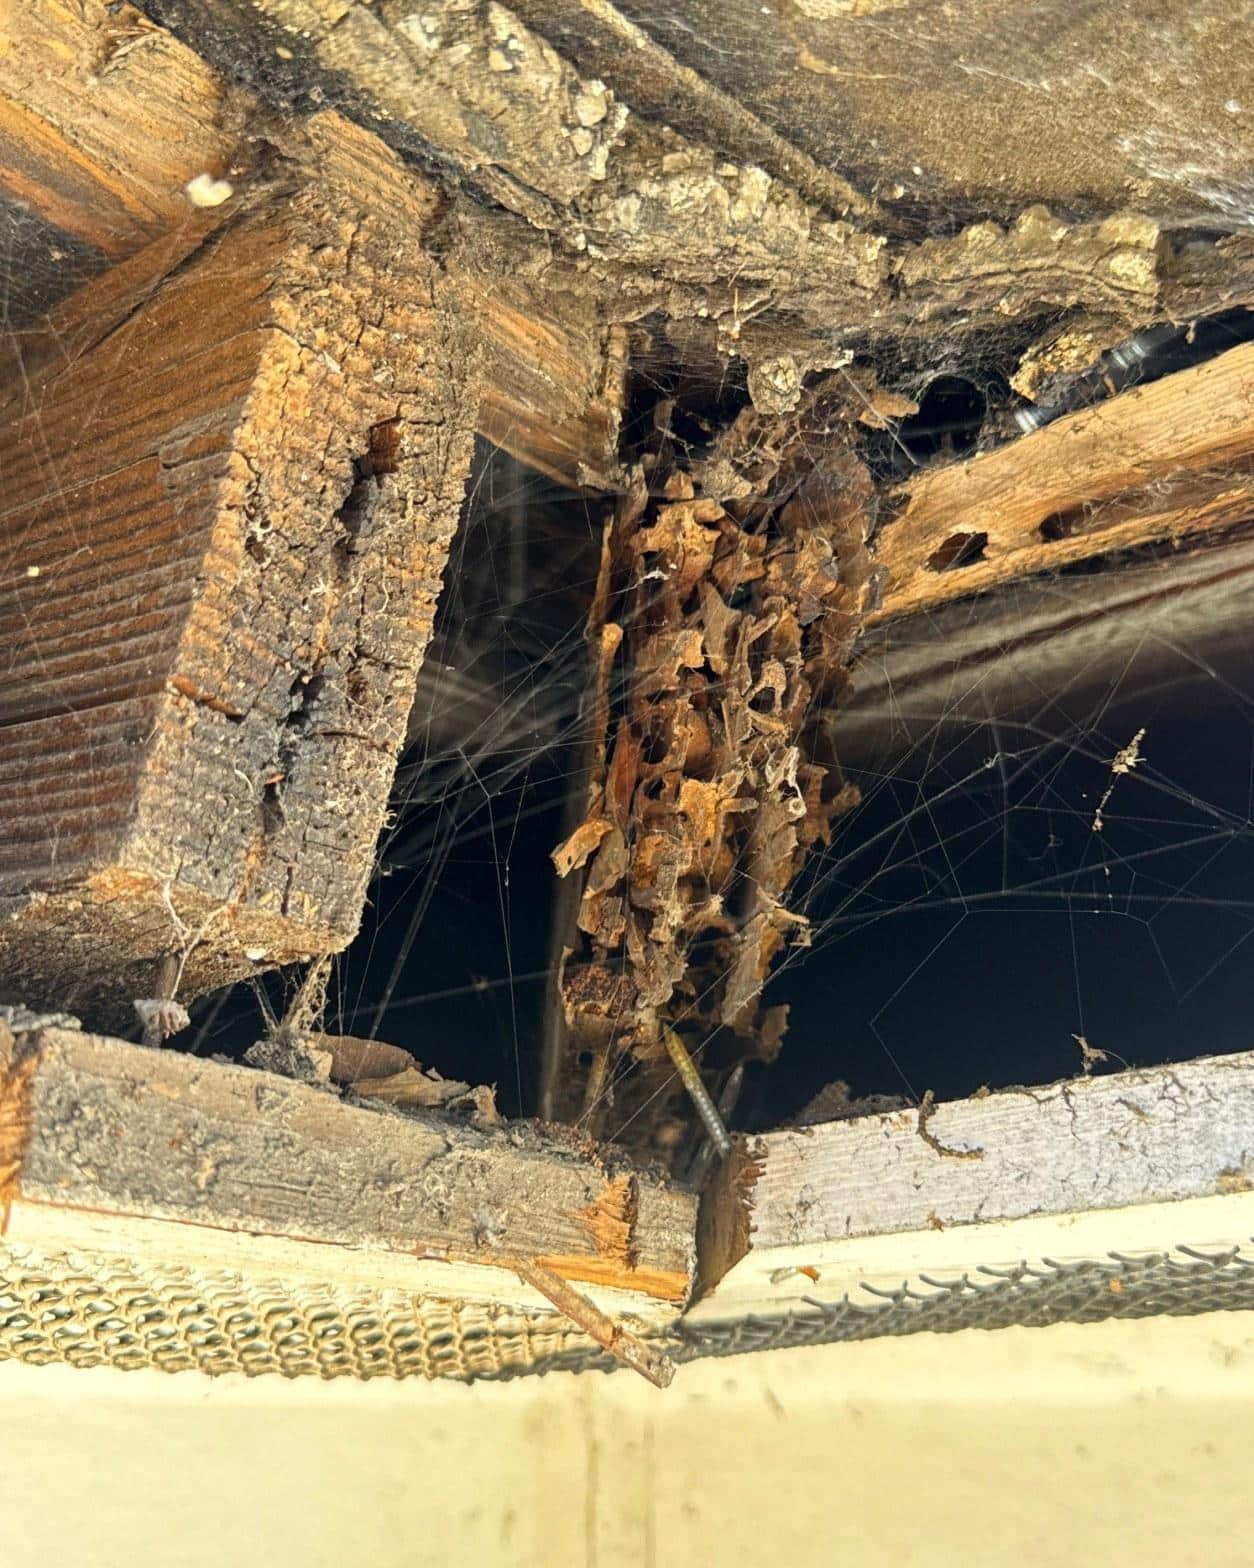
What we found at the eaves confirmed the owner’s worst suspicion. The photo above shows the underside of one eave corner where long-term moisture intrusion had completely destroyed the rafter tail and the sheathing around it. The wood had broken down to a crumbling, fibrous mass, consistent with years of water wicking back under a failed drip edge. This kind of rot doesn’t happen overnight. In the San Fernando Valley, where the National Weather Service Studio City office records the bulk of annual rainfall between November and March, an undetected flashing failure at the eave line can drive this level of structural damage over just three to five wet seasons.
What Did We Find When We Tore Off the Old Shingles?
The tear-off revealed multiple layers of aged asphalt shingles with underlayment that had completely lost its waterproofing function. California’s roofing code limits re-roofing to two layers of asphalt shingles before a full tear-off is required, and this roof had reached that limit. The California Building Standards Code language exists precisely because layered-over roofs trap heat and moisture in ways that accelerate deck deterioration from below.
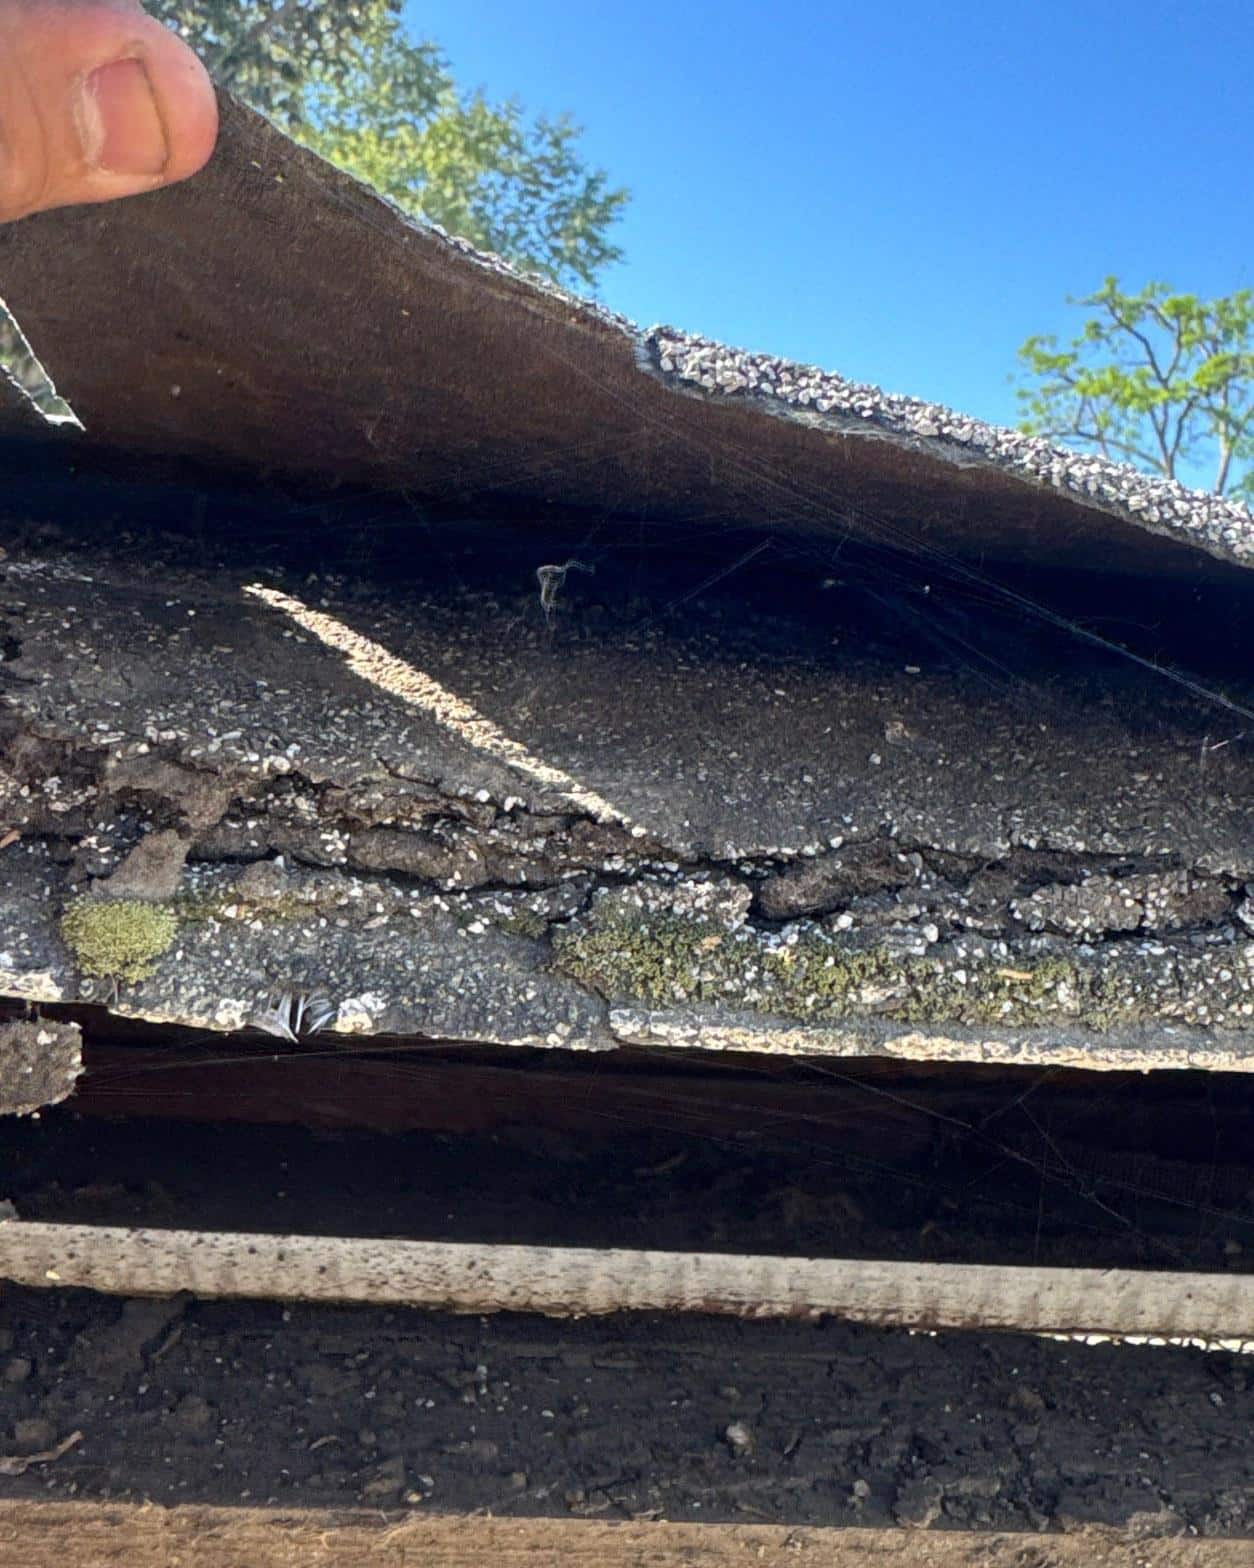
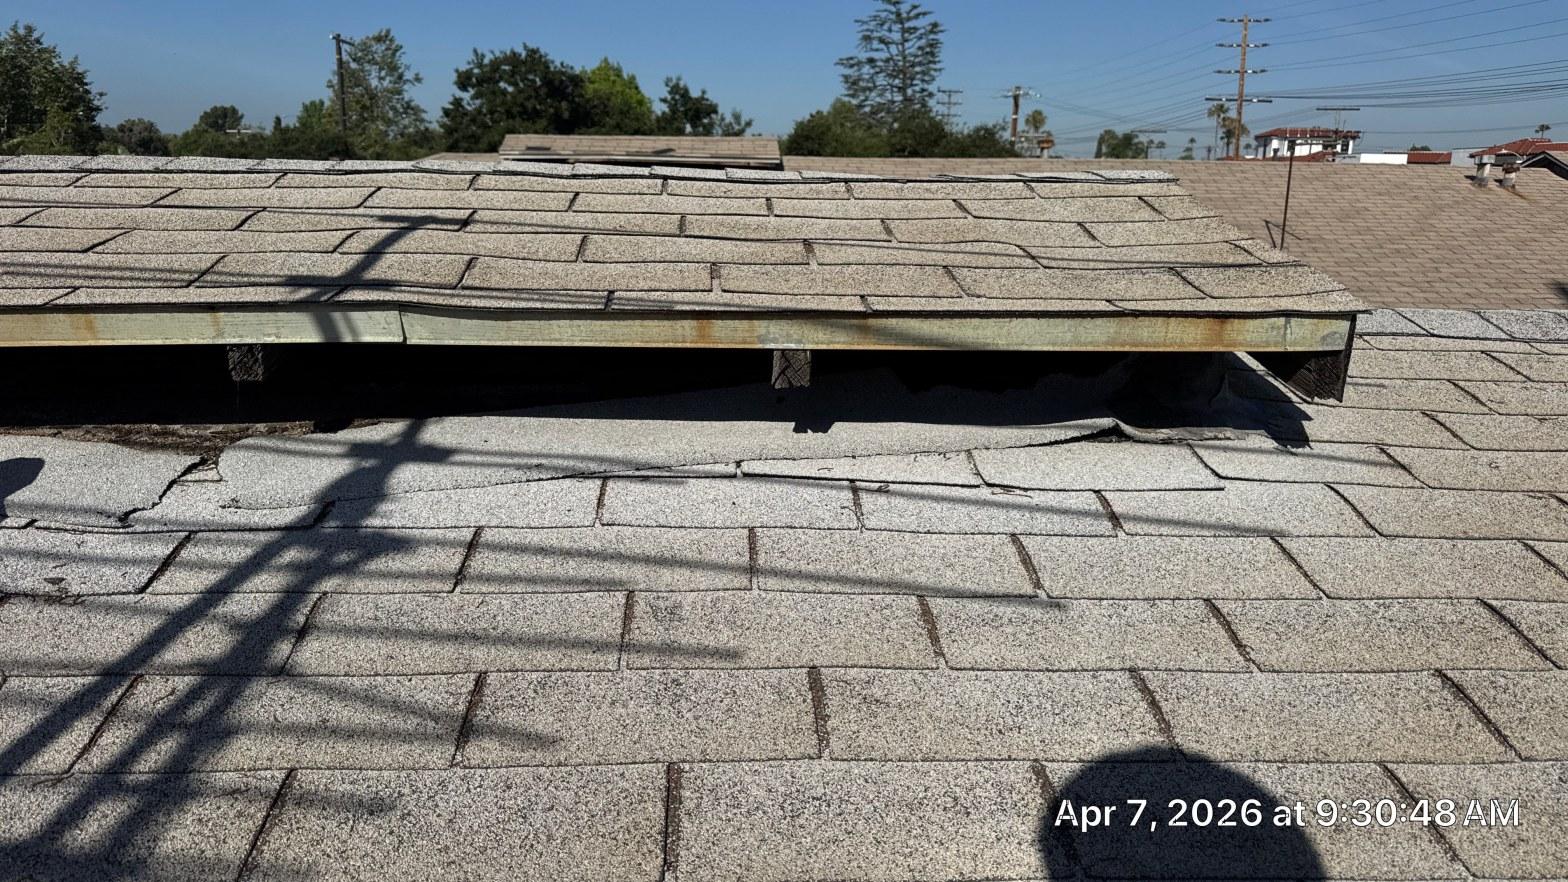
The cross-section photo shows what we lifted when we peeled back the outermost shingle layer: a sandwich of two asphalt shingle generations separated by an underlayment layer that had turned brittle and cracked. Moss was visible growing between the layers, which tells you moisture had been sitting there long enough to support biological growth. Once you see that, you know the deck below needs a full inspection before anything goes back on. Across this building, we identified and replaced damaged sheathing sections in 4 separate eave zones before any new material went down.
Resetting the Vent Jacks and Pipe Flashings
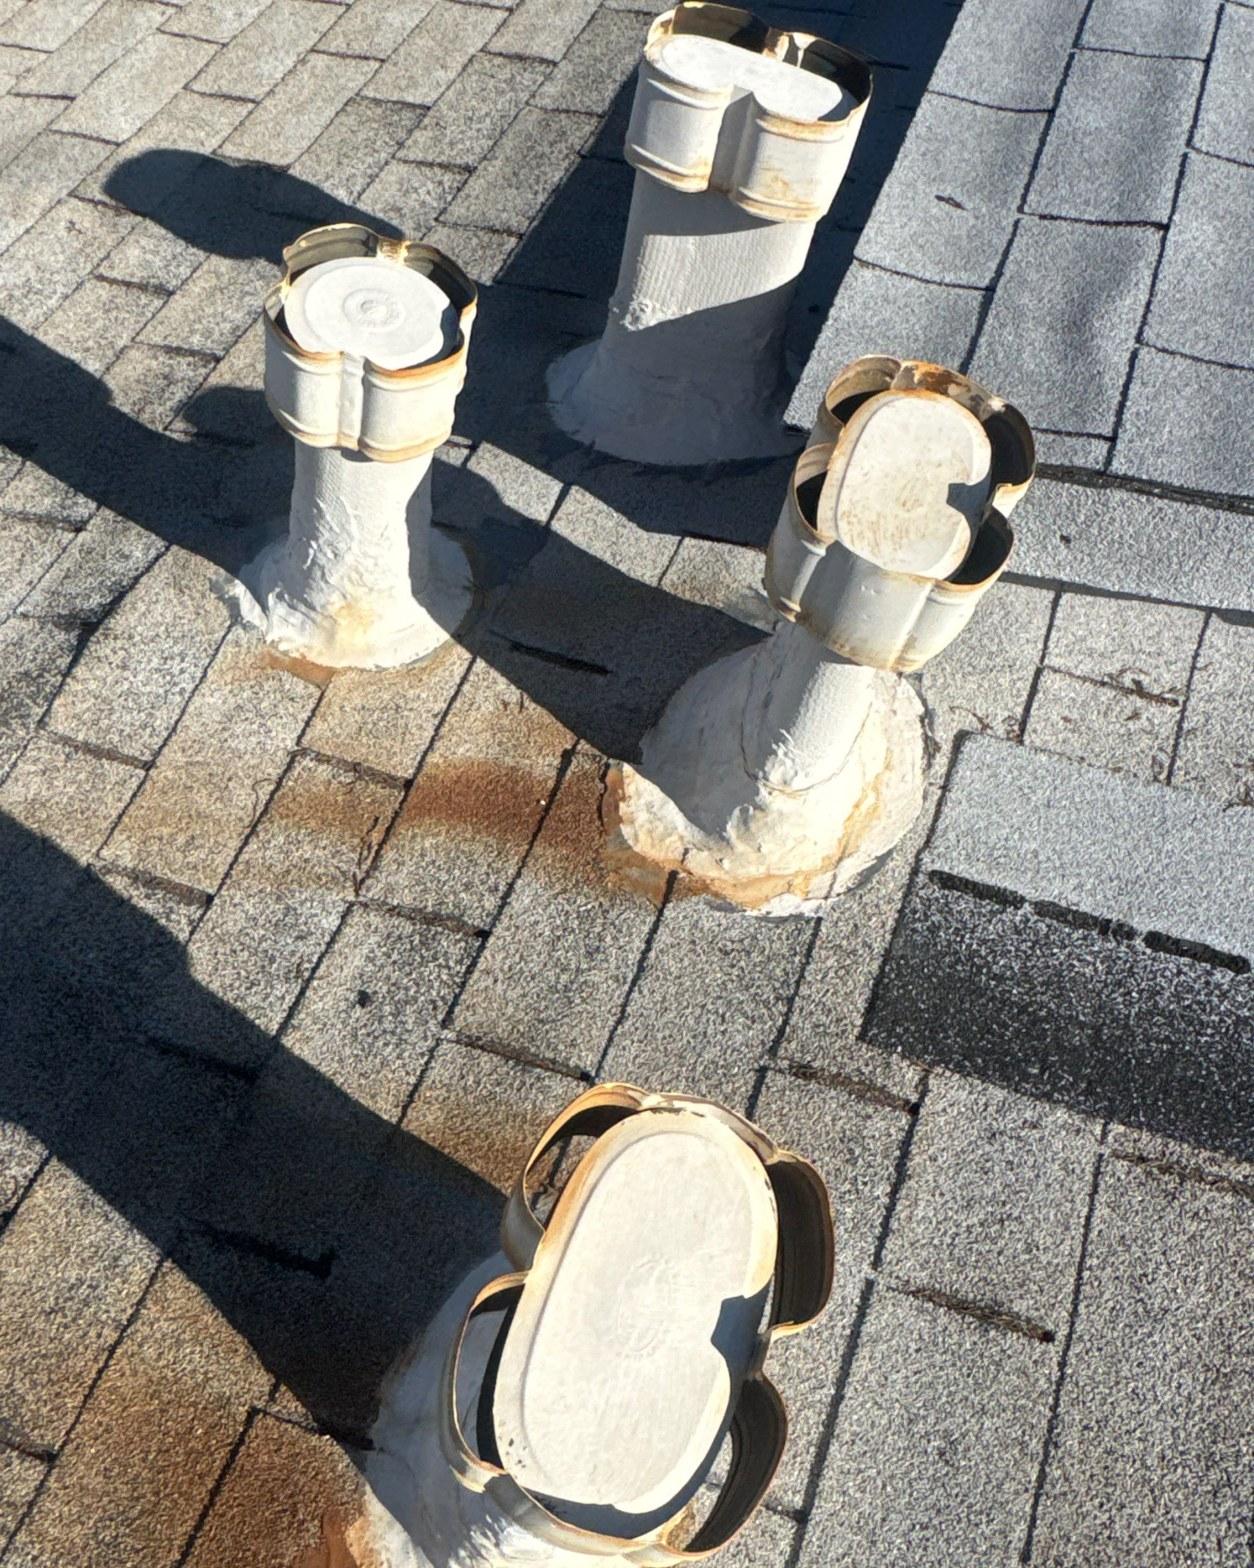
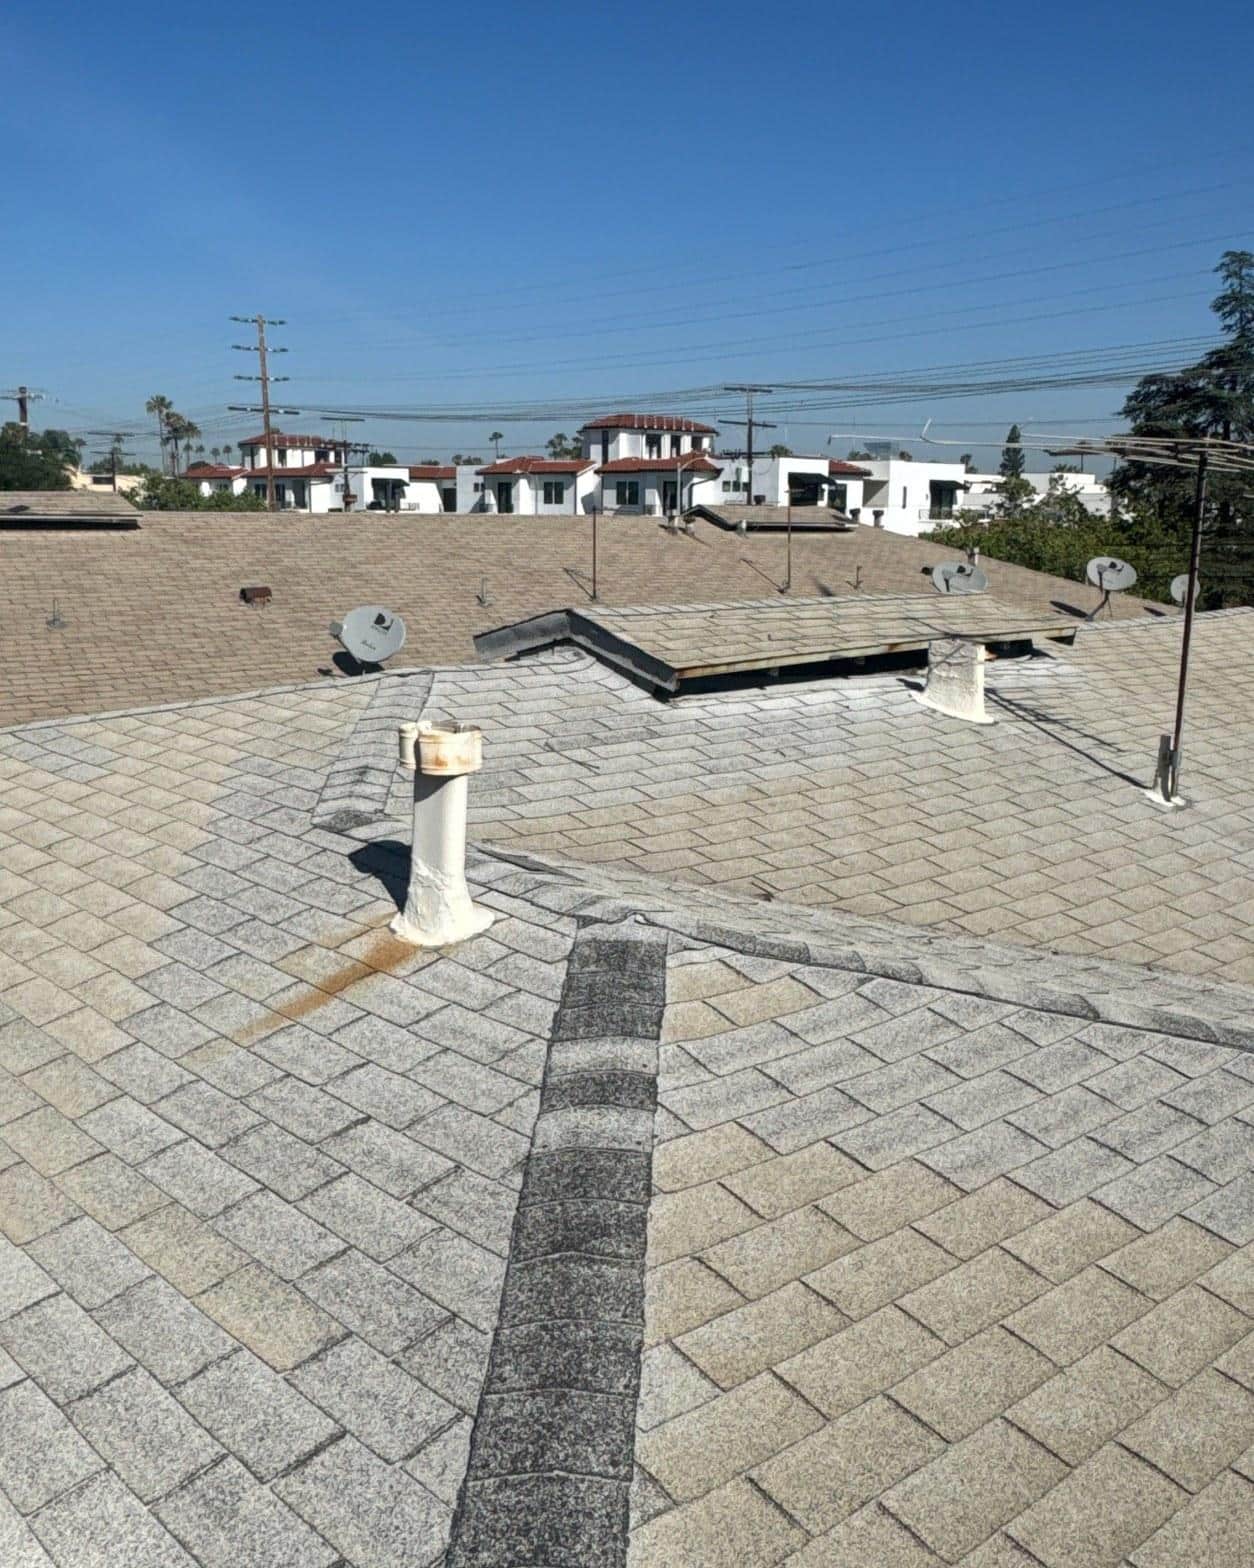
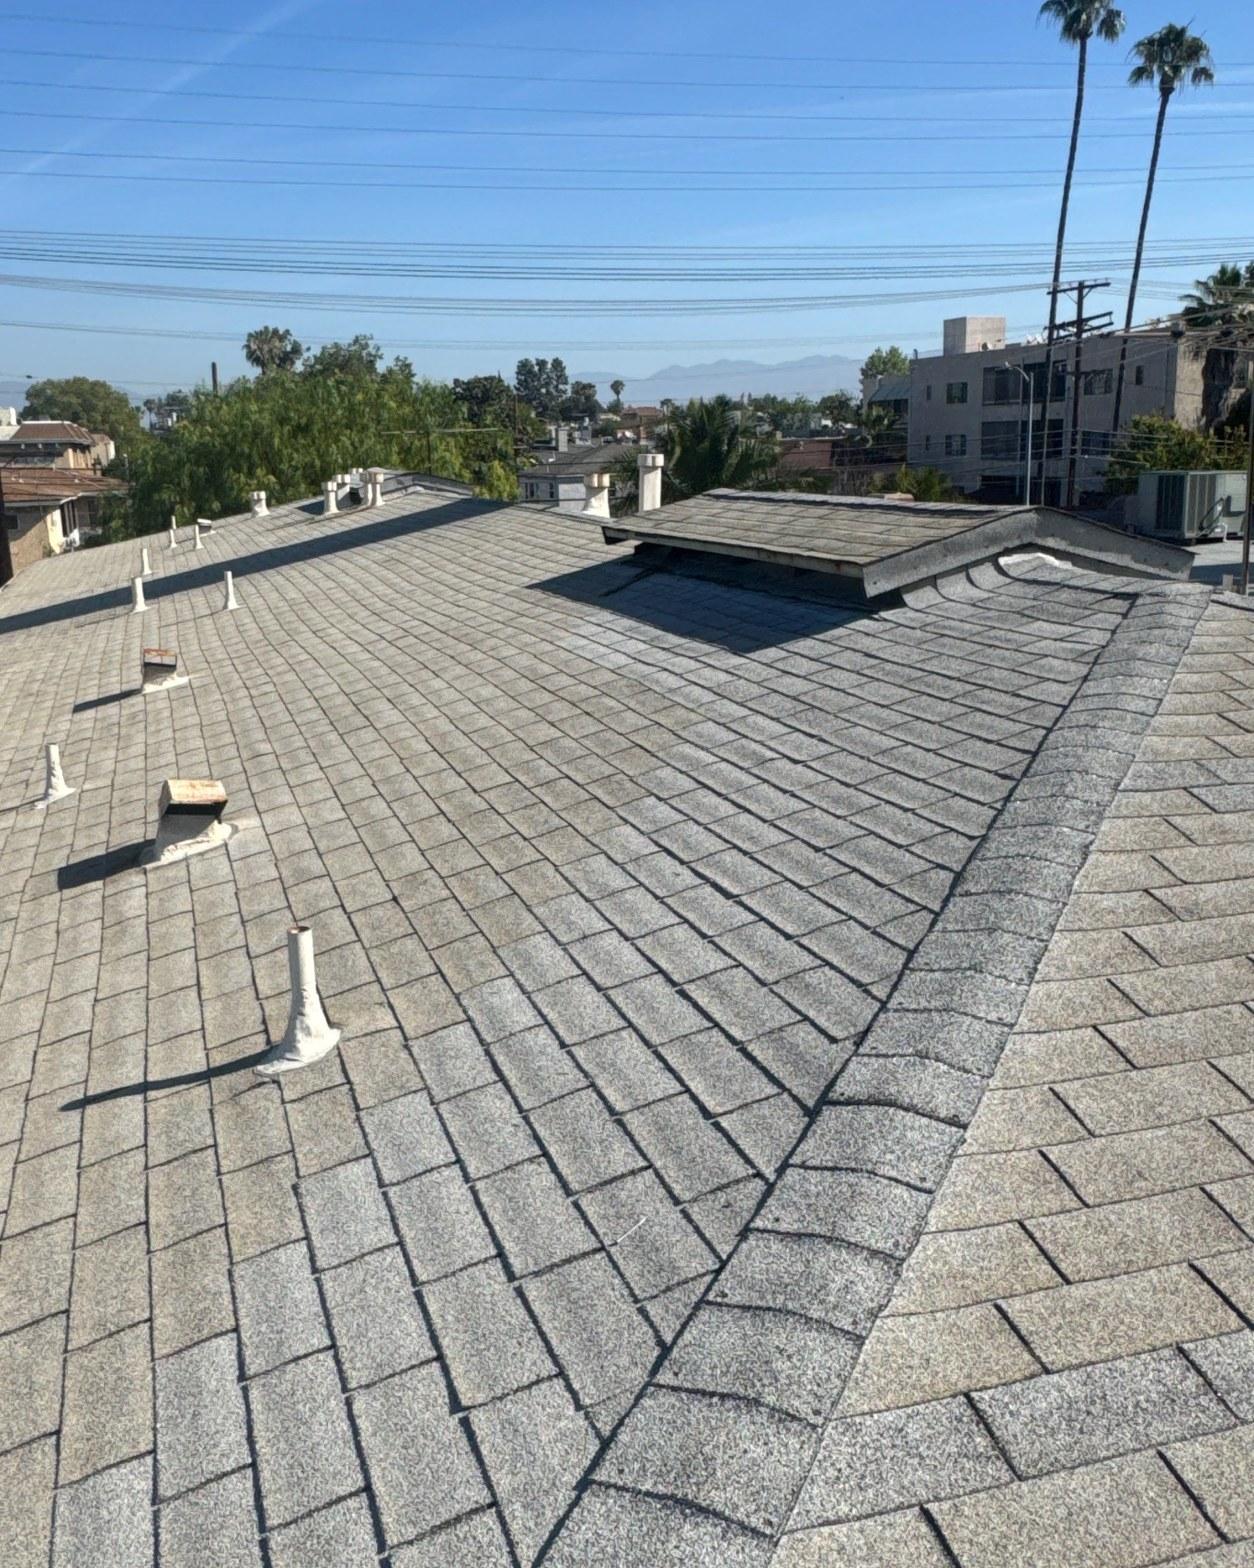
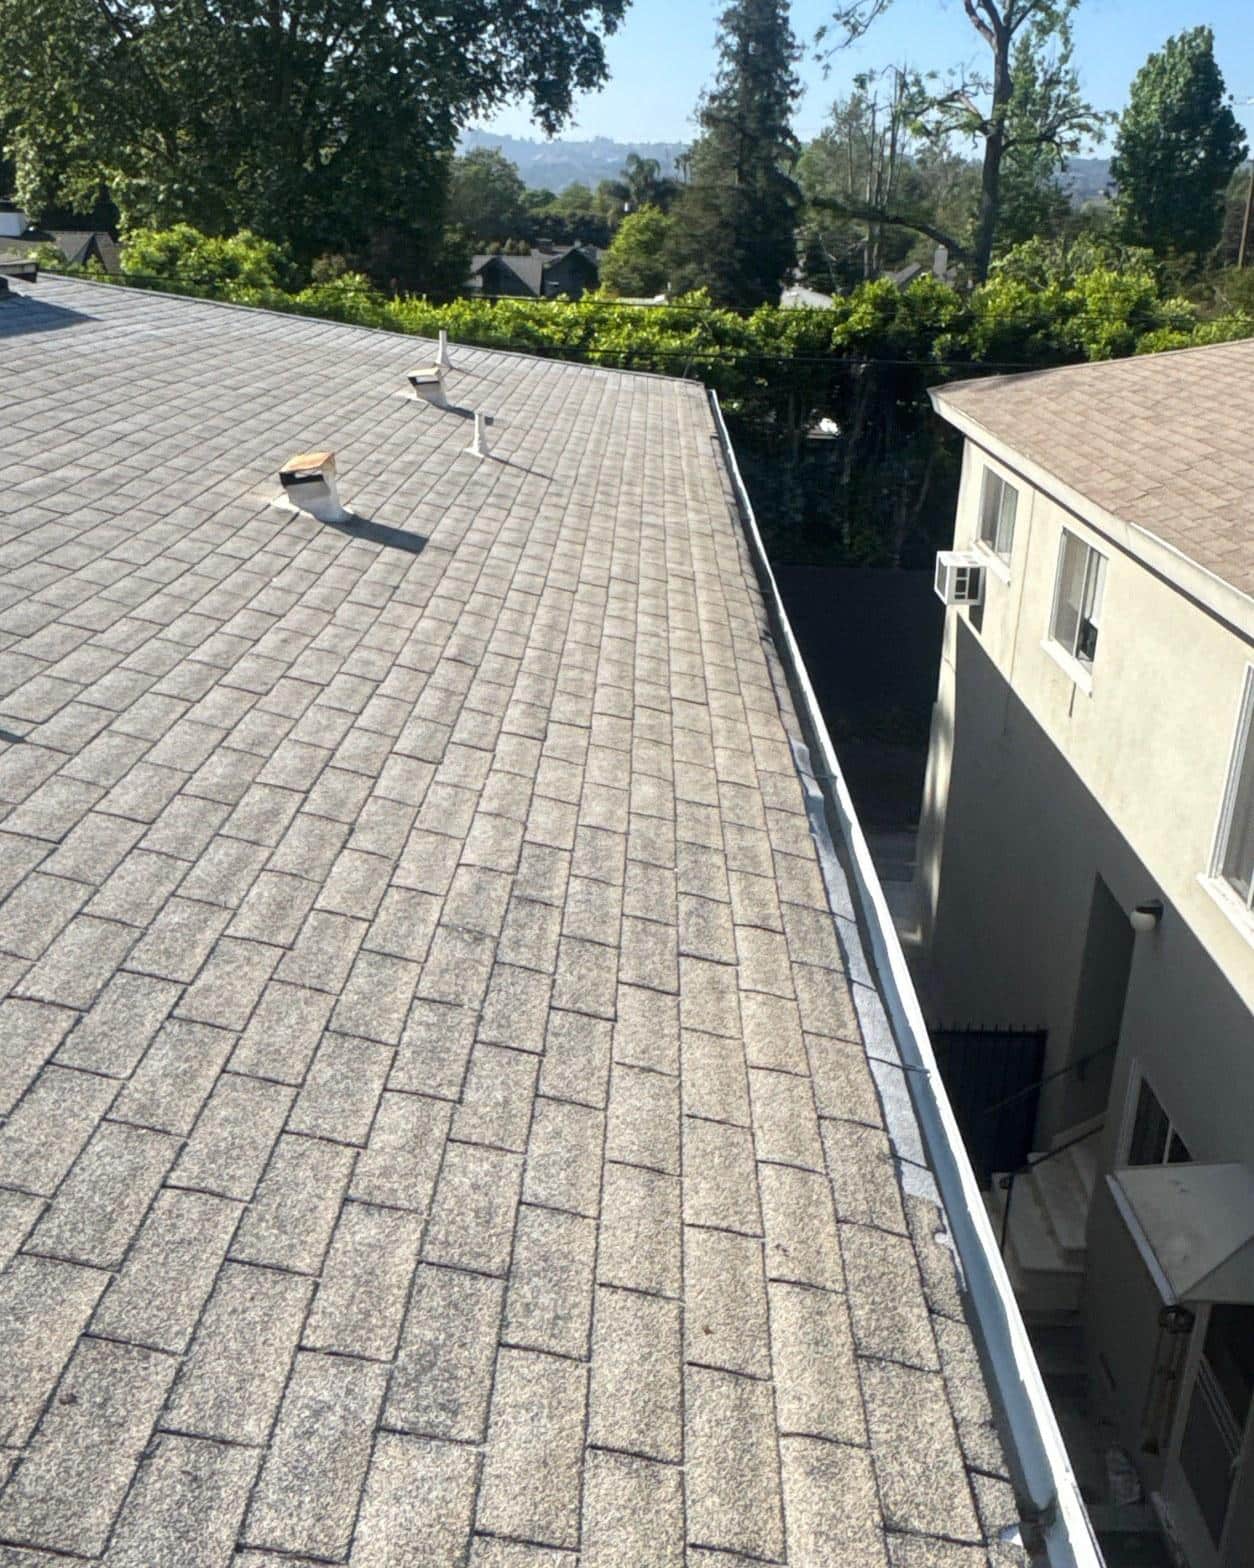
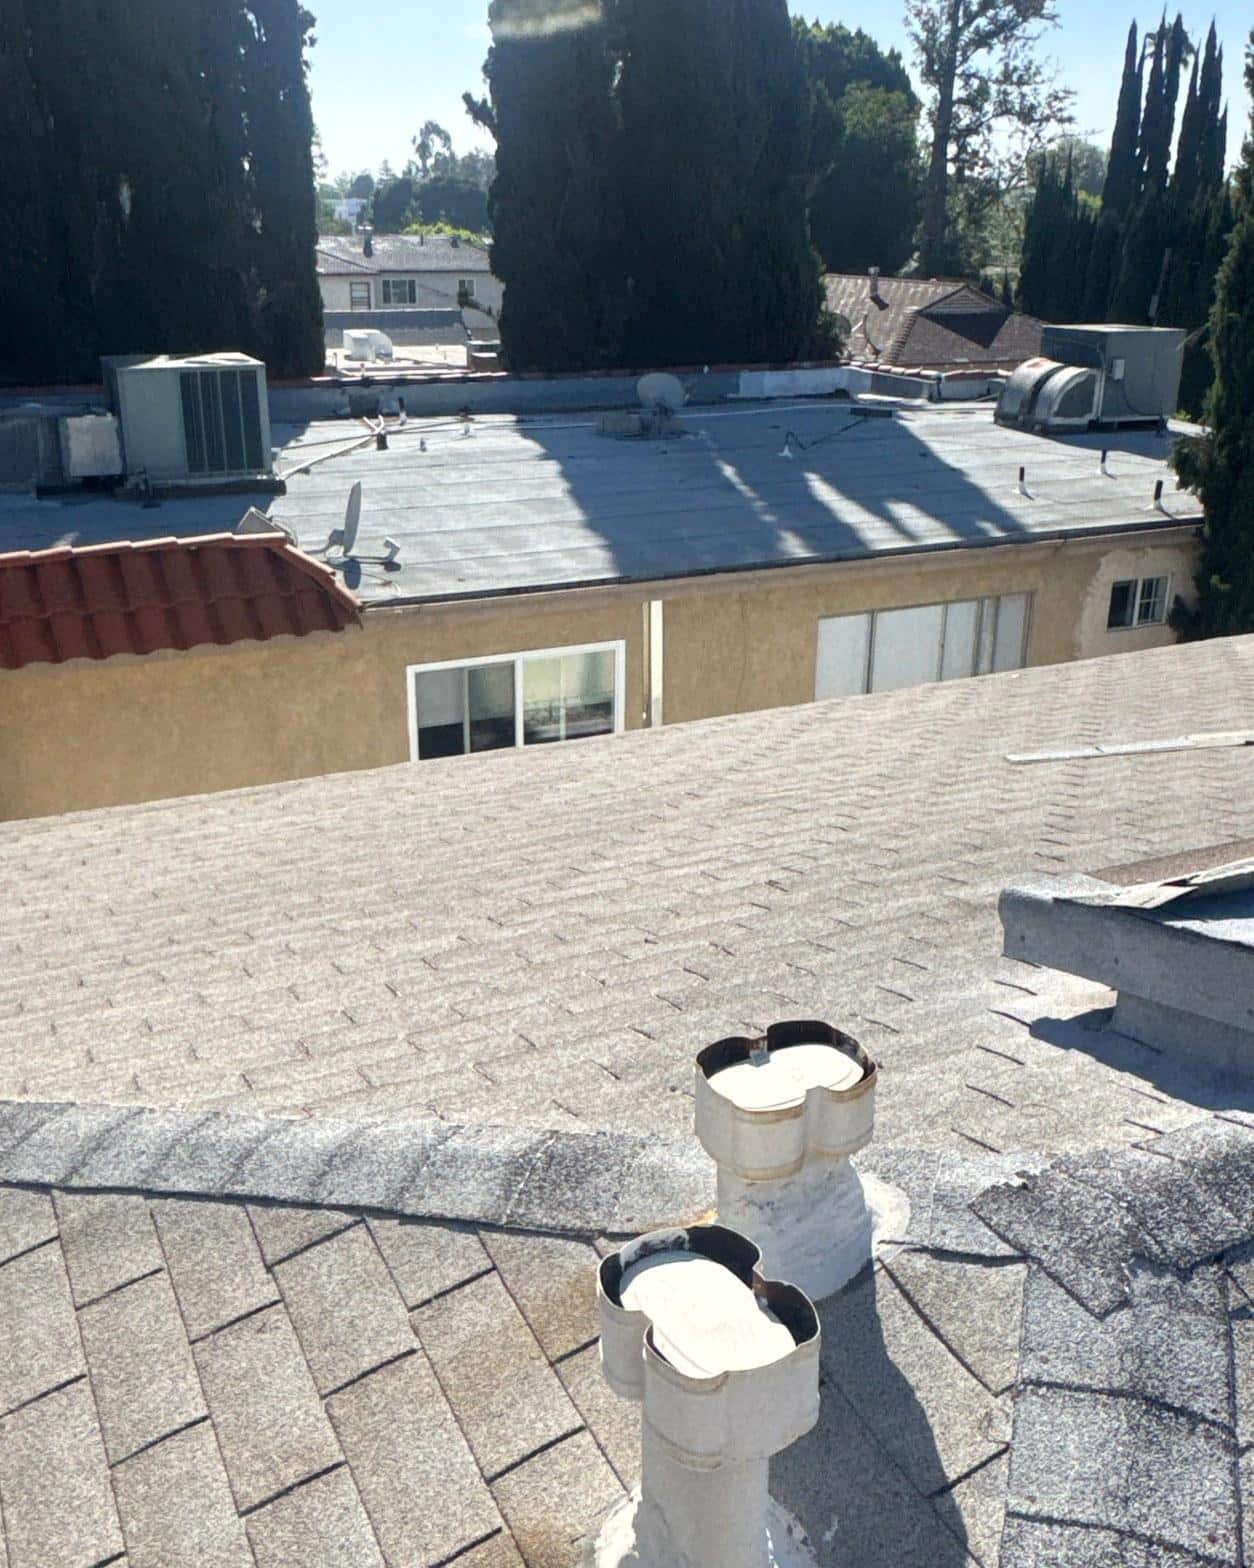
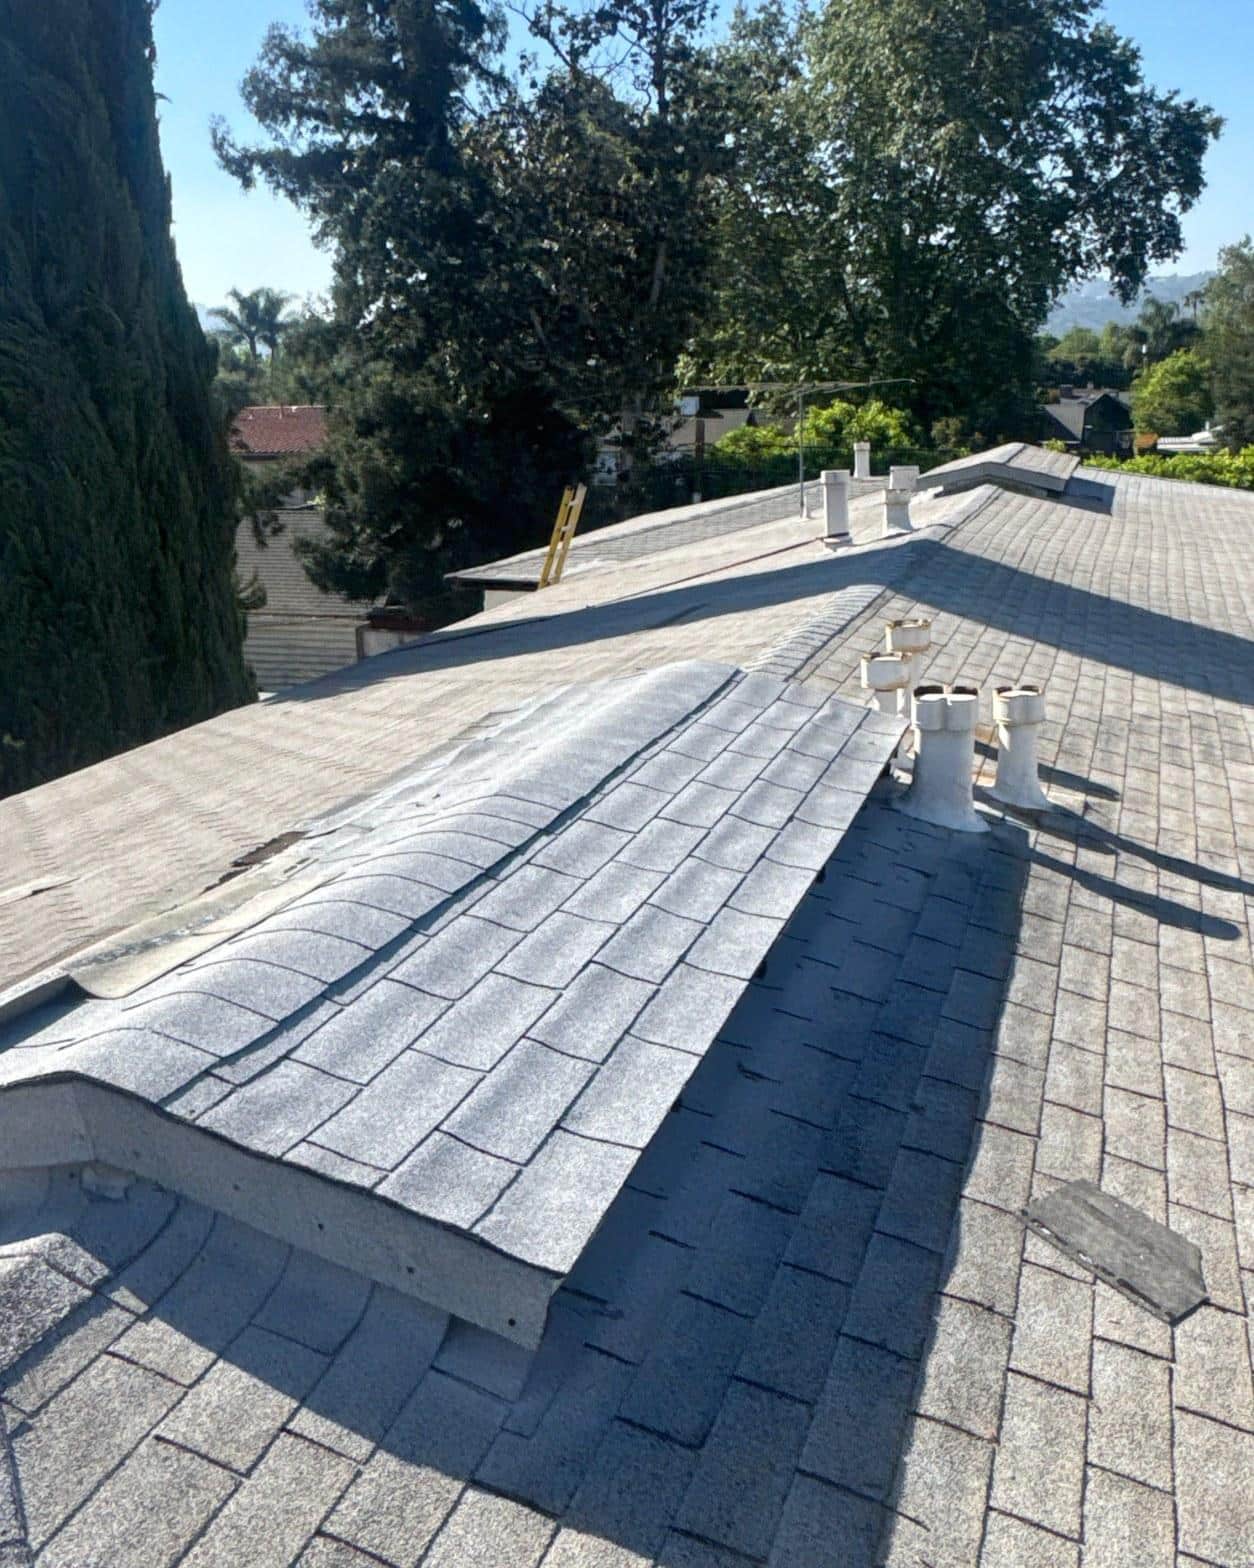
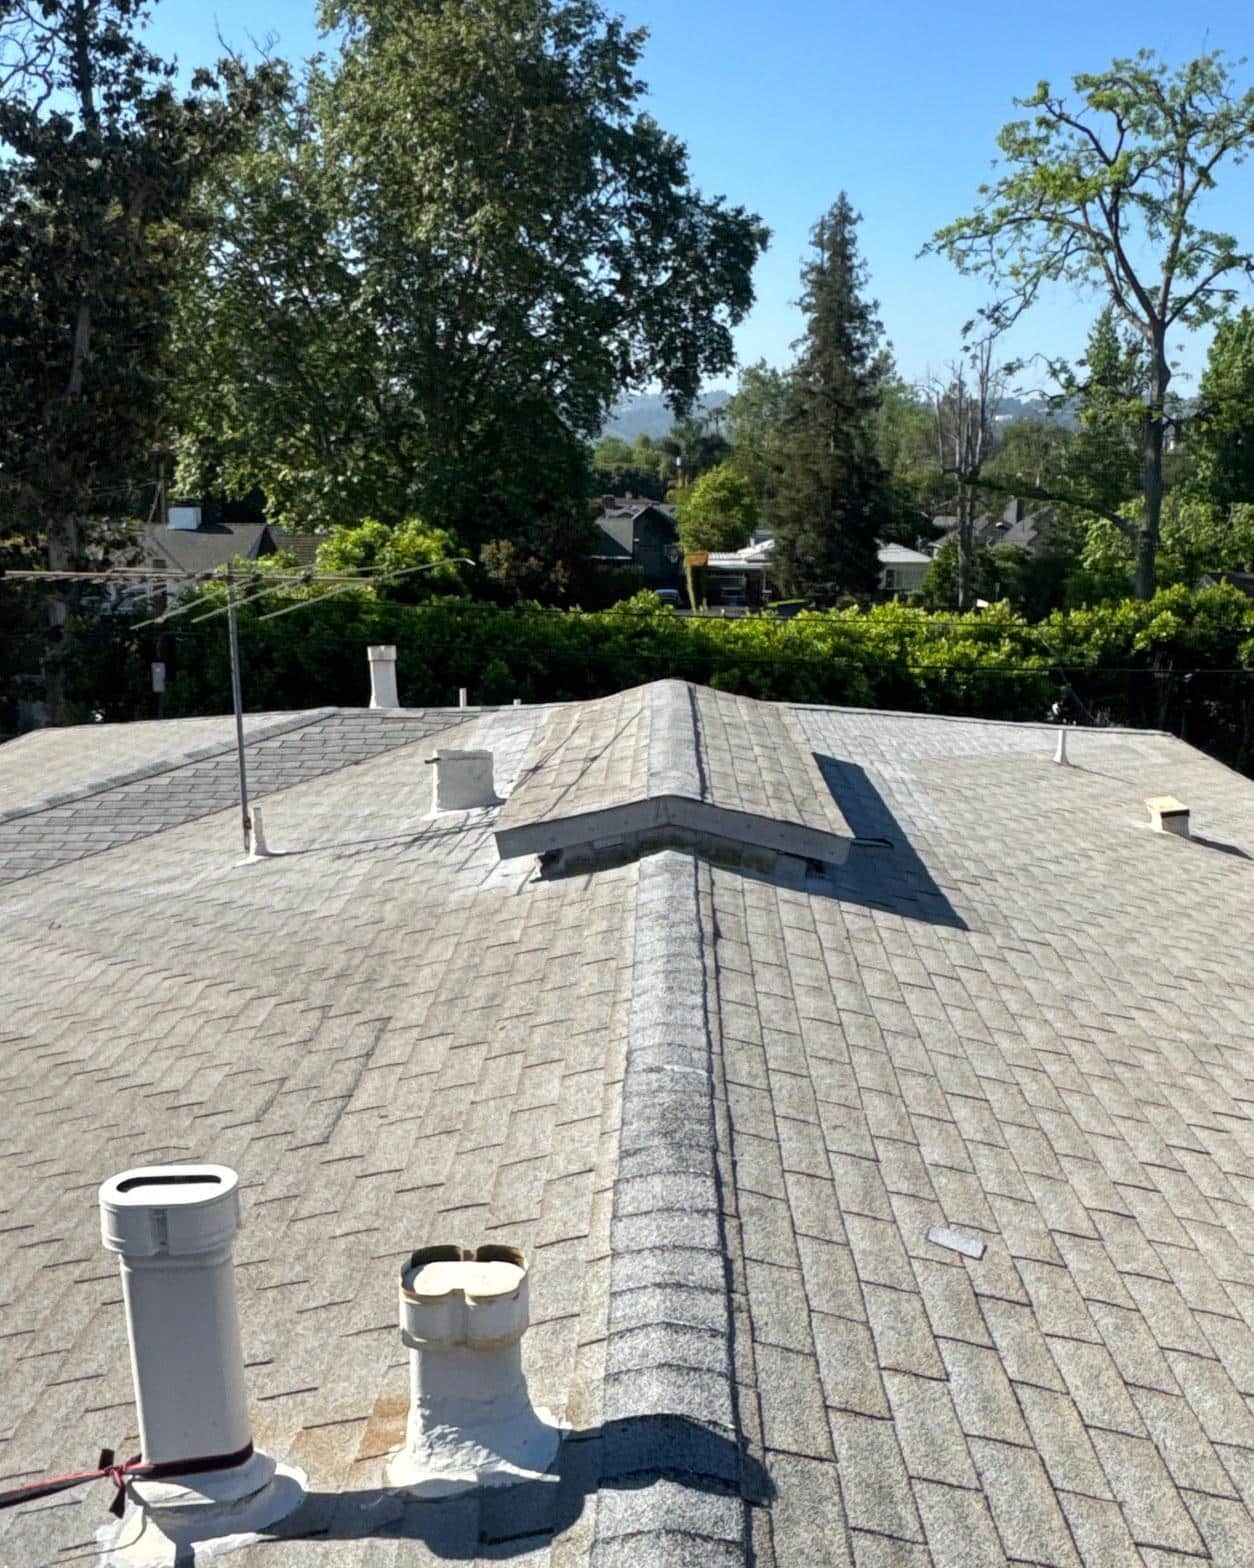
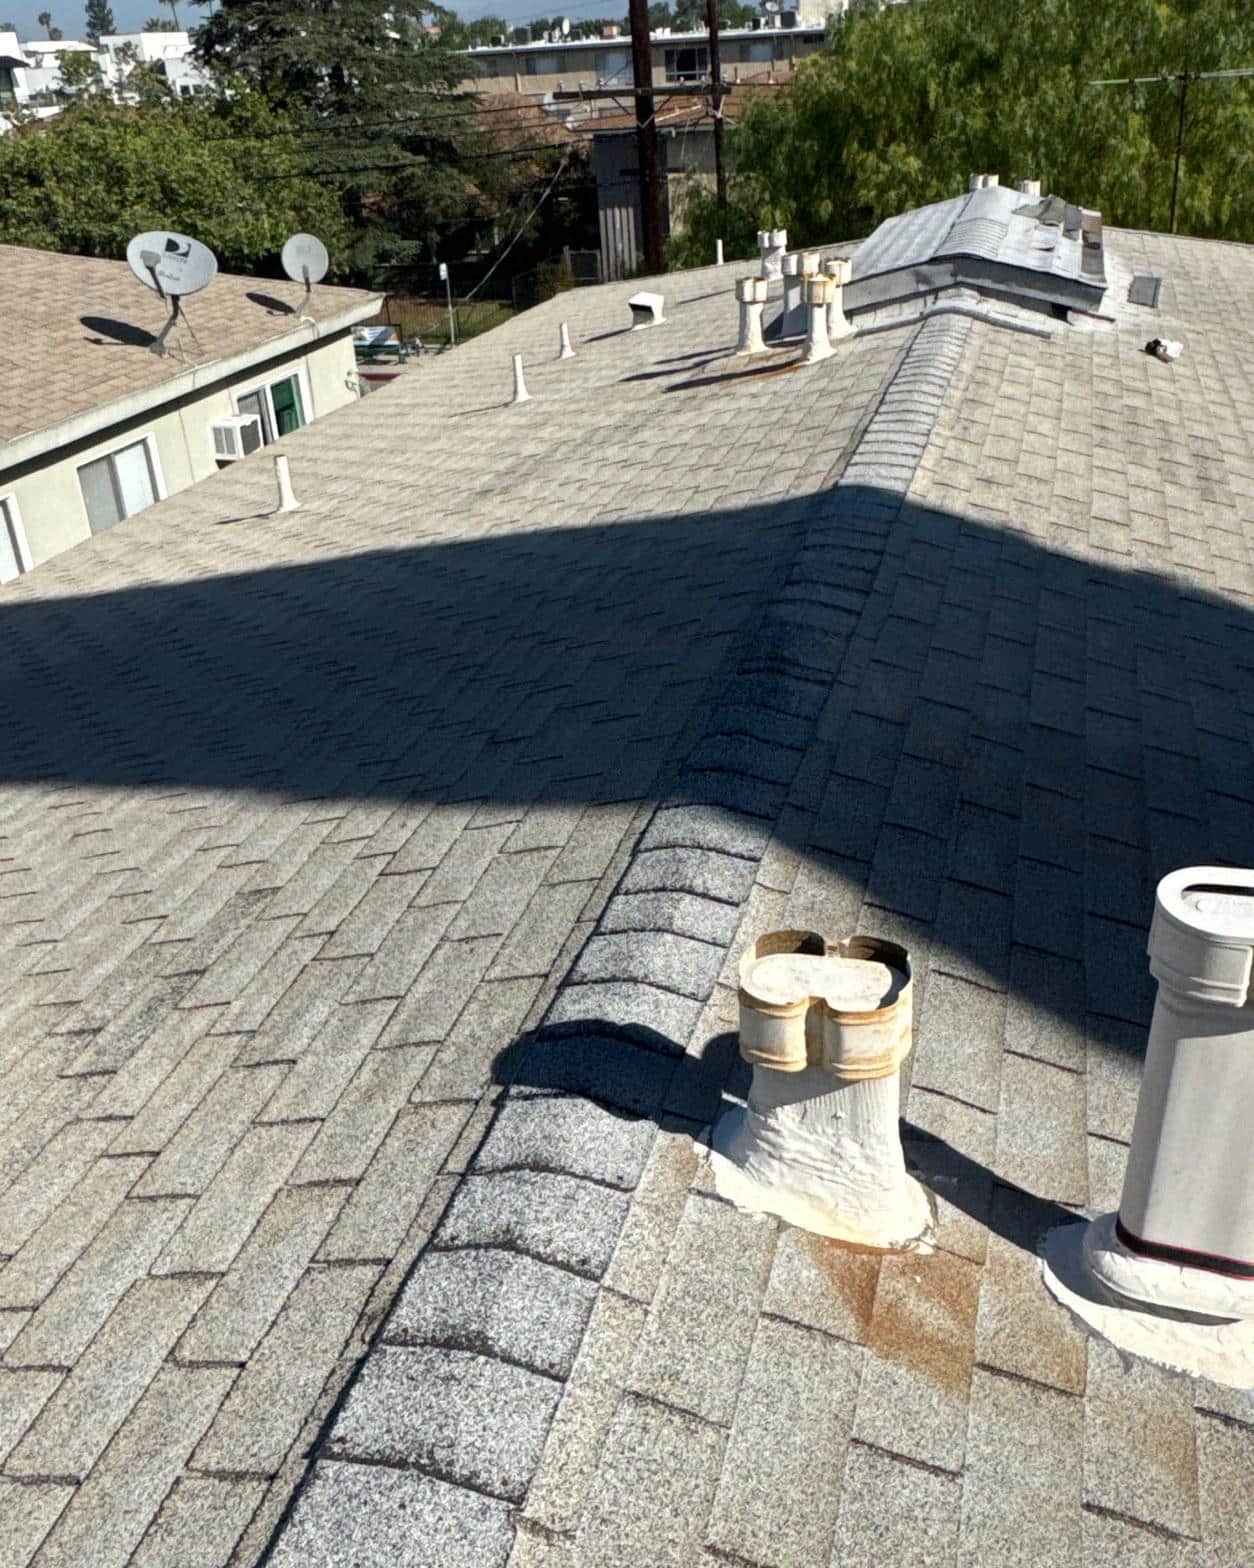
Every vent jack and pipe flashing on the roof was reset as part of this scope, none of the old penetration seals were left in place. The photos show the style of clay or ceramic pipe caps common on older San Fernando Valley multi-unit buildings, some dating to construction in the 1950s and 1960s. These decorative caps sit over galvanized metal flanges, and the flanges had been sealed previously with spray foam and caulk rather than properly integrated into the shingle courses.
Spray-foam seals around roof penetrations have a practical lifespan of roughly 5 to 7 years before UV exposure causes cracking and separation. On this roof, the foam bases visible in the photo had already started pulling away from the pipe shafts, leaving gaps wide enough to channel rain directly to the deck. We stripped the old sealant, reset each flashing with proper lead or rubber boot collars integrated into the shingle laps, and finished with an appropriate sealant bead only at the final collar edge, not as a structural seal.
Our crews reset 11 individual pipe penetrations and vent jacks across this roof during the same continuous work sequence as the shingle installation, so every penetration was addressed while the surrounding field was open and accessible.
The Finished Roof
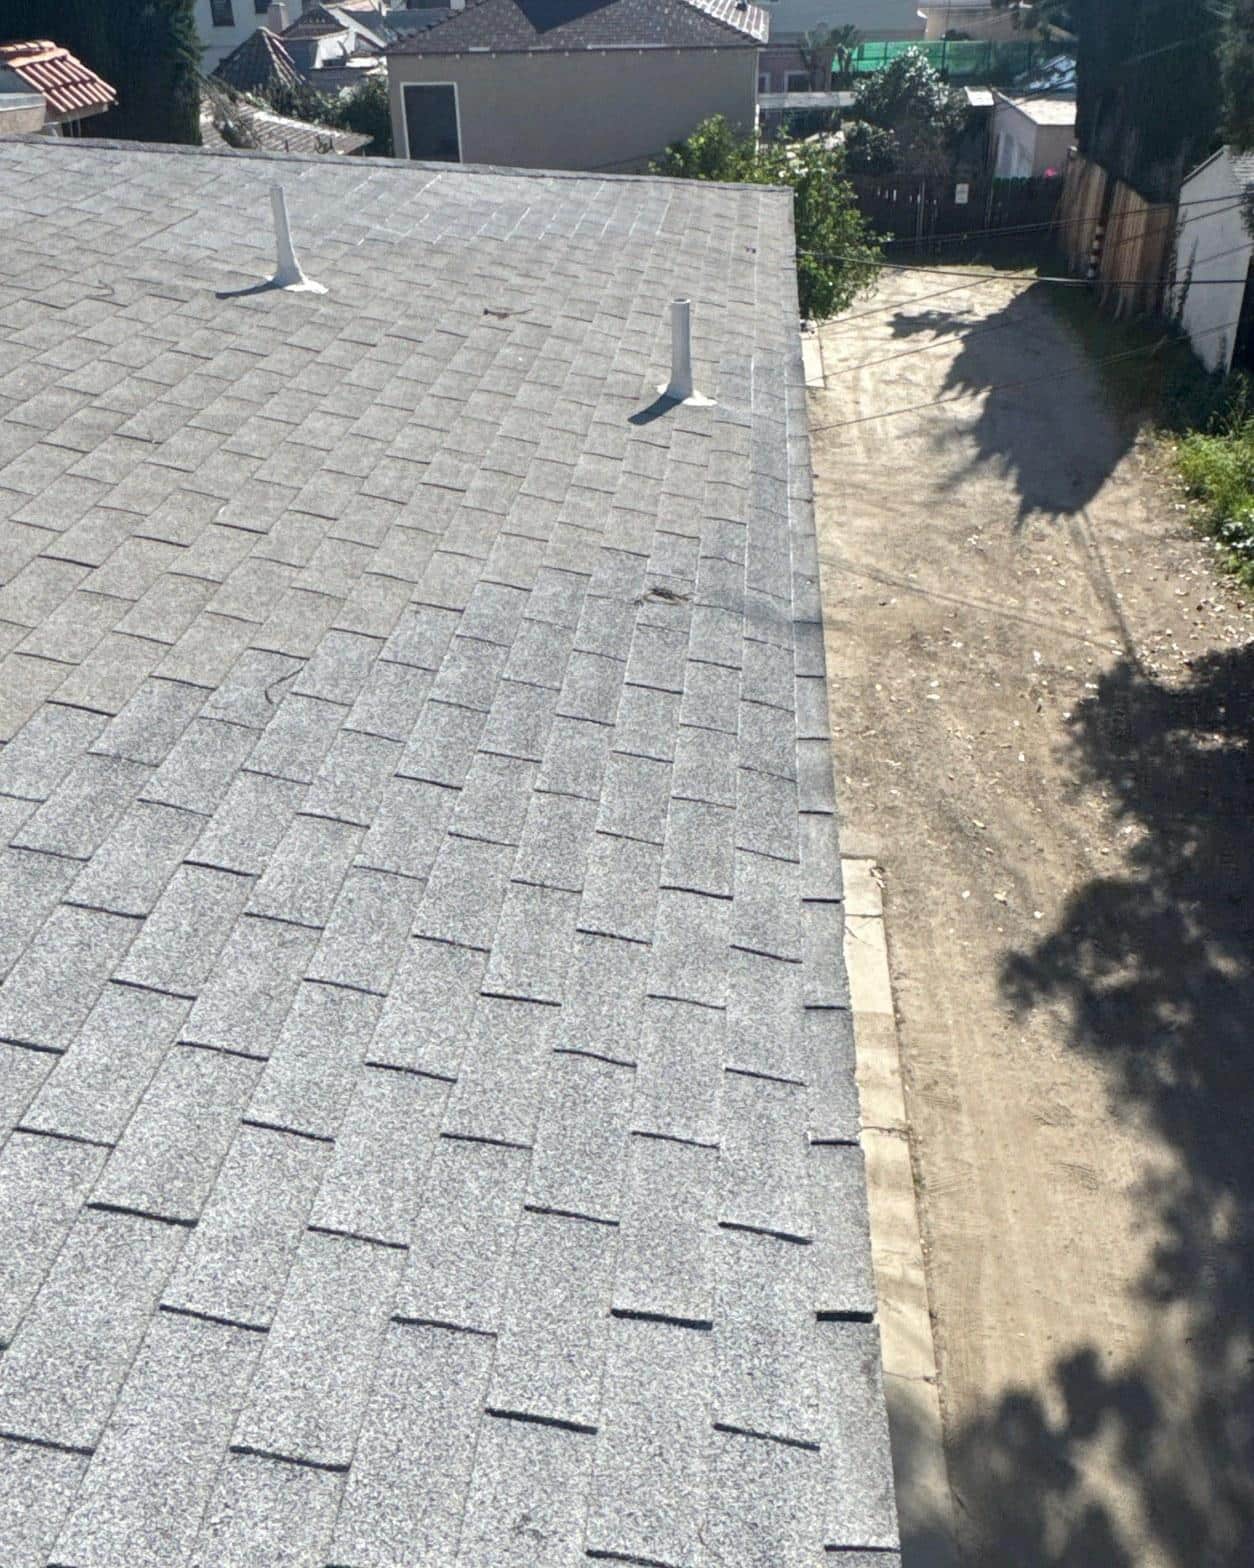
The completed shingle field is a full architectural-laminate reroof with proper underlayment, reset penetrations, and rebuilt eave framing at all 4 damaged zones. As of 2025, California’s Title 24 building energy standards require roofing products on low-slope and steep-slope applications in certain climate zones to meet cool-roof reflectance thresholds; the selected shingle product meets the applicable reflectance requirements for this building’s climate zone in the San Fernando Valley.
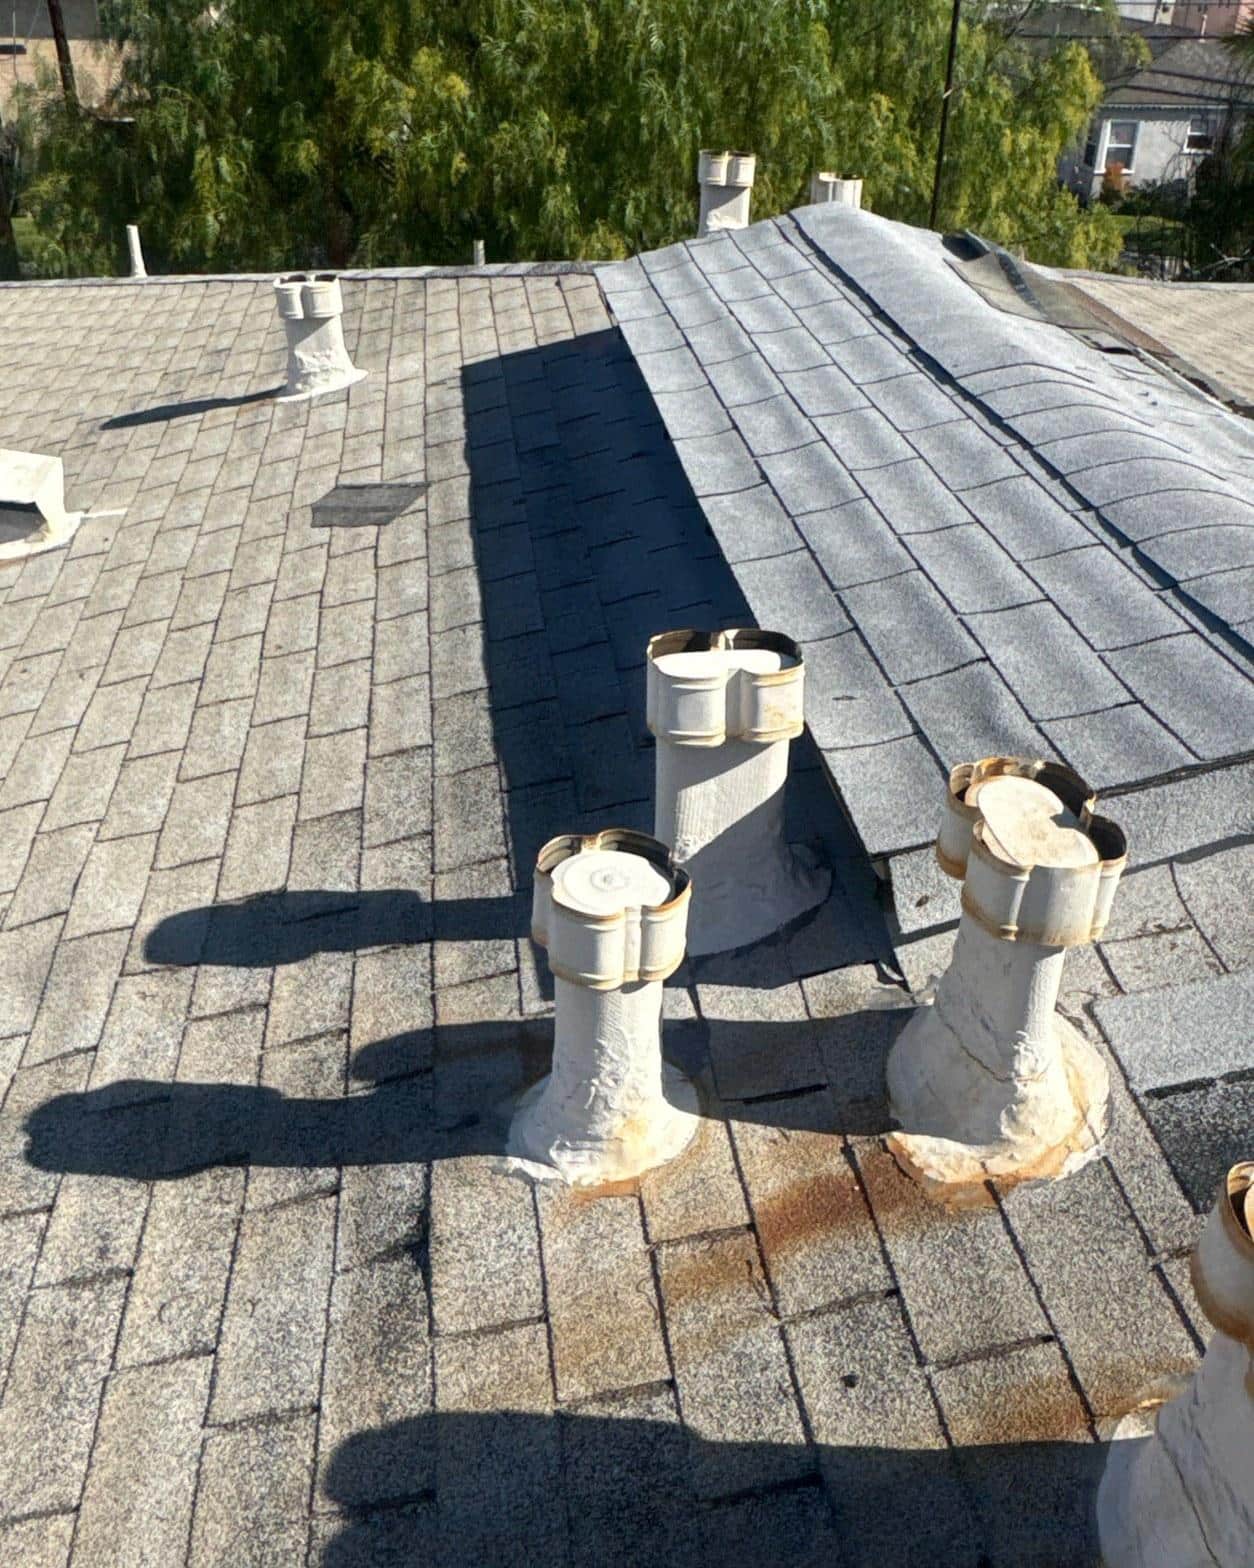
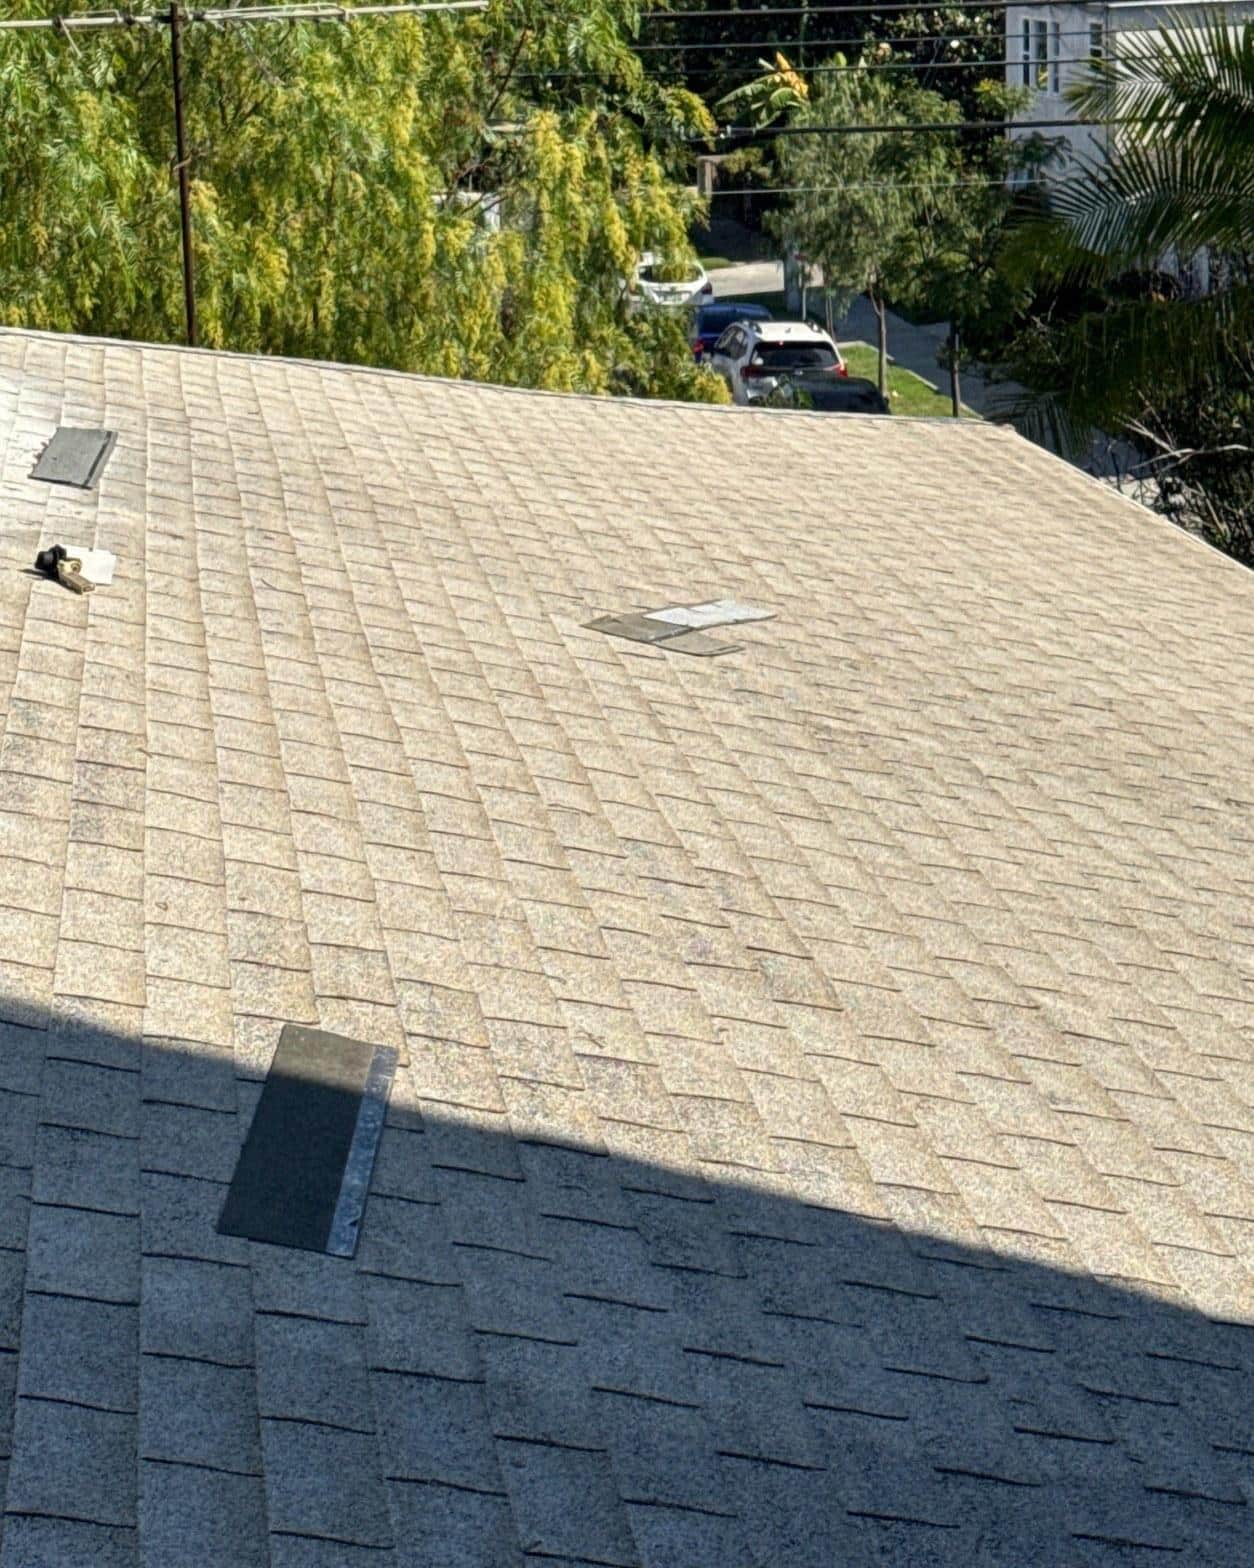
The wide-angle photo shows the finished slope with the vent jacks properly seated in the new shingle field. The ridge is clean, the field is flat, and every penetration has a visible collar sitting flush against the surrounding courses. Compared to what we lifted off, the difference in surface integrity is immediate. The eave zones where we rebuilt the framing are solid again, and the drip edge is properly lapped over the gutter to break the capillary path that caused the original rot.
This is the kind of project where doing the structural repair at the same time as the reroof is the only approach that makes sense. Putting new shingles over rotted eave framing would have bought a year or two at best before the same water problem reappeared from below.
Get a Straight Assessment Before You Commit to a Reroof
If your building is showing signs of shingle wear, granule loss in the gutters, or interior staining near exterior walls, schedule a roof inspection with Roof Replacement Inc. We will tell you what we find, show you photos from the deck, and give you a written scope before any work begins. Call us or submit an inquiry online to get the conversation started.


