

What Was the Condition of This Roof Before Work Began?
The existing low-slope system had failed across its entire surface. The cap sheet membrane showed deep through-cracks running the full length of multiple field seams, and the parapet flashing at the chimney had separated completely, leaving open gaps where water could enter freely. This is not a roof that could be patched or coated over, the underlying membrane had lost its flexibility and bonding ability, which meant a full tear-off was the only sound path forward.
The property sits in the San Fernando Valley, where NOAA climate records document summer temperatures that routinely exceed 100°F. That kind of sustained heat accelerates the oxidation of asphalt-based membranes, causing them to become brittle and crack. Once cracking reaches this stage, water infiltration during even moderate rainfall is essentially guaranteed.
Project Gallery
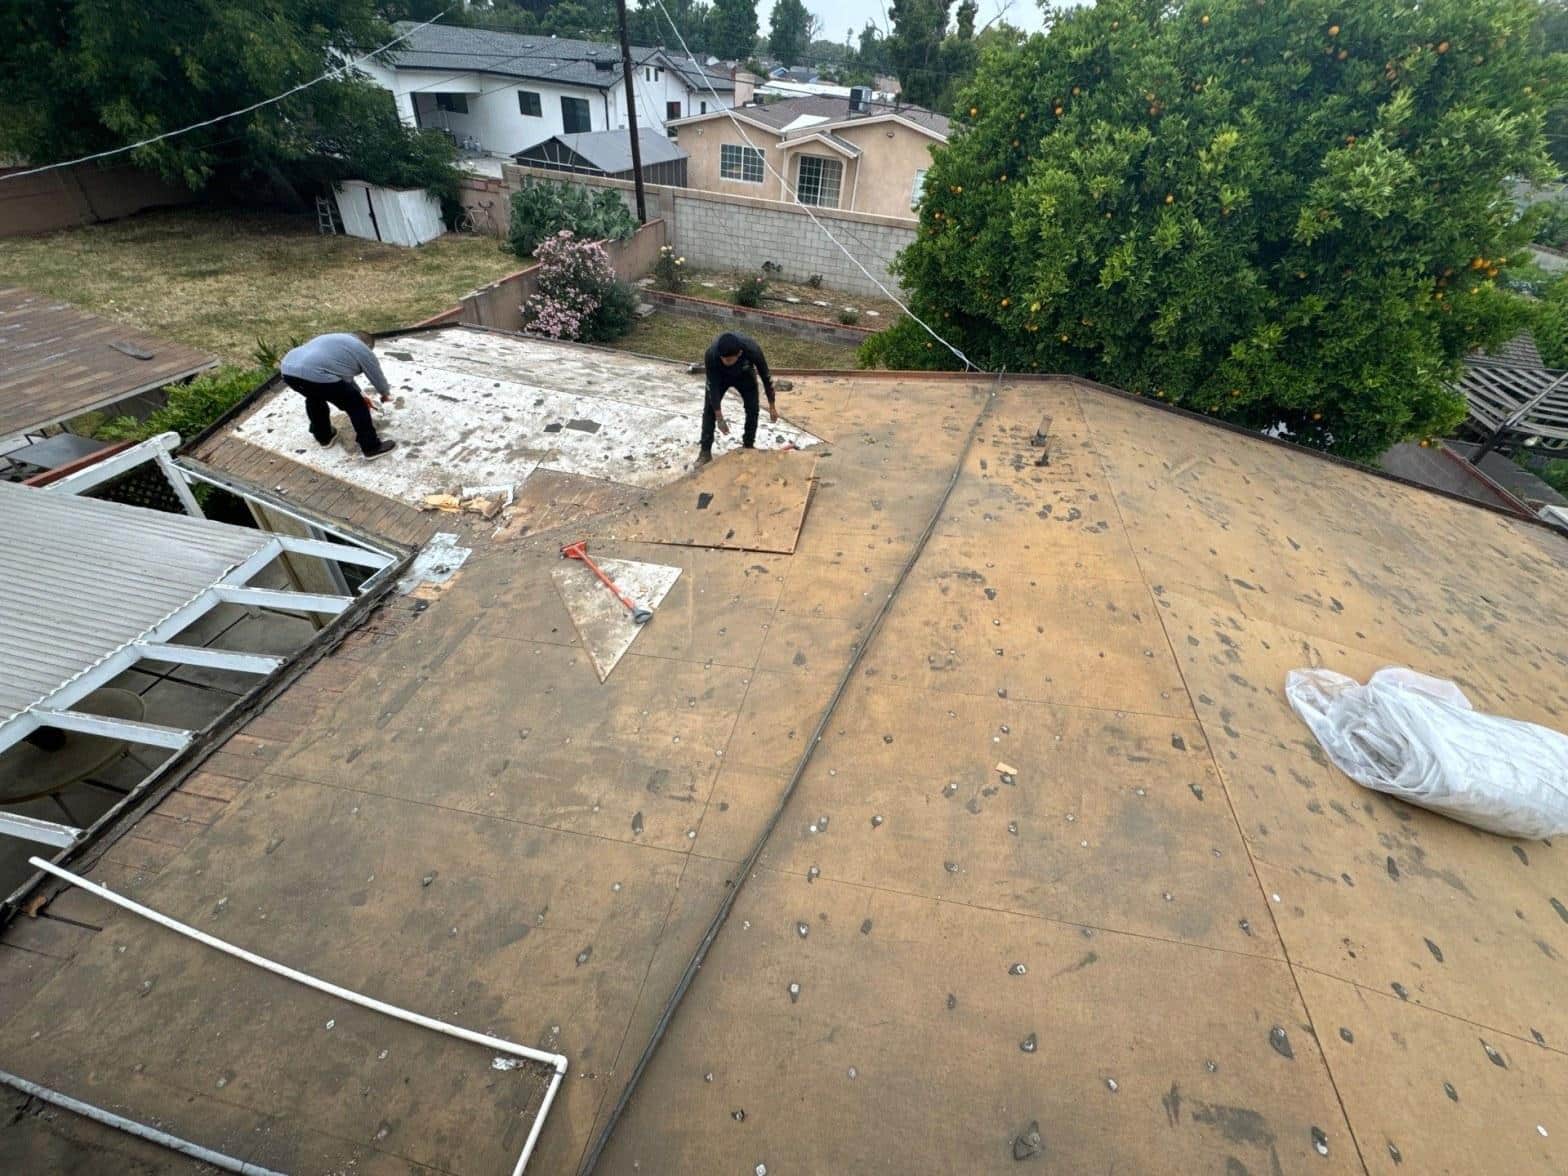
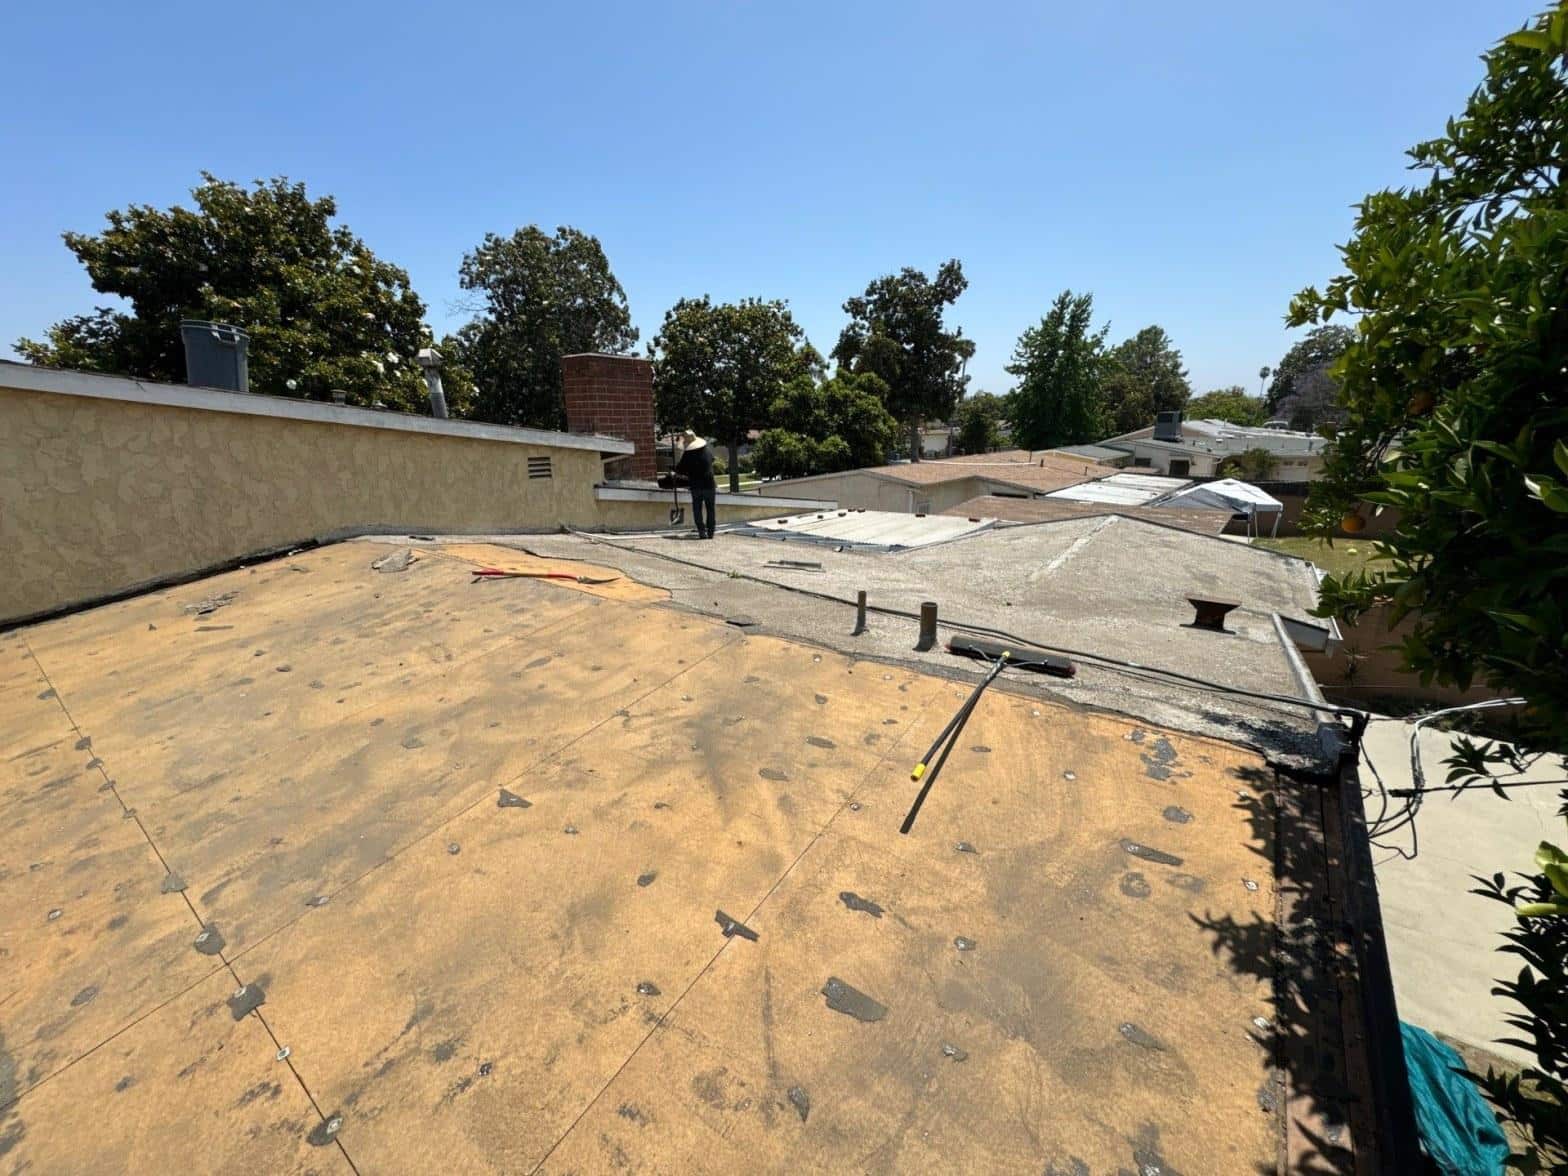
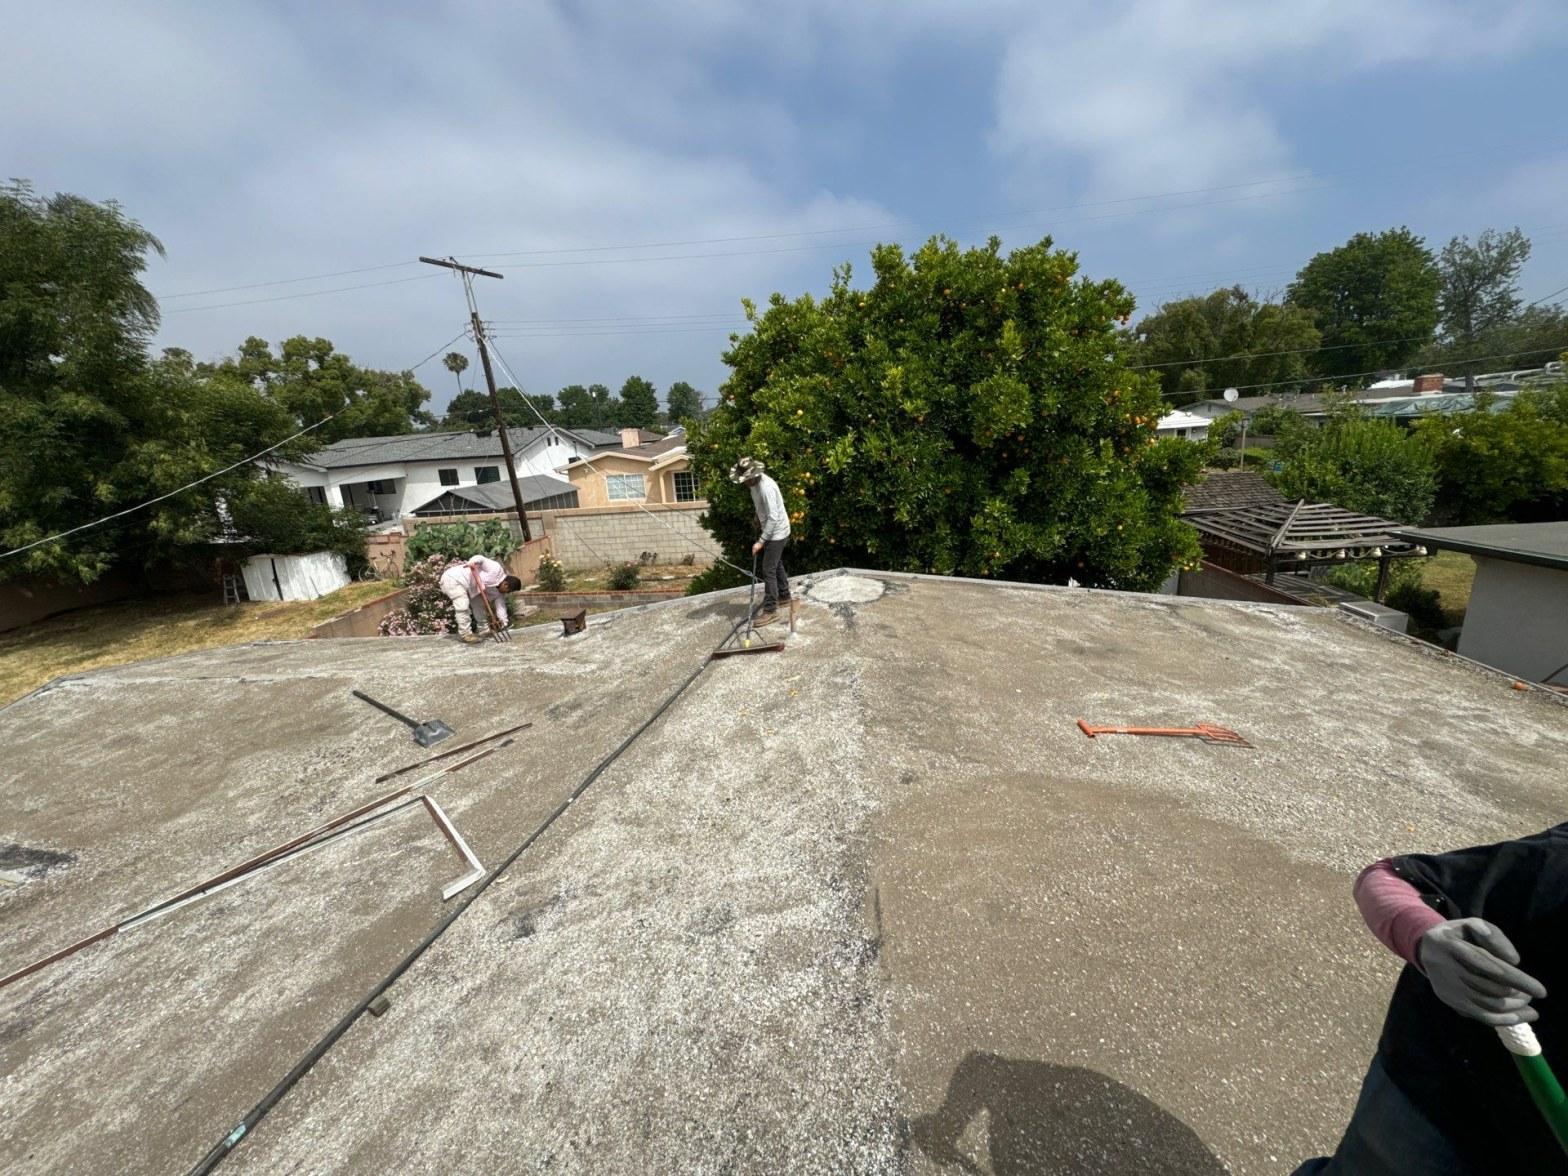
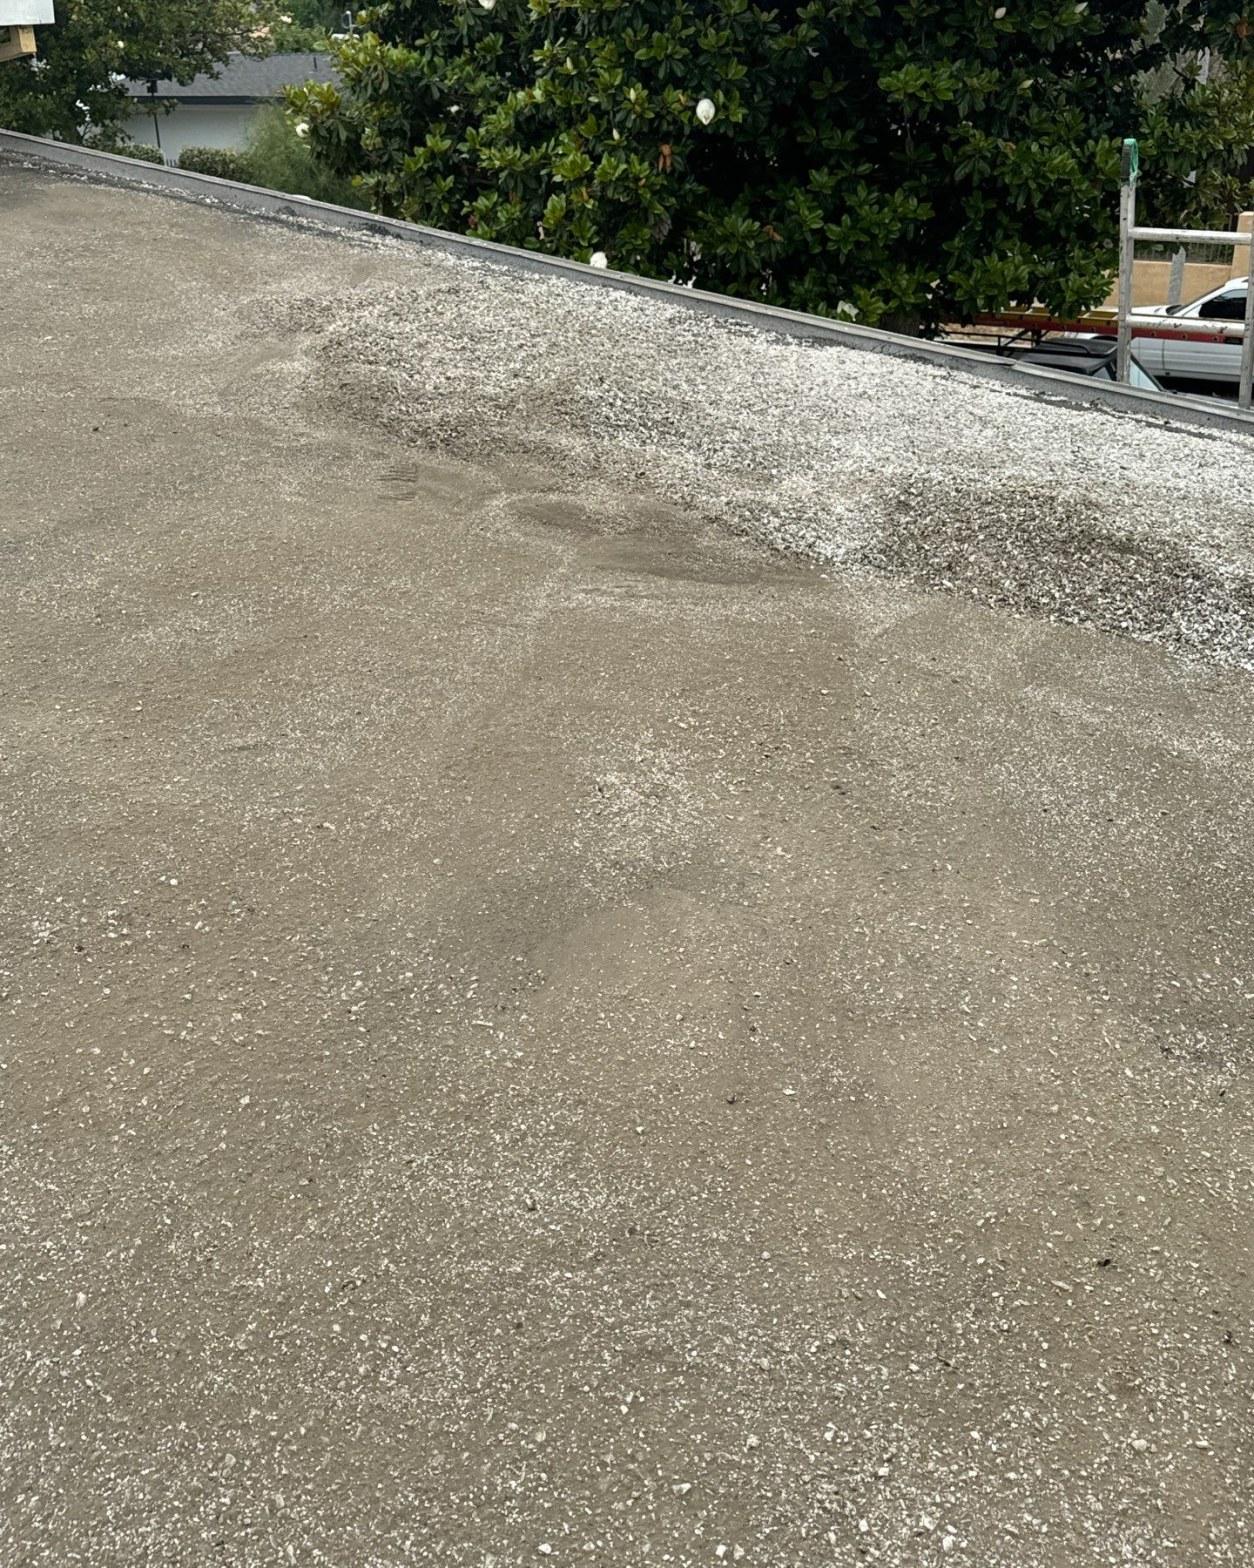
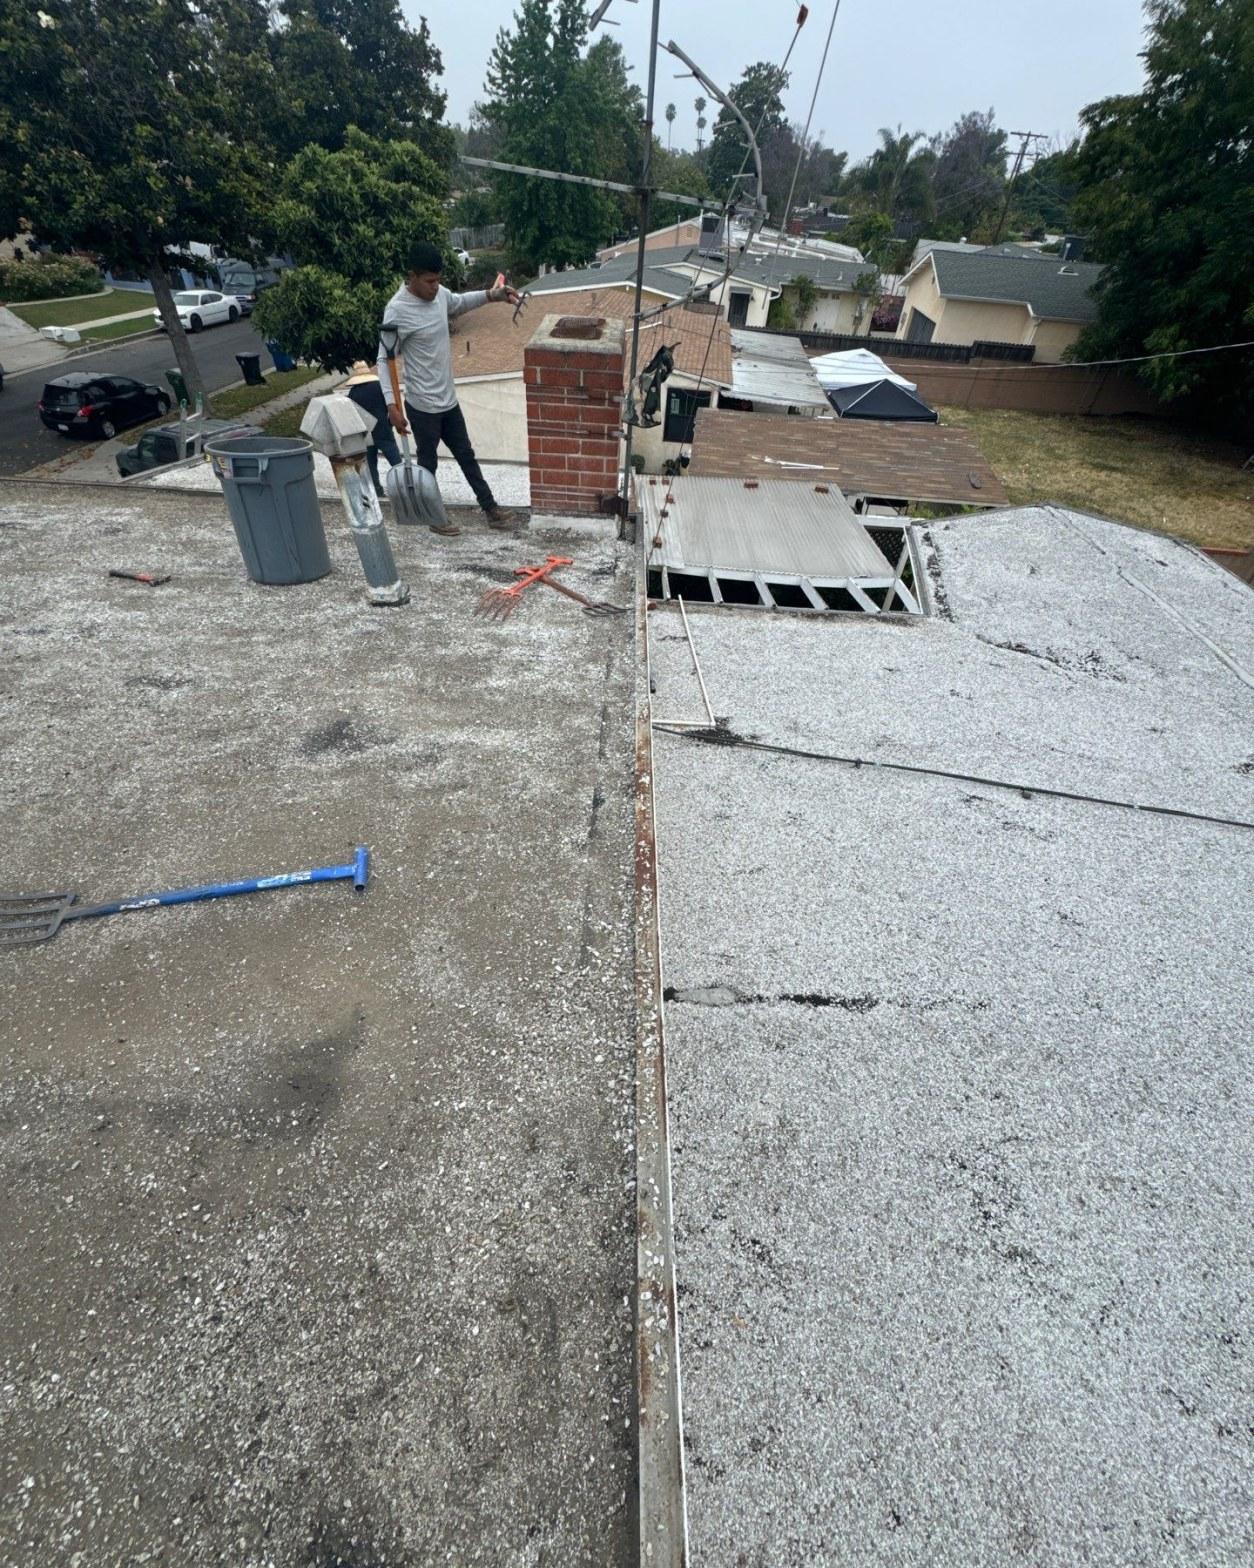
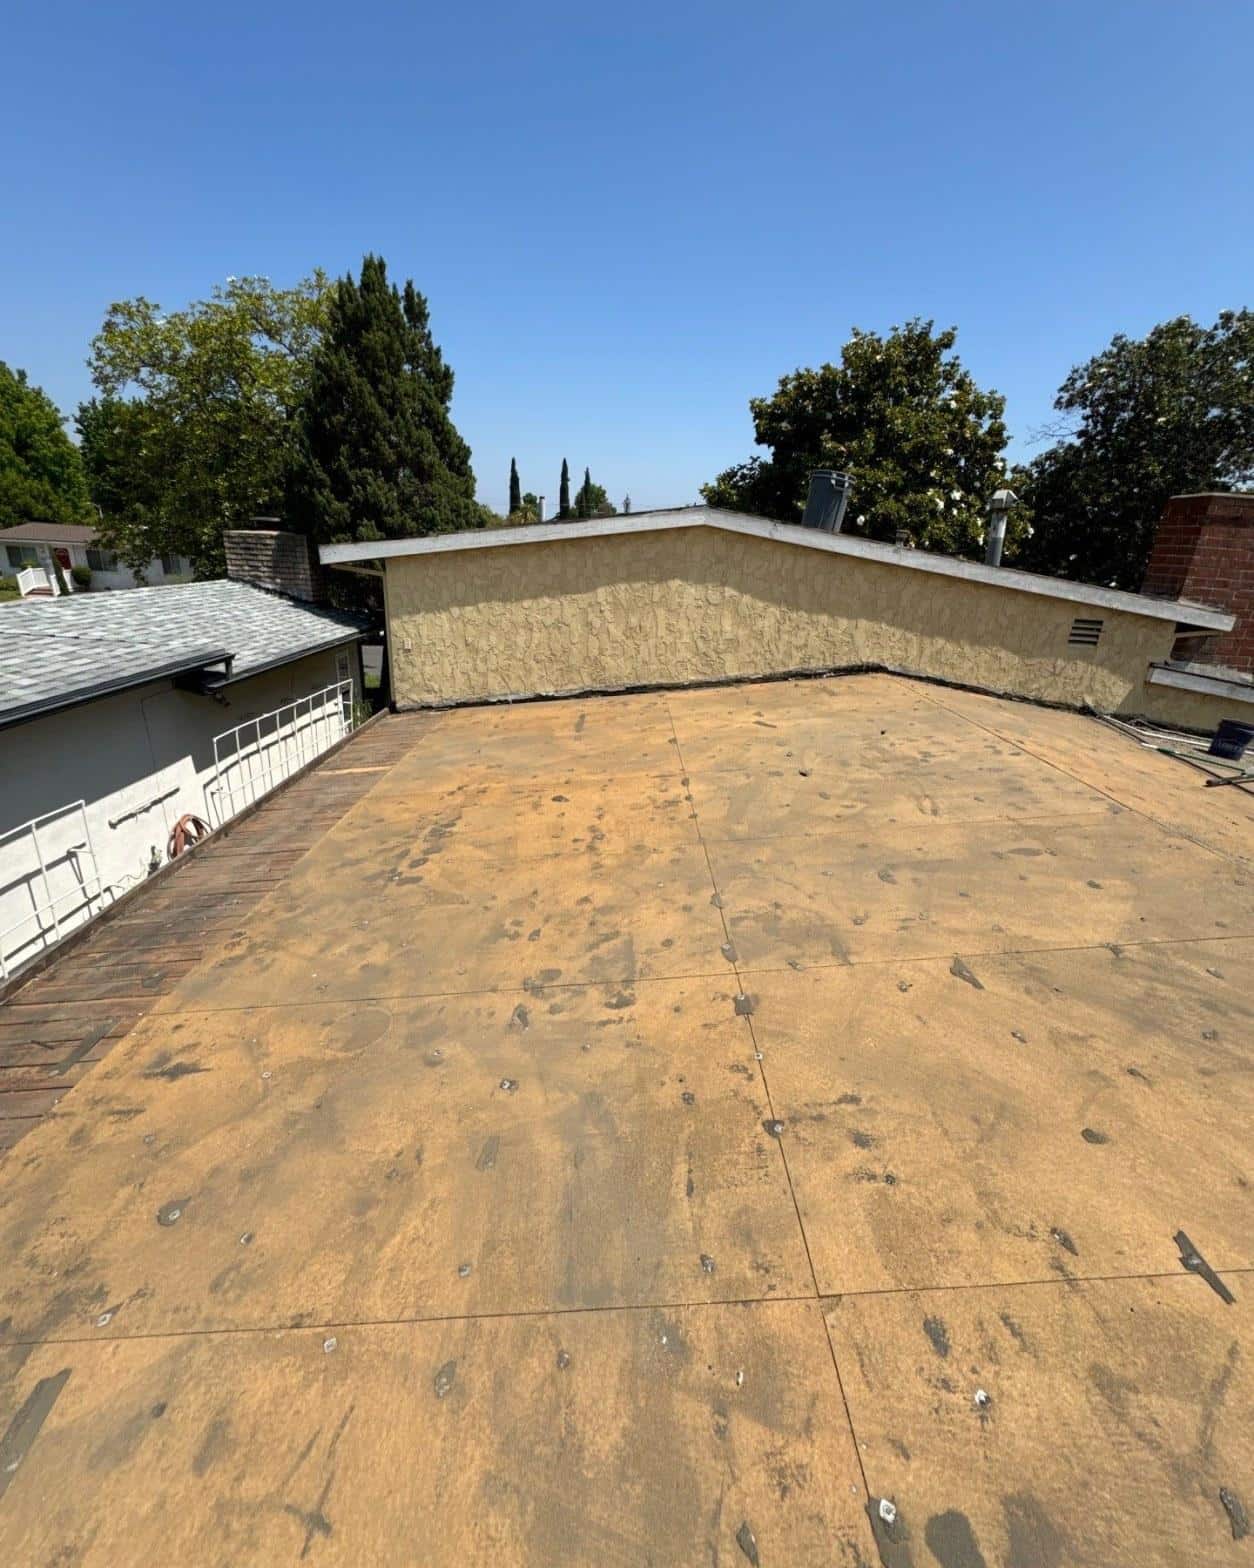
With the old cap sheet still in place, the plywood beneath it looked tan and dry in the broad field but showed telltale dark moisture staining near the perimeter, a pattern that almost always points to failed edge and parapet flashing as the primary entry point.
What Did We Find When We Stripped the Old Membrane?
Once the cap sheet was removed, two distinct problems became visible: sections of the plywood decking had been compromised by long-term moisture intrusion, and the parapet framing behind the chimney had rotted through in at least one corner. Neither of those issues would have been fixable with a surface-only repair.
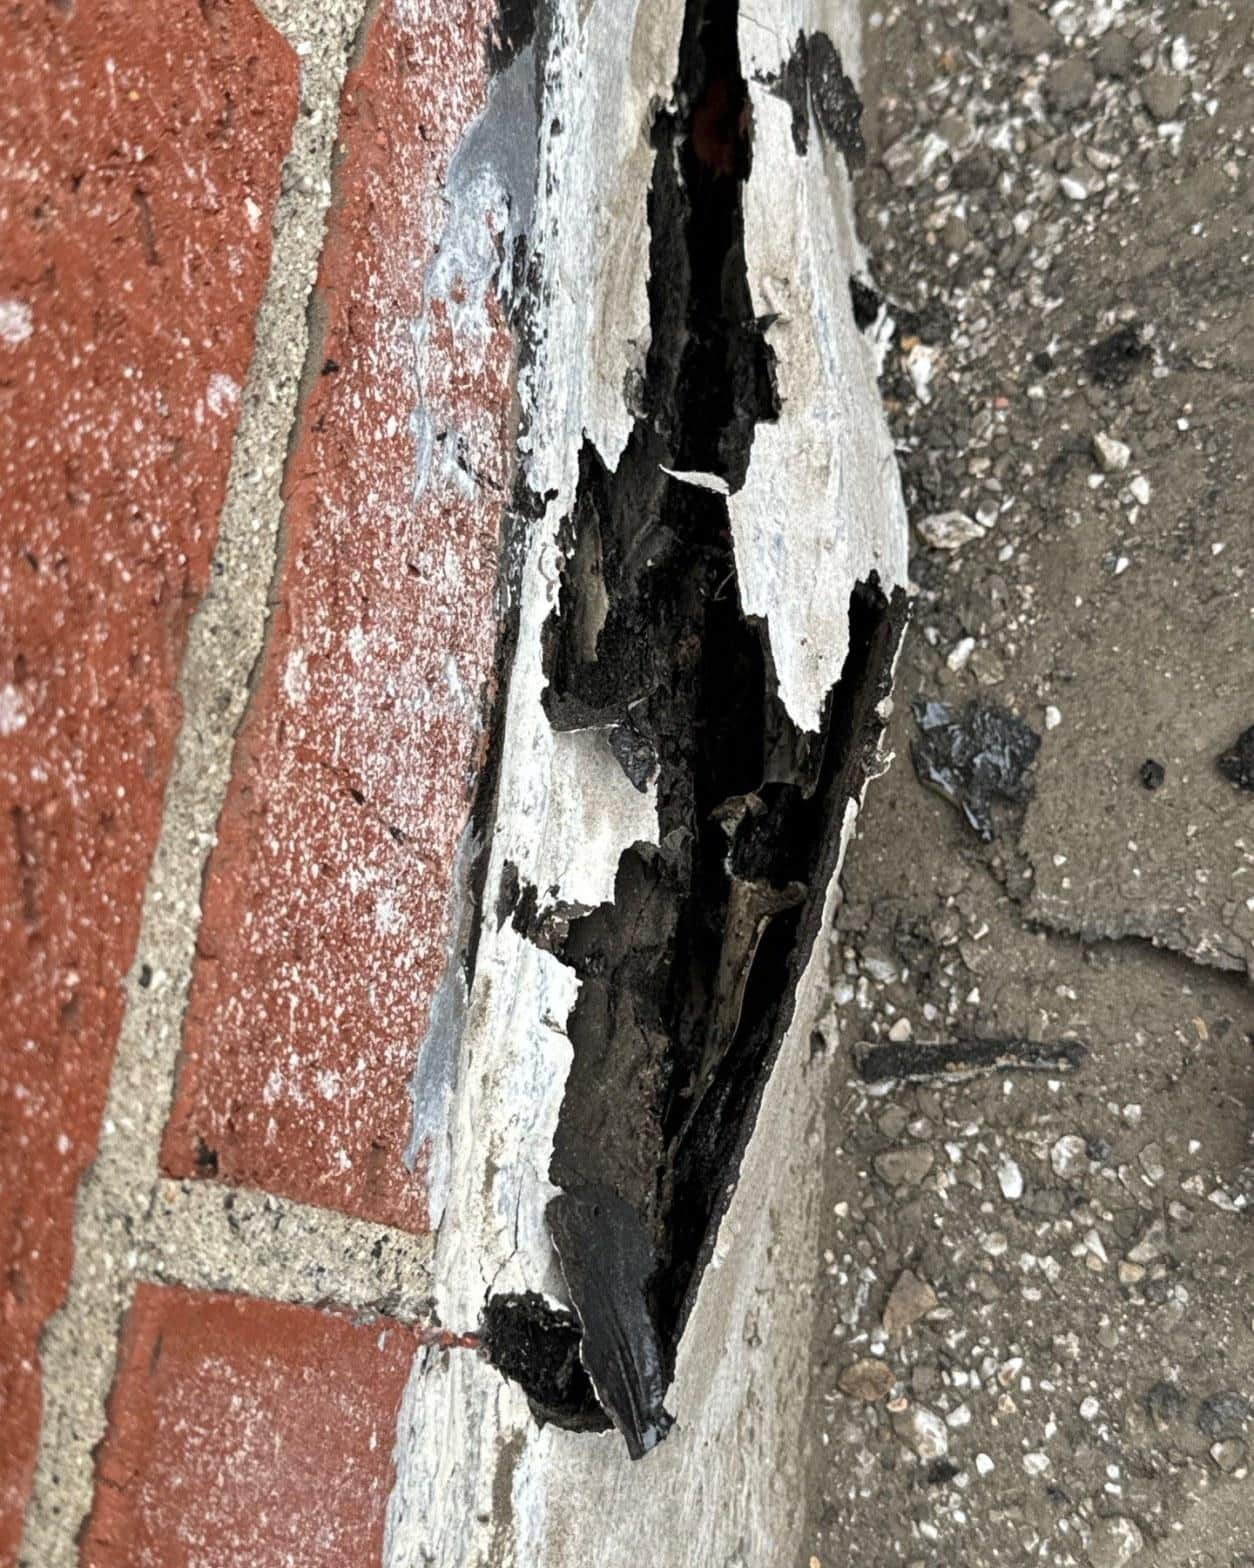
The close-up of the chimney flashing tells the whole story. What appears to be multiple layers of repair attempts, older black bitumen, a white coating applied over it, and then additional patching on top of that, had all delaminated. The original flashing was split open, exposing bare masonry and wood behind it. Stacking coatings on top of a failed base only delays the inevitable; once the substrate loses adhesion, no topcoat can bridge the movement between dissimilar materials like brick and roofing felt.
Our crew pulled all deteriorated parapet wood and replaced it with fresh framing before any new membrane material went down. Skipping that step would have given the new roof no solid perimeter to anchor against.
How Was the Flashing at the Brick Parapet Rebuilt?
Rebuilding the flashing at the brick parapet was the most detail-intensive part of this job. The old material was stripped back to clean masonry, new base flashing was set into the mortar joint, and fresh fabric-reinforced membrane was lapped over the top and sealed.
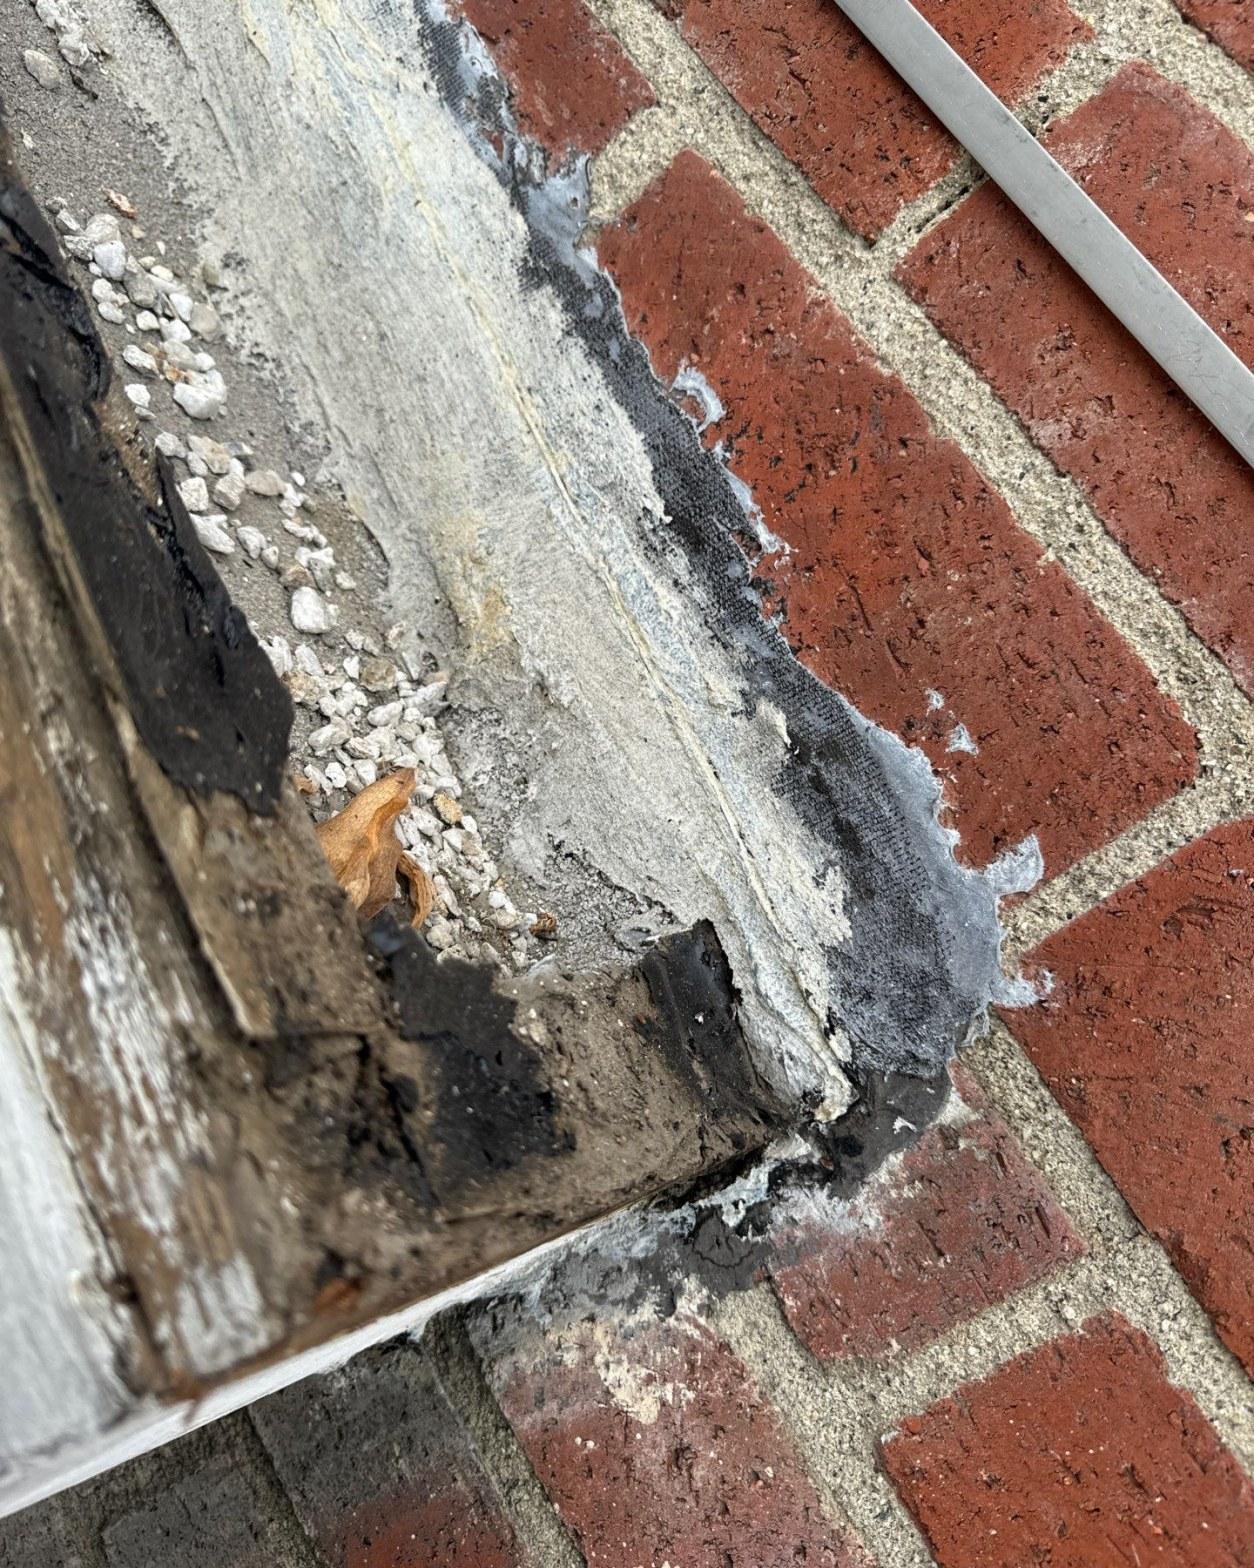
The photo shows the corner of a parapet where the previous flashing had peeled away from the brick completely, with gravel from the old ballasted surface still sitting in the pocket. That corner represents the single most common leak point on any low-slope roof with a masonry parapet: water tracks down the wall, finds the gap between the flashing termination and the brick, and wicks directly into the substrate. Proper counterflashing embedded into a reglet or mortar joint, not just surface-applied, is the only lasting fix.
As of 2025, California’s Title 24 building energy standards encourage the use of reflective roofing membranes on low-slope residential roofs because the energy savings over a building’s lifetime are measurable. A California Energy Commission analysis of cool-roof performance shows that reflective surfaces can reduce peak cooling loads by 10 to 15 percent on single-story structures, which matters considerably in a climate as warm as the San Fernando Valley’s.
What Does the Finished Roof Look Like?
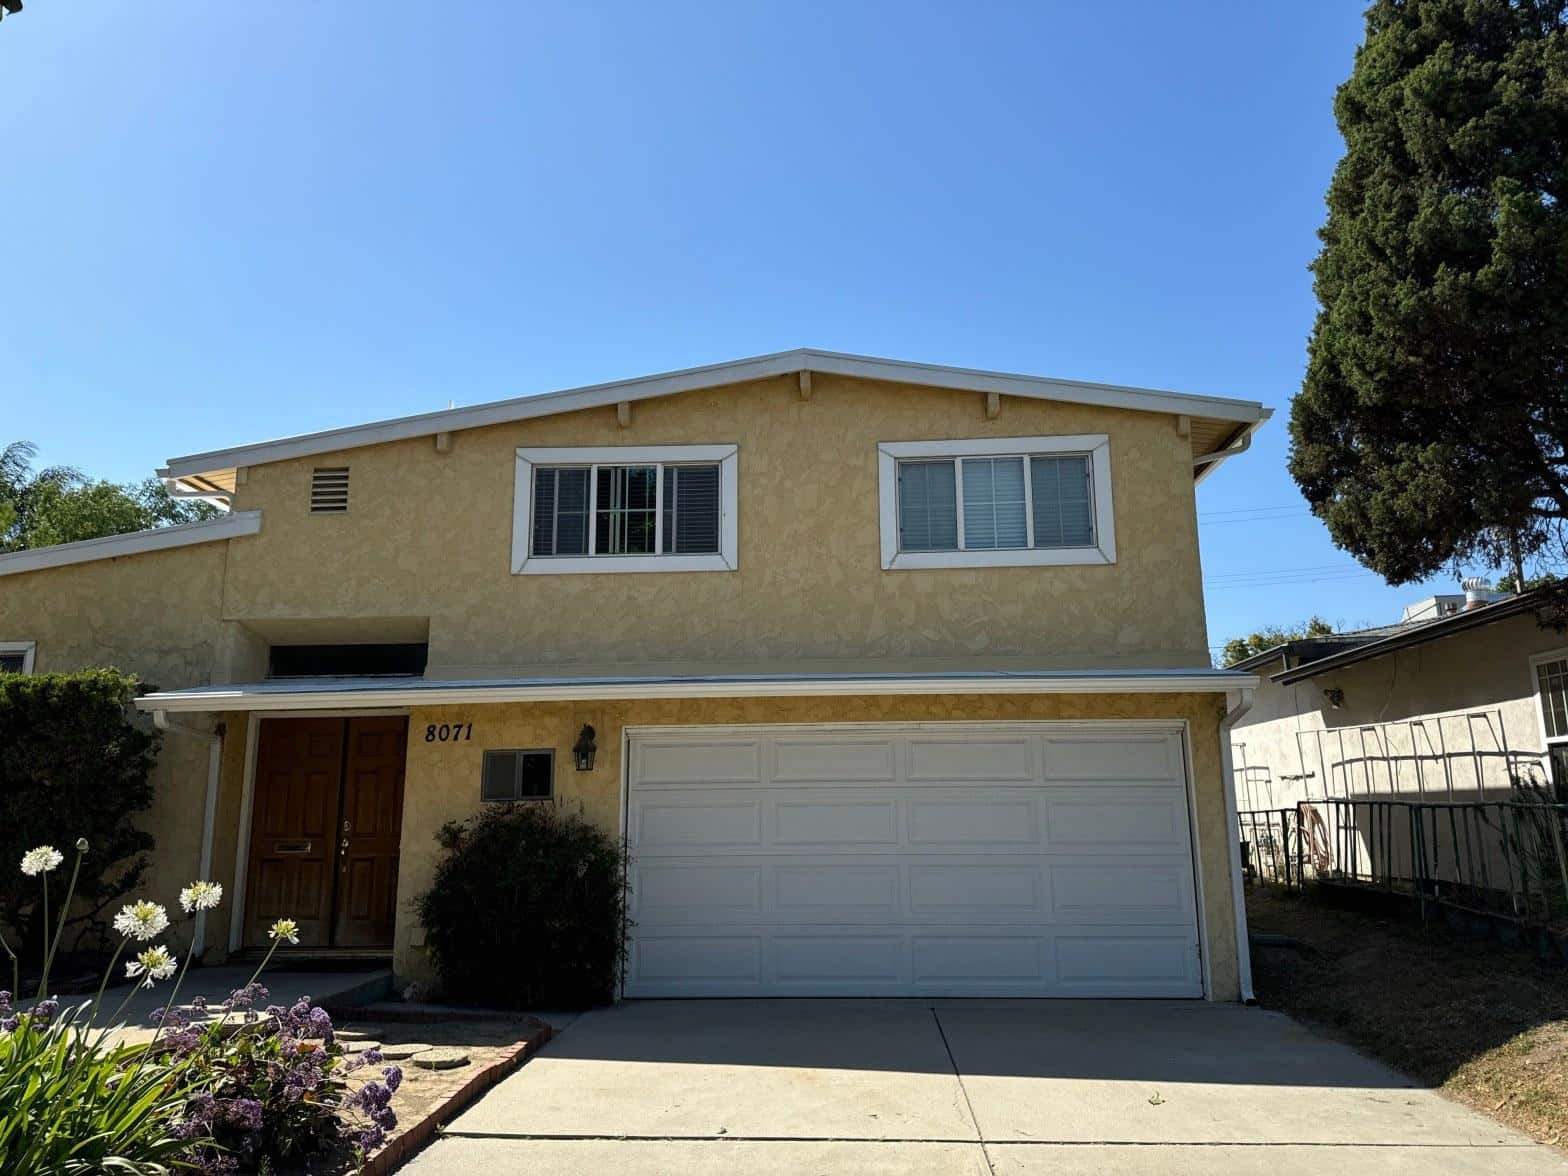
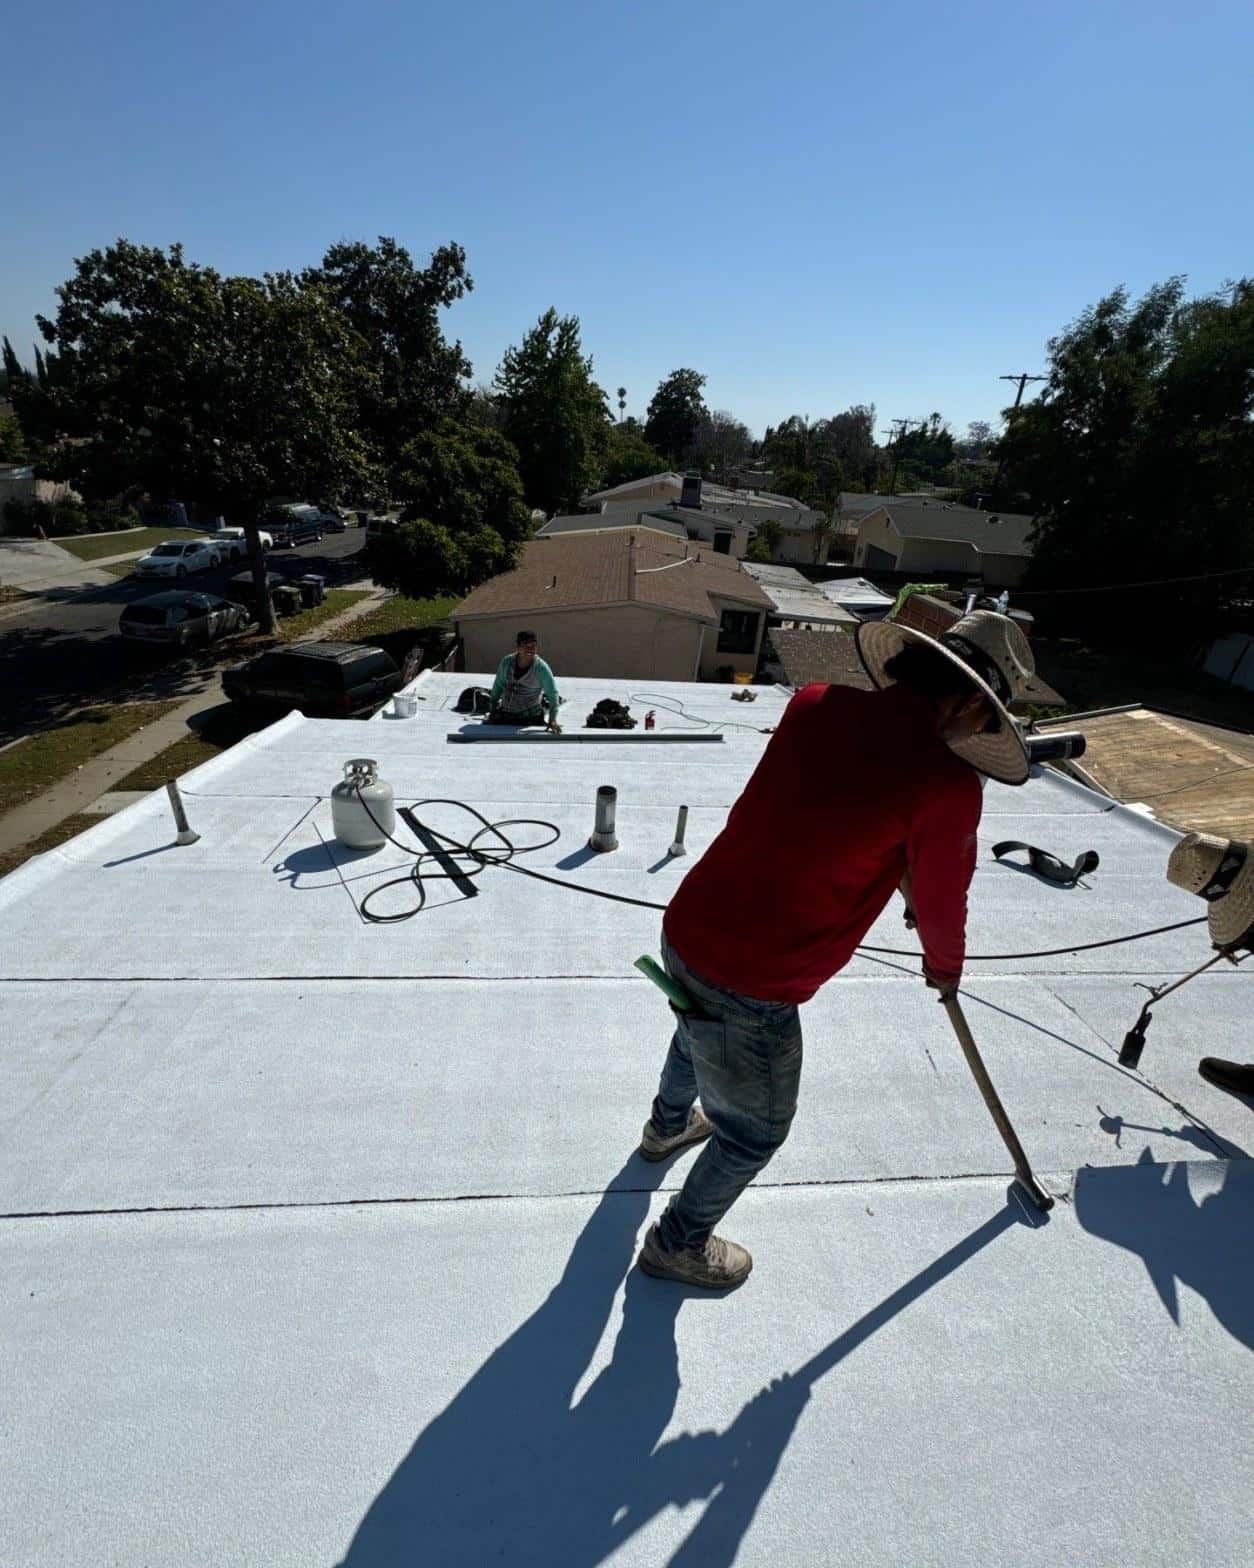
The completed low-slope system shows a uniform, light-gray reflective surface with no visible field cracks, clean terminations at both pipe penetrations, and fully integrated perimeter flashing around the entire parapet. The finished roof is the same system you see in the featured photo at the top of this article.
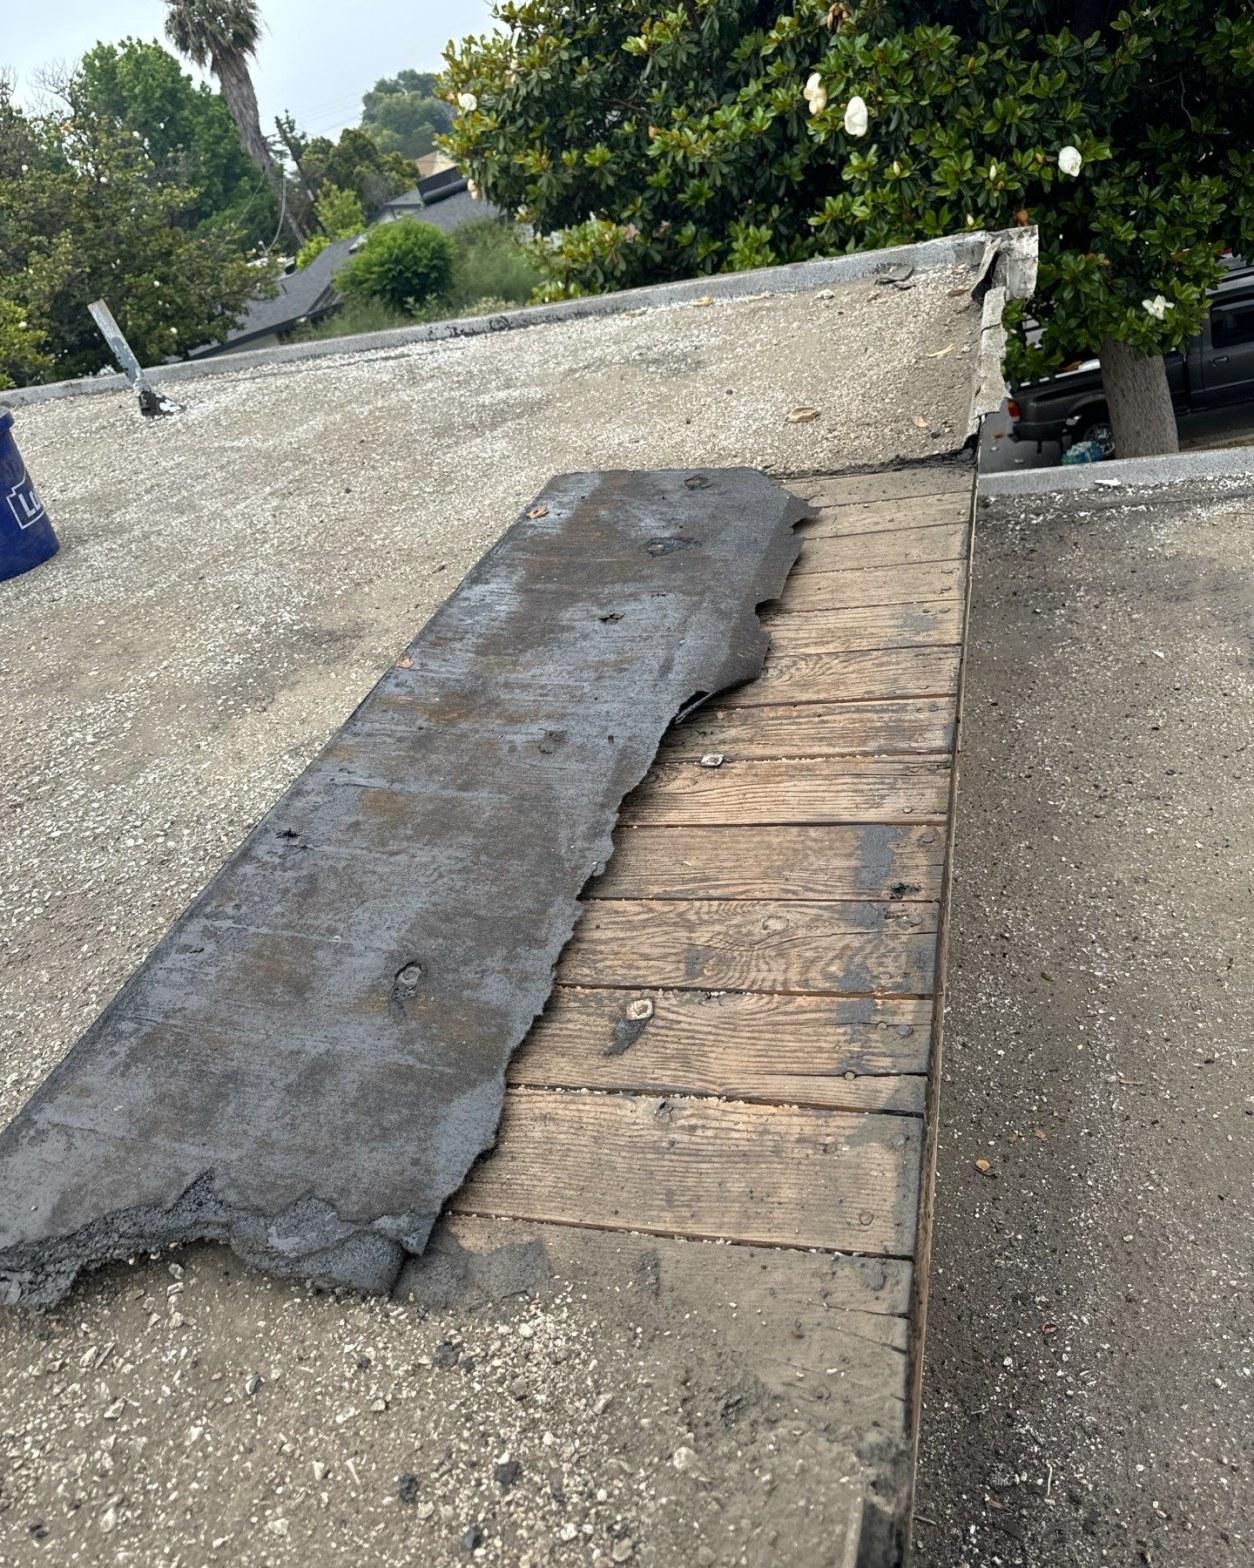
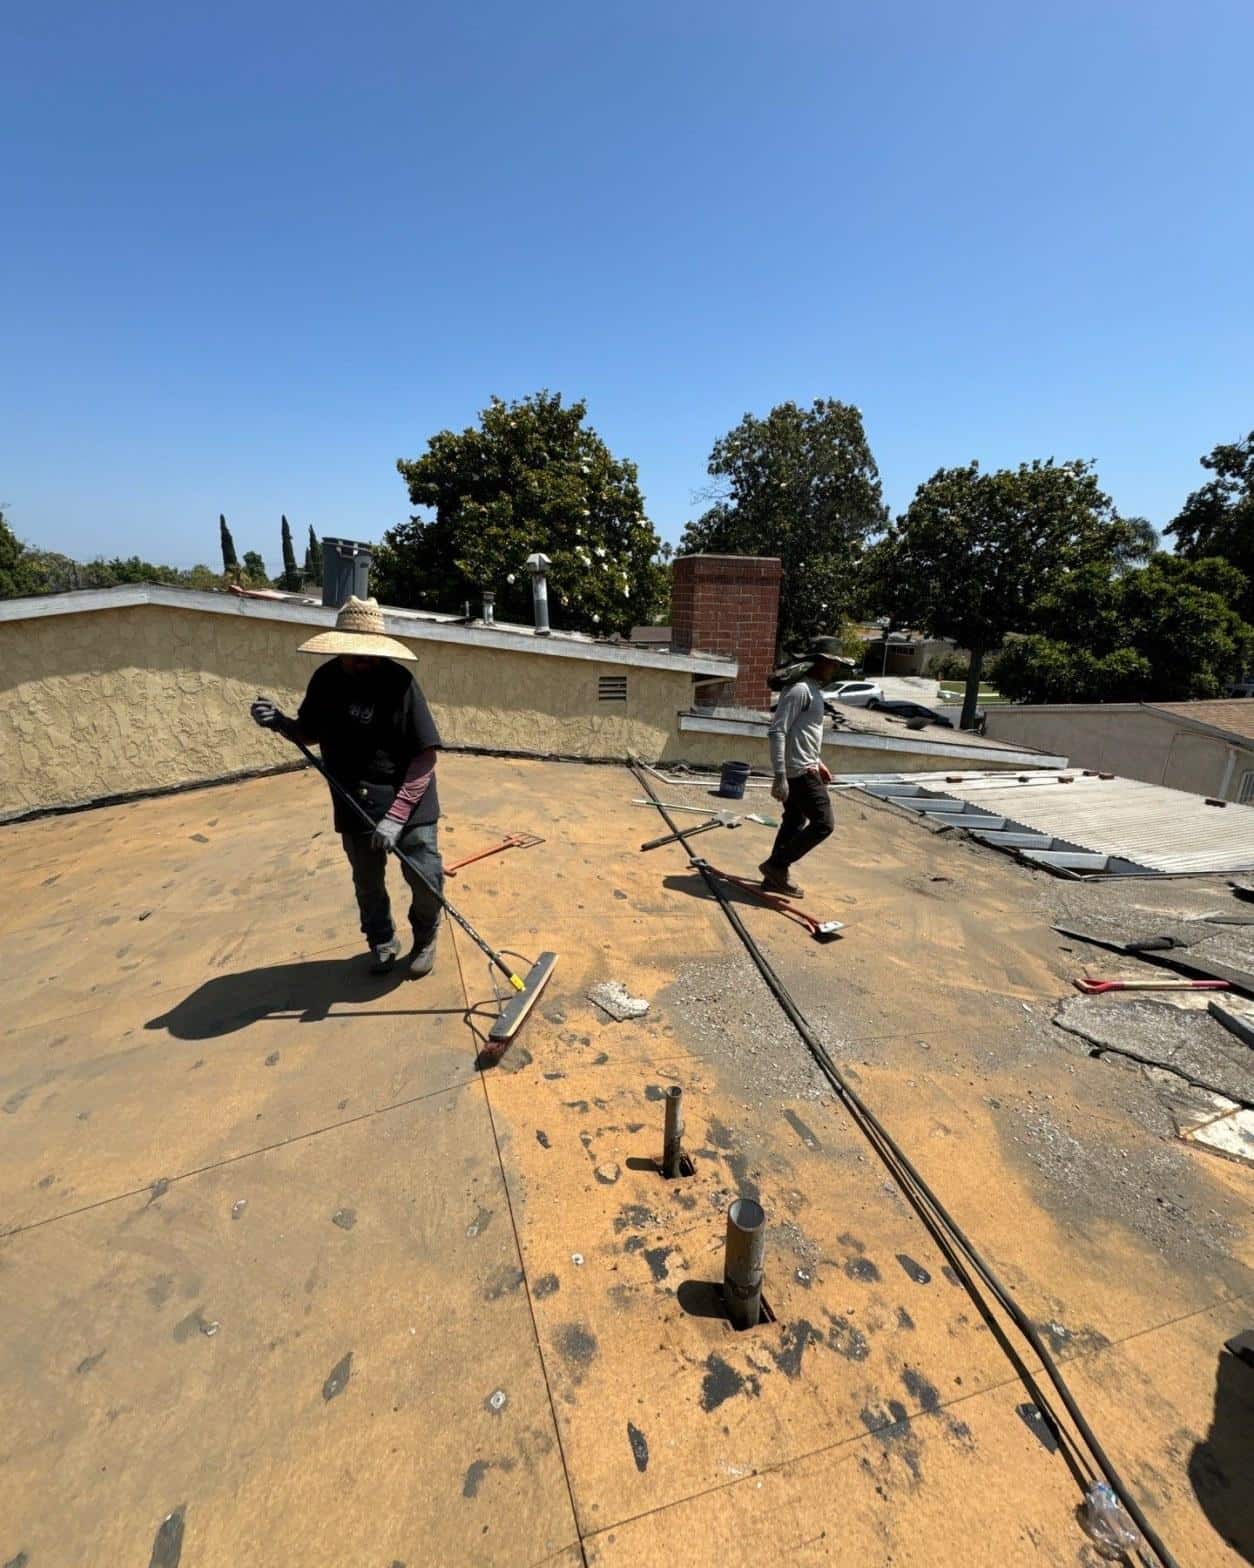
Image 4 captures the mid-project state at another section of the same building: the old gravel-ballasted surface peeled back to reveal weathered plank decking beneath, which is exactly the kind of aged wood substrate that needs to be assessed for structural integrity before any new membrane is applied. In this case, the planks were sound and did not require replacement, so the crew moved directly to priming and new membrane installation.
For context, U.S. Census Bureau data shows that a significant share of single-family homes in the San Fernando Valley were built between 1950 and 1970, when low-slope and flat-roof construction was common for ranch-style and mid-century modern designs. Many of those original roofs are now 50 or more years past their initial installation, which puts the underlying plywood and parapet framing at elevated risk for the kind of moisture damage seen on this project.
Across the projects our crews have completed on similarly aged San Fernando Valley flat roofs, we consistently find that at least 1 in 3 jobs requires some degree of parapet wood replacement once the old membrane is removed, a condition that is rarely detectable without a full tear-off.
Ready to Replace Your Low-Slope Roof?
If your flat or low-slope roof is showing cracked seams, lifting membrane edges, or staining inside the home after rain, the system has likely reached the end of its serviceable life. Roof Replacement Inc is licensed by the California Contractors State License Board (CSLB) and carries the insurance required for residential reroofing work in California.
Call us or submit a project inquiry through our website to schedule an inspection. Bring photos of any interior staining or visible surface cracking and we can give you a straight assessment of whether repair or full replacement makes sense for your situation.